I have a love/hate relationship with cleaning. I hate the idea of doing it and procrastinate until there is no other option left. Usually it is when I am all caught up on my Facebook, Instagram, and Pinterest feeds and there are a million things on the counter. And when the kids are home it is nearly impossible and redundant. I realized that in the past, part of it had to do with all of the chemicals in the products. I HATED washing my floors and seeing my babies walk or crawl over them and then eat the random food items off of the floors. Sometimes, I would have preferred my floors stay dirty versus washing them with chemical laden products.
There had to be a better way. So I researched and found out there are all kinds of different natural products that work just as well, if not better, and gave me peace of mind about my kiddos touching them. All of them are chemical free, which means that they can actually HELP me clean. Not that that ever happens, but a girl can dream. And, I sometimes look forward to cleaning because then I get to use my products and when they work as well as these do, I feel like a magical cleaning fairy.

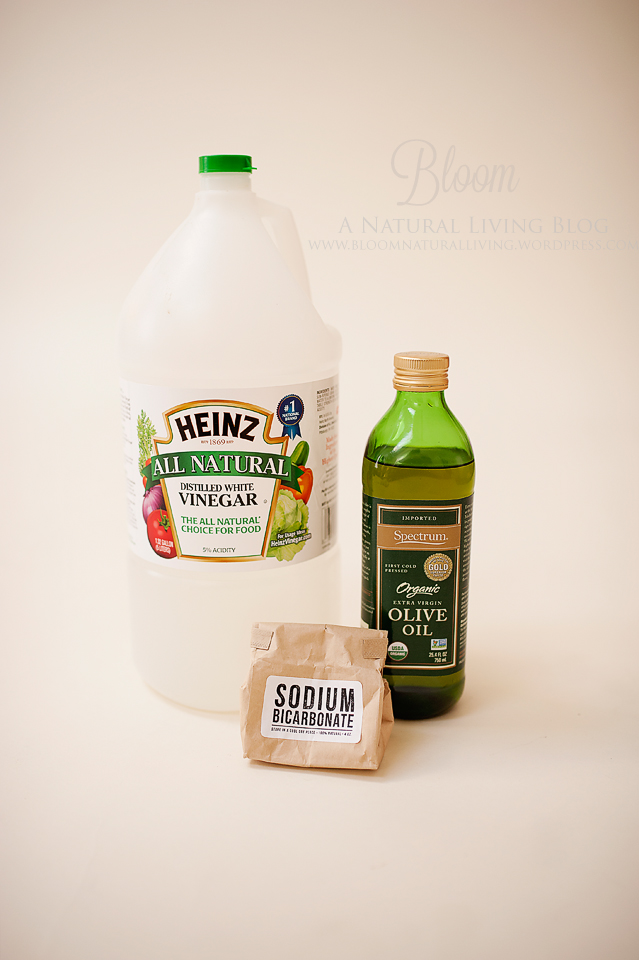
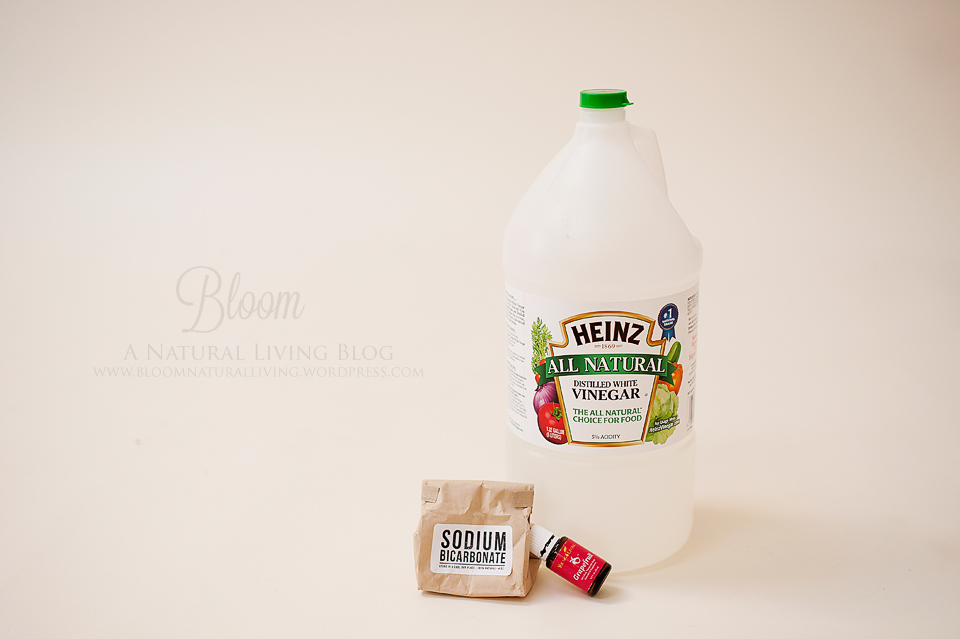
Supplies:
Baking soda
Vinegar
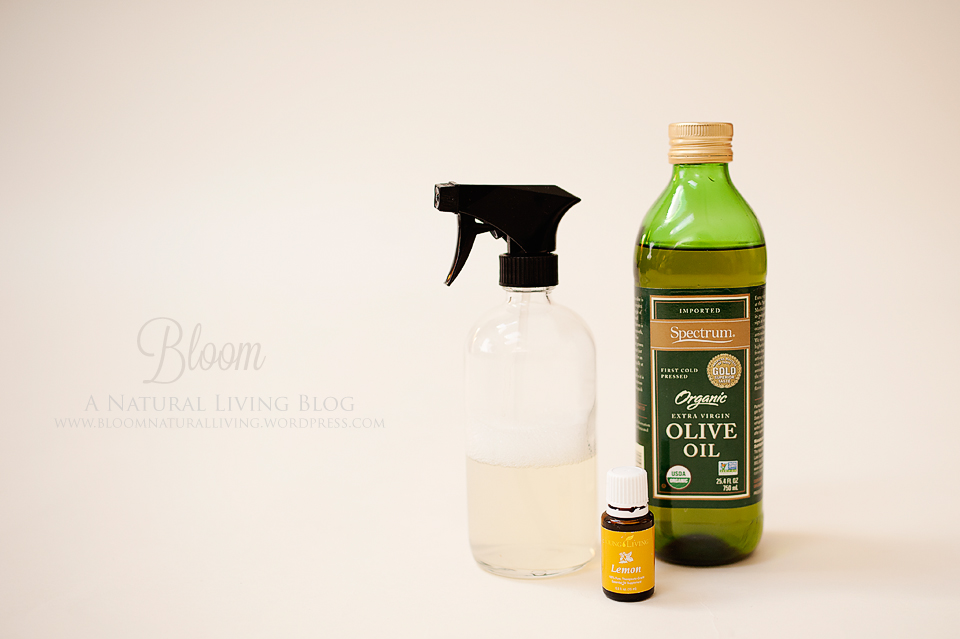
Olive Oil
Liquid Castille Soap
16oz glass bottles
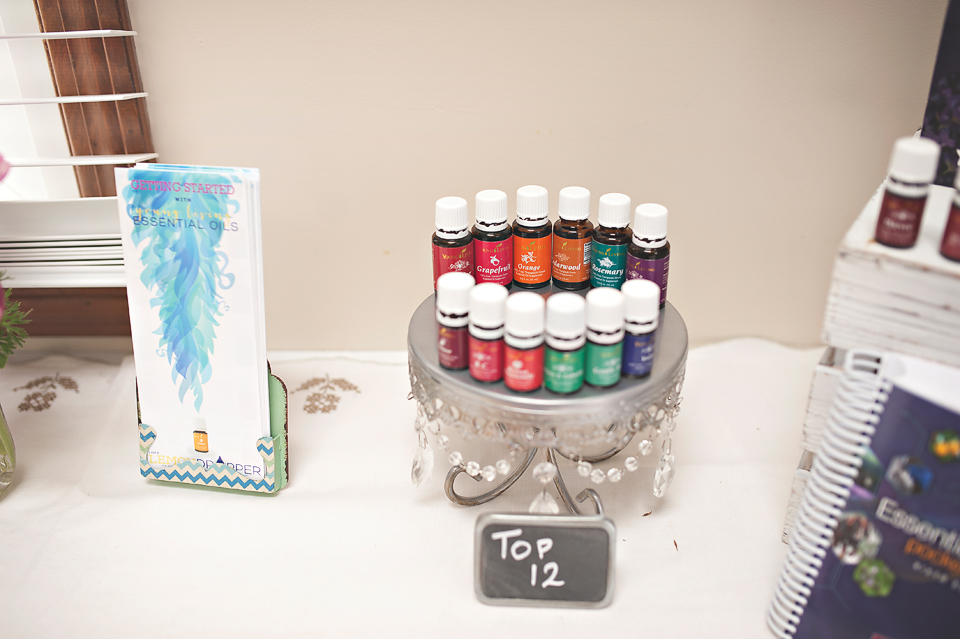
Essential Oils
Here we go. A nice full list of recipes that will enable you to clean your entire kitchen top to bottom and not fill it with toxic chemicals and will make everything sparkle, if only for 5 minutes until your kids spill random stuff on your floor or open your refrigerator or pour themselves a bowl of cereal. But, for those 5 minutes, you will be at peace. Pour yourself a glass of wine and enjoy it.

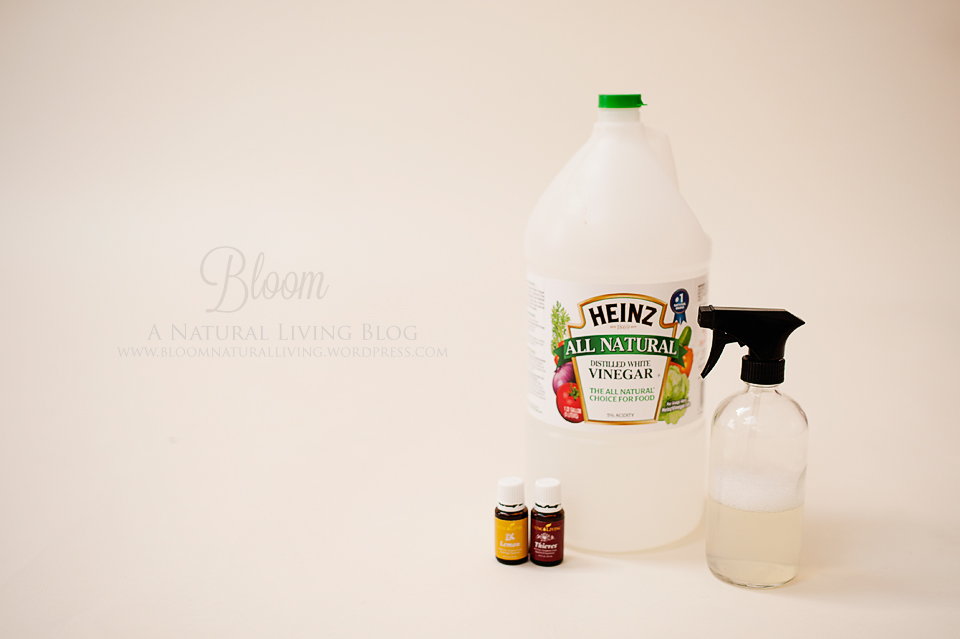
All Purpose Cleaner
I make this one using either citrus essential oils or thieves essential oil, depending on my mood and the level of cleanliness my kitchen has achieved. If super crazy dirty because the kids have been home for more than three consecutive days and all that I have managed is to make sure everyone survived, I bust out the thieves. If I have somehow turned into supermom and was able to clean on a daily basis, I use my citrus. I have blogged about this cleaner in the past, but I thought I would give the info out again because I like when things are all in one place. This will clean pretty much everything. Countertops, floors, appliances, tile, glass. I haven’t met a surface that I haven’t been able to successfully clean with this.

Ingredients:
16oz Glass spray bottle (like this)
White Vinegar
Water
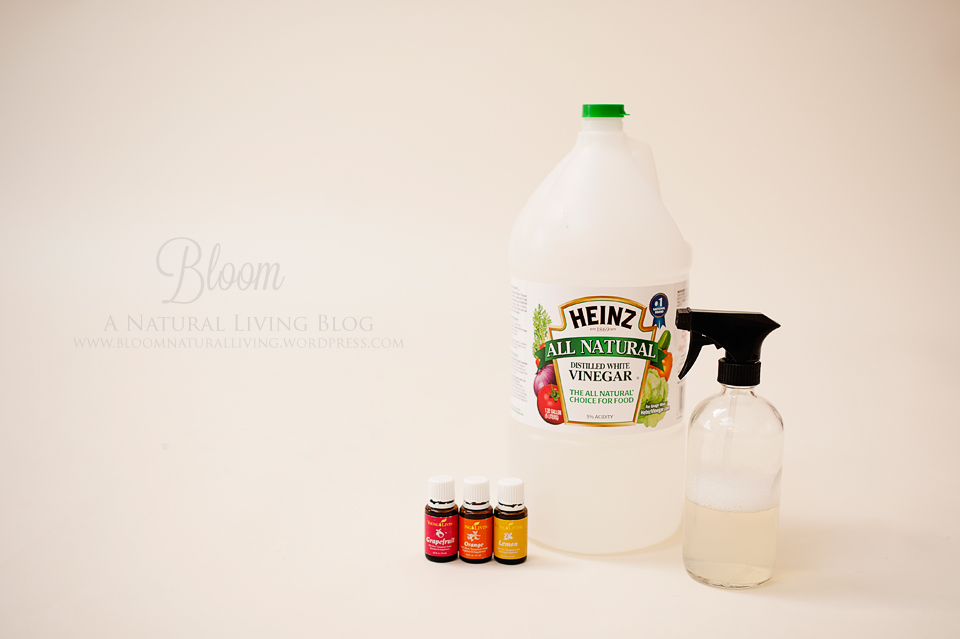
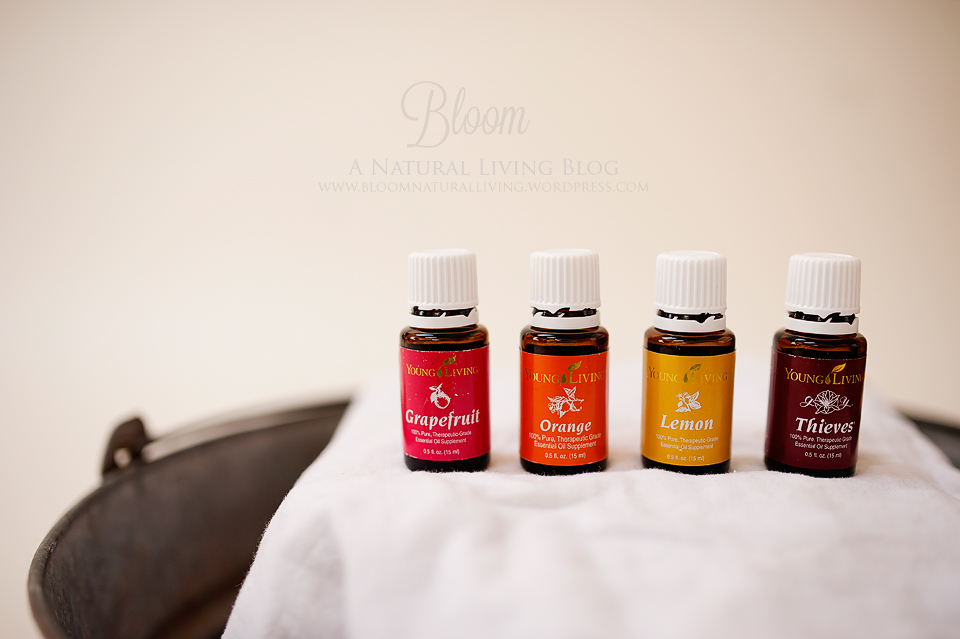
10 drops each of your chosen oils (I love orange, grapefruit, and lemon together or thieves and lemon)
Directions:
Fill bottle 2/3 of the way with water.
Top off with vinegar.
Add 10 drops each of your oils.
Shake and spray.

Cooktop Cleaner
I need to discuss this because I have anger issues with my stove manufacturer. When we got our lovely sparkly new stove, the only instructions on how to clean it told us to use this chemical laden cooktop cleaner. And included a TINY sample of it. And that stuff did NOT work well. So we tried other “cooktop cleaners” and none of them worked well. This one. This homemade one. Works so well. And I am so angry because, hey oven manufacturer – in the cleaning instructions, just say use baking soda and vinegar. Stop pushing your toxic chemical crappy product on us. Ugh. Anyway, this homemade version – it rocks.
Ingredients:
Baking soda
White vinegar
Glass spray bottle
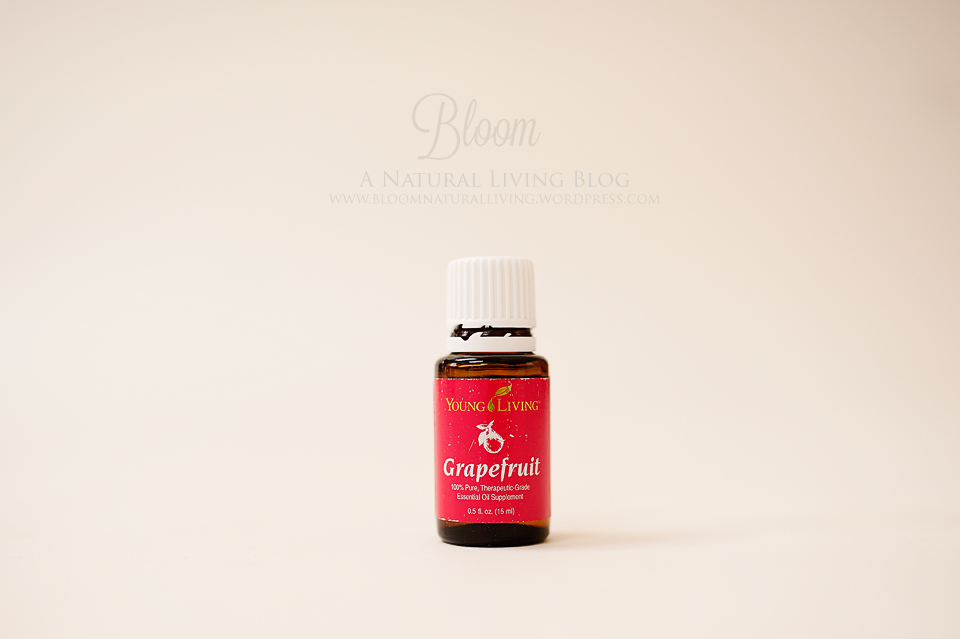
Grapefruit (or any citrus) essential oil
Directions:
In the glass spray bottle, combine about 1/2c of vinegar and 5 drops of grapefruit essential oil.
Take baking soda and sprinkle it all over the cooktop.
Spray that down with your vinegar mixture and watch it bubble up, because science is fun.
Wait 20 minutes. You can check your Facebook if you want and catch up on all the stuff you missed by being productive.
Take paper towels and start to wipe it up. Concentrate on scrubbing the crusty parts. If you need to, add more spray and really scrub. This may take some elbow grease. Think of it as exercise.
Wipe up and as it dries you should see a film covering the cooktop, which is good. Wipe that off.
If film still remains, spray down with your all purpose spray and watch it sparkle.
*I store my baking soda for this in a shaker jar and have a separate glass spray bottle with the vinegar mixture ready to go

Stainless Steel Cleaner
I posted a picture of this on my Instagram and so many were amazed (@lauraelysephotography is my name if you feel like seeing natural living, my photography, and my kids – I just combo everything, filter out the stuff you don’t want to see). This is crazy easy. And it sounds crazy. But oil dissolves oil, so trust me on this. I promise it is awesome.
Ingredients:
All purpose spray
Microfiber cloth
Olive oil
Directions:
Spray the surfaces down and wipe off crusty parts.
Take olive oil and pour a bit on the cloth.
Wipe with the grain of the stainless steel.
Buff off if you have time or if it looks oily.
Stand back and call your spouse over to admire the awesomeness that is your appliances.
Sink cleaner
So easy. You just need water and baking soda. I am not even going to give you an ingredients list for this one. Take water and spray your sink down. Take baking soda and sprinkle it all over the water. Grab some paper towels and scrub away. Rinse. I always dry it off afterwards because it feels satisfying.

Garbage Disposal Cleaner
Another two ingredients one. Grab some ice and put in the your disposal and then add 2 drops of grapefruit essential oil. Alternatively, you can also add some citrus peels. Grind everything up. Enjoy the happy fragrance.

Floor Cleaner
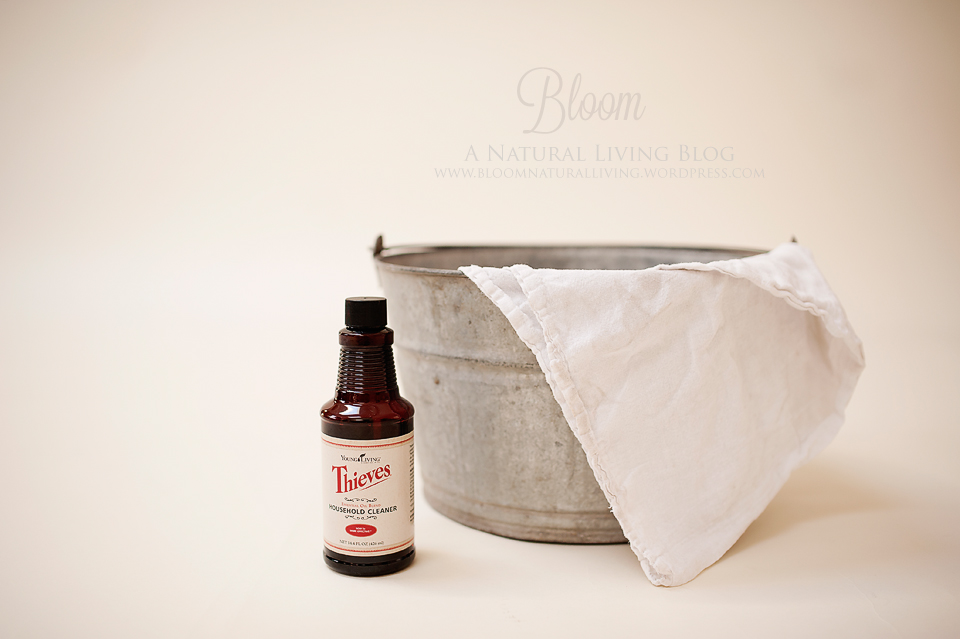
Ok, so you can do this a few ways. I recently purchased some thieves concentrate cleaner and adore it to pieces. But if you don’t have that, it is ok. You can still have the most amazing clean floor without chemicals.
Ingredients:
1 gallon of hot water
3/4 cup vinegar
1 tbs castille soap
15 drops total of essential oils (so if you are using lemon and orange, do 7 drops lemon and 8 drops orange)
Directions:
Put all ingredients in a bucket and mop. So simple. Maybe mix them a bit prior to use….yeah, definitely stir them up.

Alternatively, you can use thieves cleaner, which can be purchased from Young Living and that is amazing. Thieves for all of the cleaning is amazing.
I haven’t yet attempted dish soap or hand soap or dishwasher detergent, but I have plans to do so very soon!

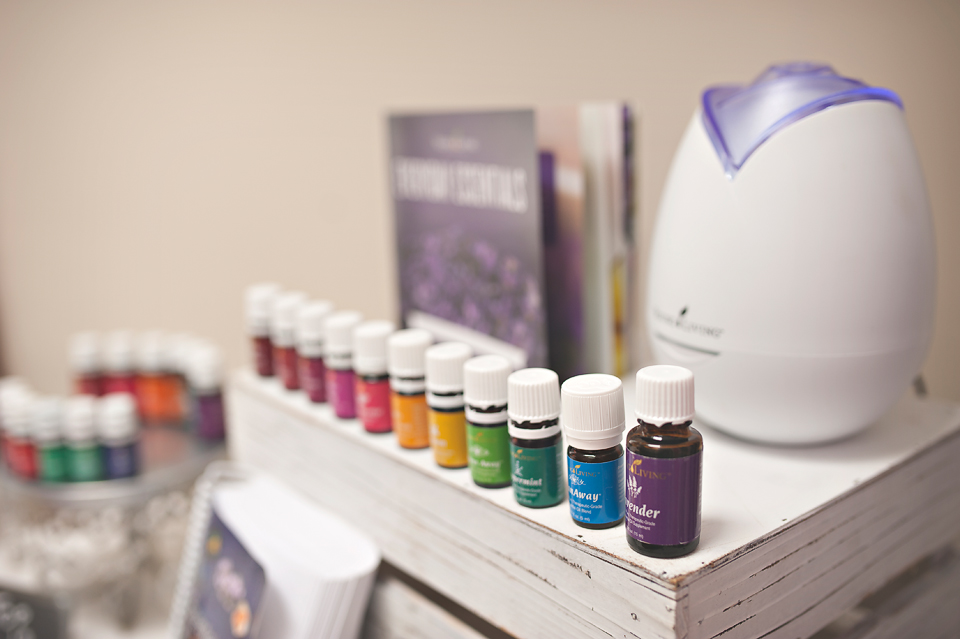
A note about the essential oils I use: I only use Young Living because they work the best for our family and they are so super pure that I feel very comfortable using them. So comfortable that I can recommend them to everyone! If you are interested in purchasing these oils and joining me in some amazing groups with fabulous resources, here is how you would do that:
1. Click over to the sign-up page: https://www.youngliving.com/signup/?site=US&sponsorid=1842761&enrollerid=1842761
2. Select “Sign Up As: Young Living Wholesale Member” (this secures you the 24% off discount on all future orders)
3. The “Enroller ID” and “Sponsor ID” boxes should already be filled in for you. If they aren’t, fill in 1842761 in both spots.
4. Fill out your name, billing address, shipping address, and contact info. (The reason you are asked for your SSN is for tax purposes; if you make over $600/year selling Young Living products, you will receive a 1099 form in the mail, as is required by law. Young Living never shares this info with anyone, and you’re not obligated to sell anything if you do not want to. I promise I wouldn’t lead you astray here!)
5. Create your password and pin which you will use to log in to your account and order your oils.
6. Select your enrollment order. This is where you can specify which starter kit you would like. I recommend the Premium Kit with the Aroma Diffuser.
7. It will ask if you want to sign up for the Essential Rewards program. I recommend saying no to this for now.
8. Agree to Terms & Conditions
9. CONFIRM YOUR ORDER. Some folks miss this step and end up not fully checking out. To confirm, the tool will log you in and it will show you your order again and it will make you enter in your payment information again.
10. Wait for the mailman to arrive! This step is will be agonizing.
Oh, and
11. Please friend me on Facebook so that I can add you to some fun oily Facebook groups! : )