Greek Yogurt Blueberry Muffins with Einkorn Flour

DSC_6357

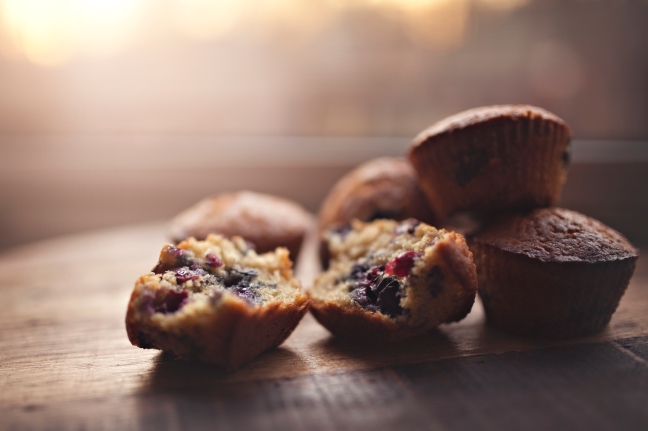
I have a serious love affair with these and need to share.  They are delicious, mostly healthy, and are super easy to make!

Einkorn Flour is an excellent flour to use if you are trying to minimize your gluten intake.  It is has a super low gluten content and is far easier to digest than modern wheat.  In addition to this, there are tons of vitamins and nutrients available in much greater concentrations as well!  And it is yum!  So boom, get yourself some einkorn stat!

Recipe:
3 cups einkorn flour
2 tsp baking powder
1/2 tsp baking soda
1/2 tsp fine sea salt
3/4 cup plain greek yogurt
1/2 cup milk
10 tbls unsalted butter, melted
3 large eggs
1 cup of sugar
2 cups of frozen or fresh blueberries

1. Preheat oven to 425 and fill a muffin tin or two with liners.  It is only supposed to make 12 muffins, but mine made way more for some reason.

2. Sift 3 cups flour, baking powder, baking soda, and salt.  In another bowl, combine yogurt, milk, and butter.

3.  In a 3rd bowl, whip eggs until they are a smooth yellow and add the sugar.  Beat on medium low speed for 1 minute and then high on 4 minutes.

4.  Fold the flour mixture gently into the egg until completely combined.  Gently stir the yogurt mixture in.  Then stir in the blueberries.

5.  Spoon the batter into cups, filling nearly to the top.

6.  Place muffins in the oven and reduce heat to 375.  Bake for 30 minutes until toothpick comes out clean.  Let cool in pan for 15 minutes and then remove to  baking rack to completely cool.

7.  These will store for up to 3 days in an airtight container if they last longer than a day.  Which mine didn’t.  I suggest slathering the warm muffins with some good butter and enjoy them while reading a good book under some cozy blankets.

DSC_6343

Honey Sweetened Strawberry Jam

DSC_9781 Oh boy – every year for the past 3 years I have made this and it is a labor of love for sure, but totally worth every single second.  I typically make massive batches of this lovely jam – the yield this year was 40 half pints with 4 quarter pints for gift giving (I am super selective about who receives this jam and stingy apparently).  Last year we made 35 half pints and it got us through the entire year. Because I was making this myself, I wanted the sugar content to be minimal.  Strawberries are so sweet by themselves – no need to sugar them up.  Most conventional recipes have crazy amounts of sugar.  For example, the Ball recipe calls for something like 4 cups of sugar for every 4 cups of fruit.  Ummm.  No.  Just no.  The reason for the high sugar content is to get the fruit to gel properly.  But I found a way around this. DSC_9713 Enter Pomona Pectin.  I love this stuff.  It allows for me to make a delicious jam using a minimal amount of sugar or no sugar.  You can use stevia, but my preference is local raw honey.  Yum.  I found mine at a local health food store, but you can grab some on amazon (http://amzn.to/1QTlrjh).  So crucial to this jam.  I also follow their recipe. DSC_9736 
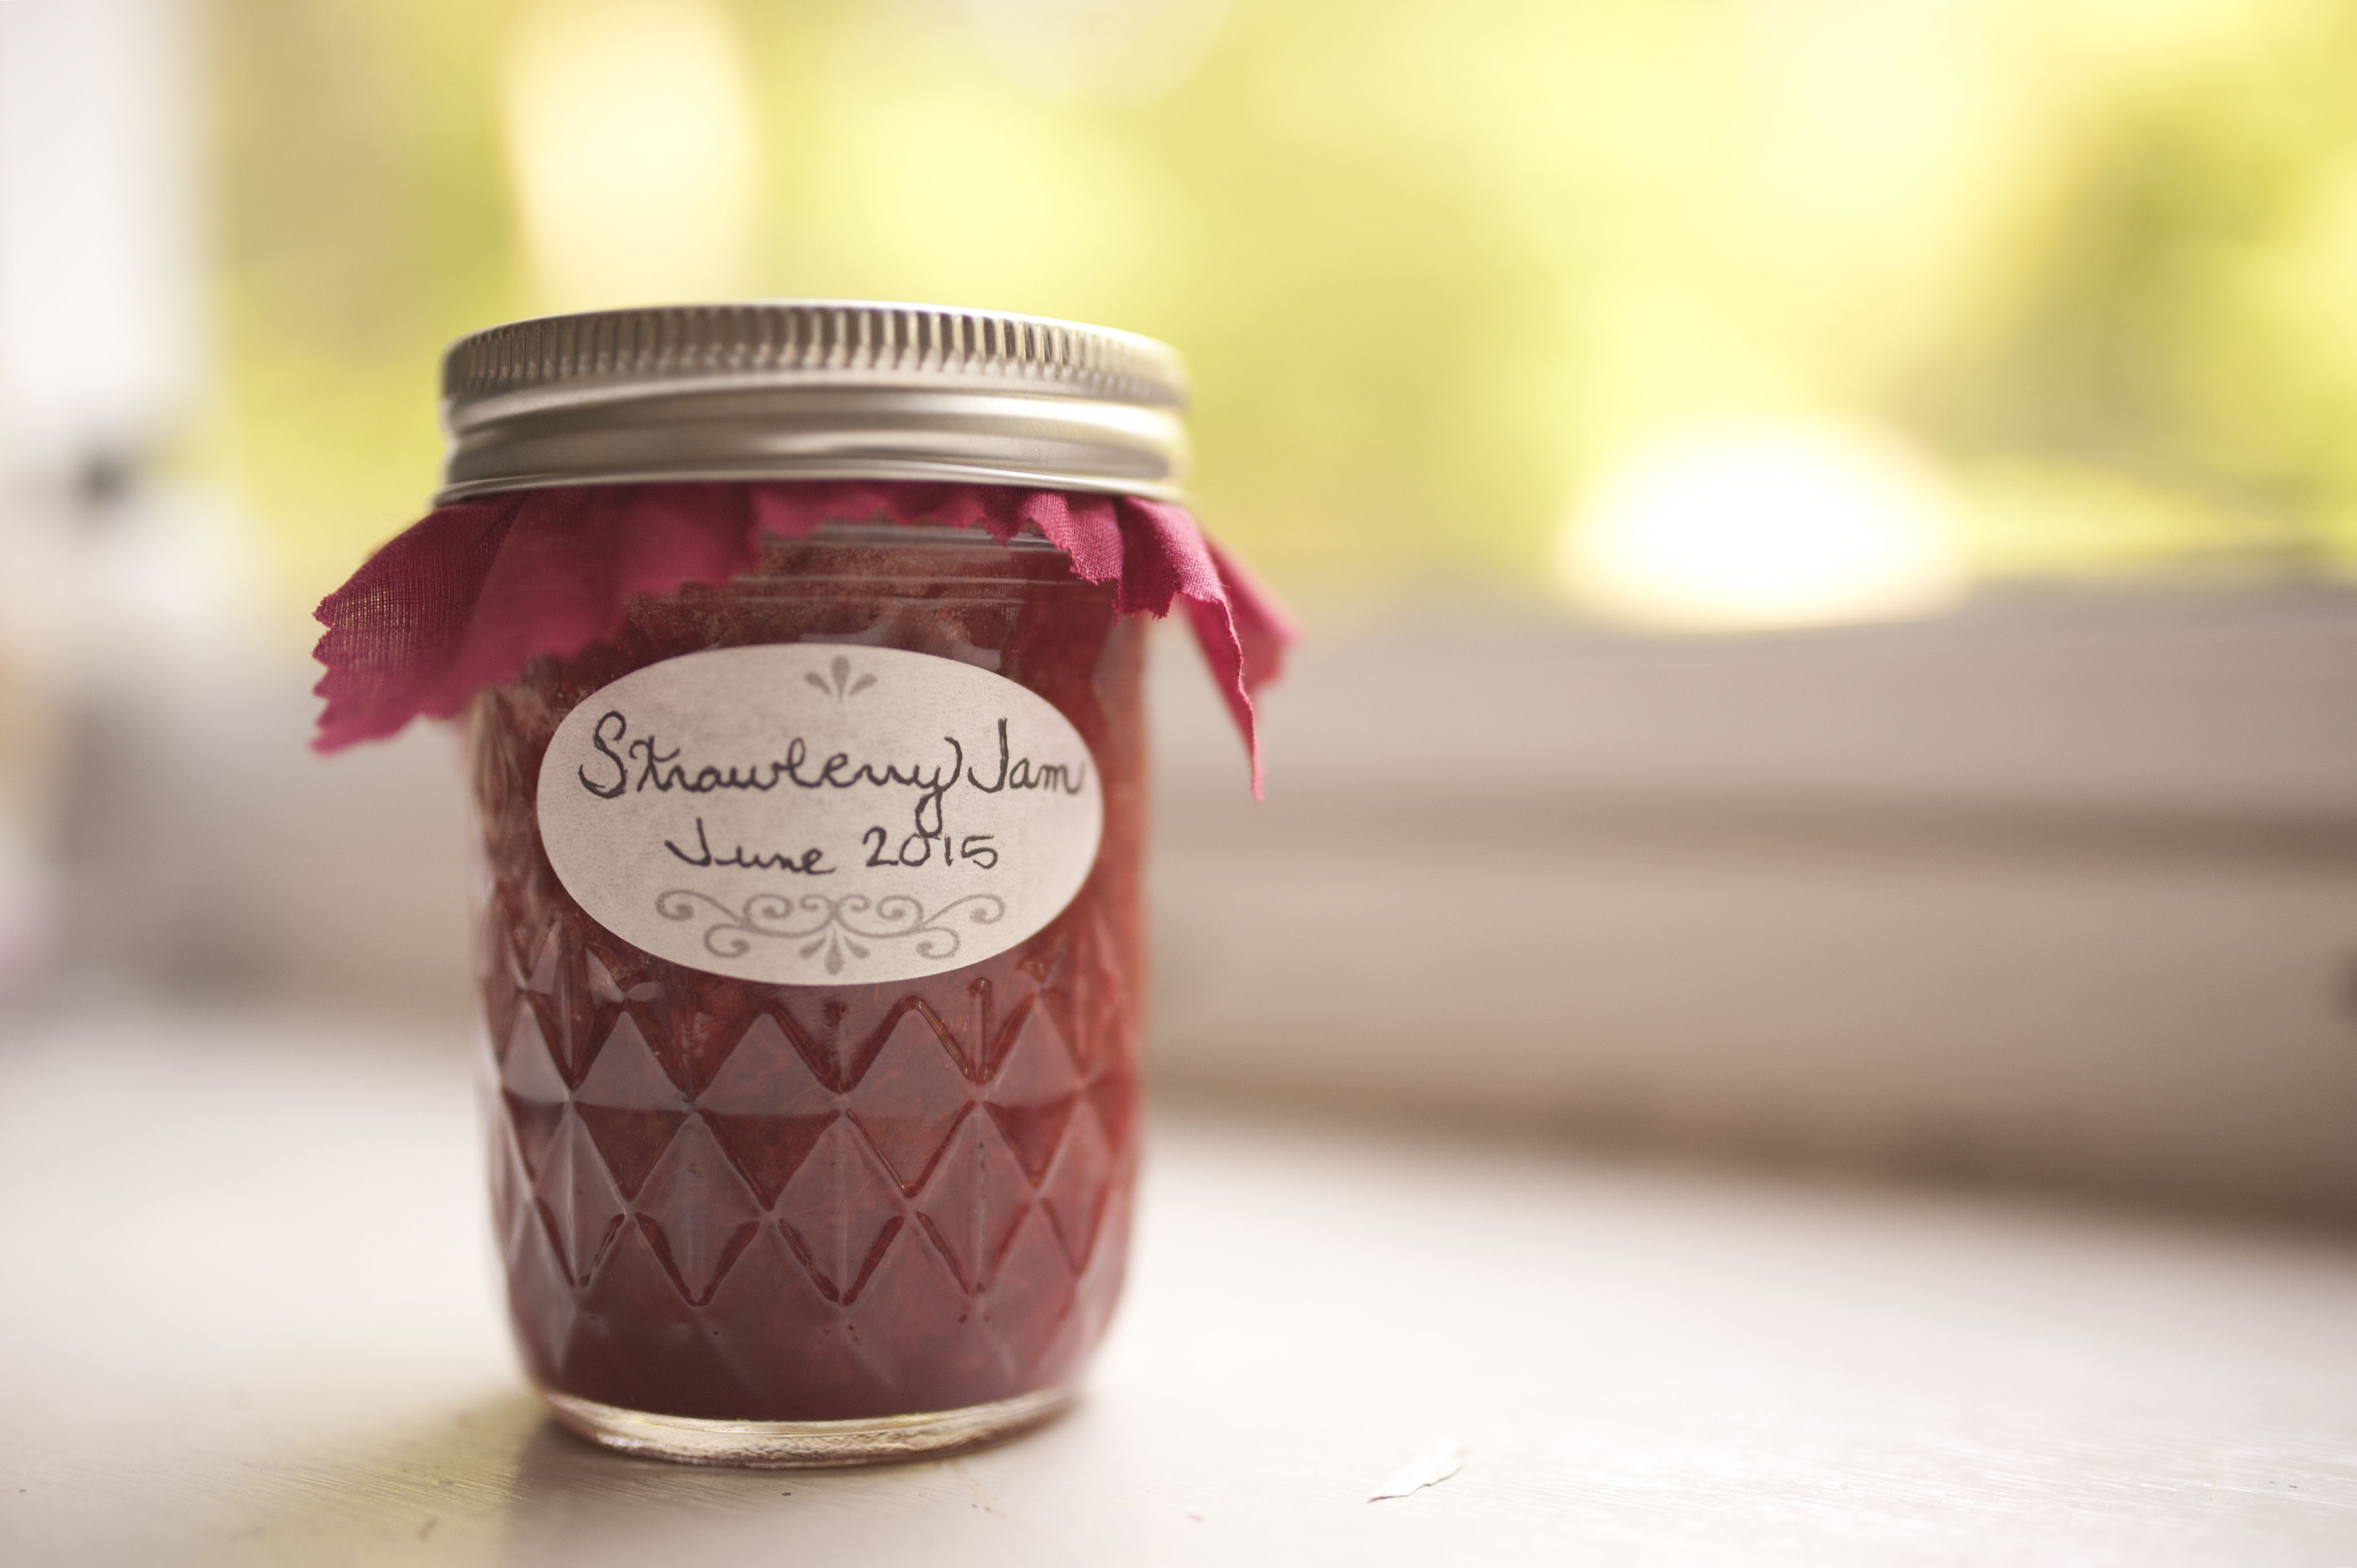
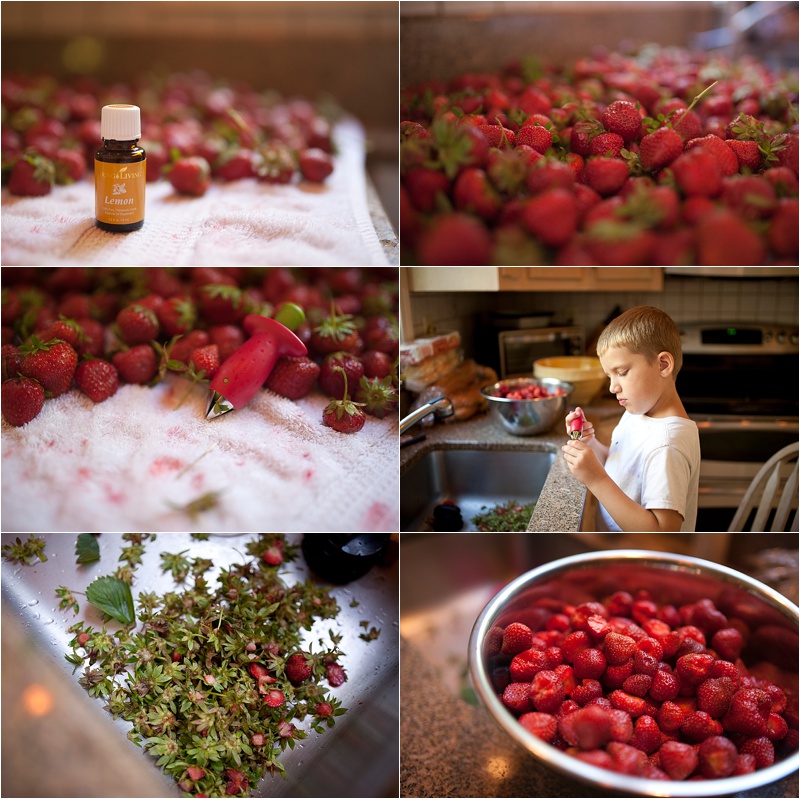
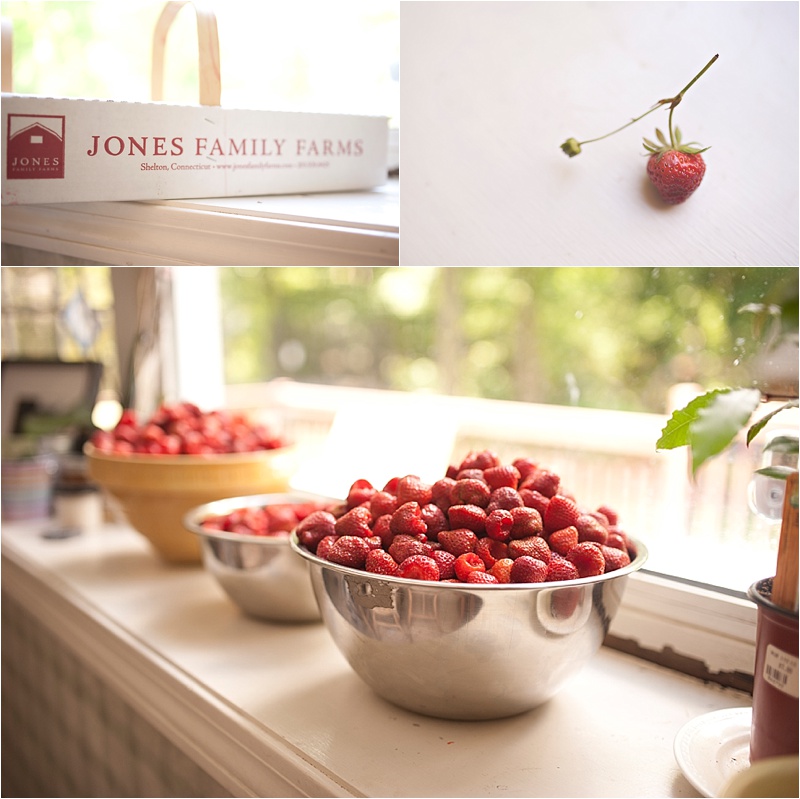
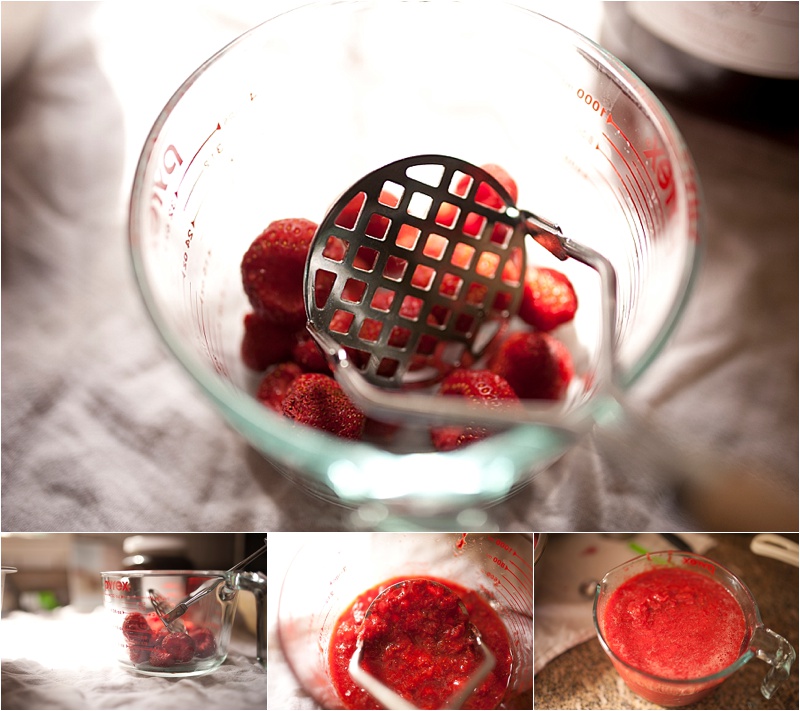
You ready?  Let’s get our jam on! Preparation: First step is to grab your strawberries.  We picked our own and got a super amazing discount from a local farm.  Try for organic if possible.  These aren’t, but the farm uses organic methods and I prefer buying local. LEP_0209 Next, wash the strawberries.  I filled up my sink with water and added some vinegar and  a few drops of lemon essential oil for extra power.  Then I let them soak for about 10-15 minutes, rinsed them off, and allowed them to dry on towels. Then I began the insanely long process of removing the hulls.  In prior years, I just sliced them off, but for Christmas, I received a super handy device called the Stem Gem (grab yours here: http://amzn.to/1JnBlhN) and it made removing the hulls so easy.  And a little fun. LEP_0213 Now is the part where you gather alll of the stuff you are going to need for this canning process.  Since I make the jam in massive batches, I need to be well prepared.  Here is a mostly complete list of what you will need: LEP_0207 – Jars with their rims, and unused lids.  I prefer the half pint size. – Pomona Pectin – Strawberries, obvi. – Sweetener of choice – I use honey, but you can use sugar, stevia, etc… – One large pot – One saucepan – One smaller pot – A ton of super clean dishtowels Optional, but nice to have – Funnel – Ladle – Jar grabber thingy (not sure of the technical name) – Magnetic lid grabber thingy (again, technical name unknown) You can get all of these in a nice canning set.  I love mine!  http://amzn.to/1LzypPo DSC_9744 Now that you have all of your stuff gathered, I recommend filling your canning pot (the big one) with water and getting it boiling.  Also fill up a small pot with water and get it boiling as well.  As the water is heating, I wash all of the jars, lids and rims and then fill up the jars with hot water and let them sit.  I then place the rims and lids into the smaller pot and wait for it to boil.  Once it boils, I turn down the heat and let them sit in hot water until I am ready for them. LEP_0208 Sanitize all of the implements.  All of them.  Cleanliness is so important here and throughout the entire process.  I know this sounds like a LOT of prep work and a little intimidating.  But it gets easier and so worth it for the end results.  Plus, I don’t cook.  So if I can do it, anyone can do it. DSC_9724 Anyway.   Now that everything is sanitized, you need to start making the calcium water, which is what enables you to use a super low amount of sugar.  Such a hard process.  Not sure if you all will be able to follow.  Take a half cup of water and put it in a lidded container.  Add 1/2tsp of the calcium stuff supplied in your pectin box.  Shake.  Phew.  Place in refrigerator until you are ready to use it. Ok, now that all of that hard prep work is done, you can get started with the process… Making your Jam: Step 1:  Mash your berries.  I use a super low tech method of this, which is to take a 4 cup Pyrex measuring cup and dump a bunch of berries in there and then mash them with a potato ricer.  There is probably a faster more appliance based method, but this is what I do.  I look at it like an arm workout.  Halfway through, I pre-heat the saucepan on low.  You want 4 cups total of mashed fruit. LEP_0210 Step 2:  Add the mashed berries to the saucepan and add 2 tsp of the calcium mixture. Stir.  While you are waiting for this to boil, stir together your sweetener with your pectin.  You can use anywhere from 1/2c – 1c of honey or 3/4c to 2c sugar.  I do the lowest I can, so 1/2 c honey.  Add 2 tsp of the pectin to the sweetener and stir. LEP_0214 Step 3:  Once the berries start boiling, add the sweetener and honey mixture to the saucepan and stir it up vigorously for 1-2 minutes and allow this to come to a boil.  Once it does, remove from heat.  While I am waiting for the berries to boil, I am prepping my jars – making sure that the hot water has been dumped out (jars may need to be re-filled with hot water throughout the process if you are doing more than one batch), the lids and rims are dried and ready to go, and the funnel is in place. LEP_0212 Step 4:  Fill the jars to 1/4″ from the top.  Wipe the rims clean and screw on the 2 piece lids.  Tighten. DSC_9776 Step 5:  Place the jars in boiling water making sure the tops are covered.  Allow the water to come back up to a boil and then set your timer for 10 minutes (add 1 min. more for every 1000ft above sea level).  Remove from heat and listen for the glorious sound of popping lids.  If a lid doesn’t pop, don’t stress, just eat that one right away. This jam will keep for a year unopened or 3 weeks once opened. These instructions came directly from the Pomona Pectin insert included!  If you just follow that, you will be good to go! LEP_0211

Essential Oils and Arbonne | A Match in Natural Living Heaven!

2015Mar28_0007 copy2015Mar28_0001 copy

Yesterday I hosted an essential oils event and was so blessed to have Lindsey with Arbonne as a presenter.  We had a wonderful time and I learned so much from her!  Arbonne’s products are all natural and she talked with us primarily about clean and healthy eating.  Everything Arbonne stands for totally works for our lifestyle – I cannot wait to get my products in and get started!  Plus, she shared some delicious samples with us – most impressive were these glorious protein bars.  YUM.  SO much yum!  I have always wanted to try Arbonne and have heard so many amazing things about their products, so I was super excited to learn and purchase some great items!

  1. 2015Mar28_0006 copy
    Lindsey was kind enough to share her recipe with us for these crazy good treats!

    2 cups organic peanut butter or almond butter
    1 3/4 cups raw honey or brown rice syrup
    2 1/4 cups Arbonne protein powder (9 scoops)
    3 cups rolled oats

    – Mix nut butter and honey/brown rice syrup in microwaveable bowl
    – Heat for 90 seconds – Mix well
    – Add protein powder and mix well
    – Add oatmeal and mix gently
    – Spread in 9 x 13″ pan (wet your fingers first)
    – Refrigerate for 1 hour and cut into 48 squares
    – For firm bars, store in fridge
    – For gooey bars, store room temp

    To order some amazing nontoxic and healthy items – Arbonne carries so many wonderful products – including delicious protein powders, cleanses, skin care, sunscreen, and baby products, you can reach out to Lindsey and she will get you started:

    http://www.arbonne.com/pws/lindseygolembeski/tabs/home.aspx

    I also discussed some uses of Young Living essential oils and talked about safety and my favorite oils outside of the starter kit.  I tried really hard to narrow them all down, but I couldn’t so I ended up selecting 12.  Sorrynotsorry. We had a great time with lots of snacks and wine and super fun ladies.

    My top 12 oils outside of the starter kit are:
    Vetiver
    RC
    Roman Chamomile
    Peace and Calming
    Gentle Babies
    Valor
    Digize
    Grapefruit
    Orange
    Cedarwood
    Release

    Here are some pictures of the event!

    2015Mar28_0005 copy
    2015Mar28_0008 copy  2015Mar28_0012 copy 2015Mar28_0016 copy 2015Mar28_0018 copy 2015Mar28_0017 copy

    1. Click over to the sign-up page: https://www.youngliving.com/signup/?site=US&sponsorid=1842761&enrollerid=1842761

    2. Select “Sign Up As: Young Living Wholesale Member” (this secures you the 24% off discount on all future orders)

    3. The “Enroller ID” and “Sponsor ID” boxes should already be filled in for you. If they aren’t, fill in 1842761 in both spots.

    4. Fill out your name, billing address, shipping address, and contact info. (The reason you are asked for your SSN is for tax purposes; if you make over $600/year selling Young Living products, you will receive a 1099 form in the mail, as is required by law. Young Living never shares this info with anyone, and you’re not obligated to sell anything if you do not want to. I promise I wouldn’t lead you astray here!)

    5. Create your password and pin which you will use to log in to your account and order your oils.

    6. Select your enrollment order. This is where you can specify which starter kit you would like. I recommend the Premium Kit with the Aroma Diffuser.

    7. It will ask if you want to sign up for the Essential Rewards program. I recommend saying no to this for now.

    8. Agree to Terms & Conditions

    9. CONFIRM YOUR ORDER. Some folks miss this step and end up not fully checking out. To confirm, the tool will log you in and it will show you your order again and it will make you enter in your payment information again.

    10. Wait for the mailman to arrive! This step is will be agonizing.

    Oh, and

    11. Please friend me on Facebook so that I can add you to some fun oily Facebook groups! : )

My Whole30

A Guest Post from Erin

LEP_0193
My journey to healthy started about a year after my son was born. When I was nursing that first year I was so hungry that anything in the refrigerator or pantry became fair game. The food I was eating (if you can call it food) was completely processed and full of all kinds of ingredients that I couldn’t pronounce. After about a year I weighed more than I did when I was 9 months pregnant (I only gained 16lbs throughout my pregnancy) and I knew that I had to do something quick. My first thought was to go back to “old Faithful” and start going to the weekly weigh-ins at Weight Watchers. After a few months of frustration and no weight loss, I gave up. Then a friend of mine introduced me to a nutritional cleansing/rebalancing program that consisted of Shakes, bars, and cleanses. While the idea was great and I lost weight really fast, I quickly realized that this was not a weight loss that would be sustained after I stopped drinking two meals a day and although they claimed to be “clean” there were ingredients that concerned me.

My sister-in-law had started a clean eating/Paleo program and had not only lost weight but was also sleeping better, had no bloating, more energy, no joint pain, and was overall just a lot more healthy and happy. After watching her eat this way for her 30 days I decided that this would be my next weight loss adventure. I am the kind of person who never does anything half way so that afternoon I went to Barnes and Noble and bought “It Starts with Food”, “Well Fed” 1 & 2, and a few other Paleo cookbooks. My next stop was Sprouts to buy the staples that were listed as pantry “must haves” in order to succeed with my Whole30. This meal plan eliminates sugar, grains, dairy, legumes, and gluten from your diet for 30 days. It is amazing to me how many foods that I ate on a daily basis that have a lot of sugar in them (even meat). Once you get over the sugar hangover and drinking your coffee black this meal plan is truly easy to follow. You get to eat real food and you can find something that meets the requirements at almost any restaurant so you social life does not have to suffer.

My goal in starting this was to eat clean until I got to my goal weight and then start adding items back in to my diet. I realized that this new way of eating was not a diet; it was my new way of life. I didn’t need or crave all of the sugar and cheese and candy. I also realized that if I wanted to indulge and have desert or wine on a special occasion then that was ok too. I have finally found a lifestyle that allows me to meet my weight loss goals and sustain them without feeling like I am missing out on all of the fun ☺

LEP_0192

Once I had overhauled my pantry it was time to overhaul the other products that I use in my home. This and my sons sleeping issues are what led me to Young Living essential oils. I am so excited to continue on my journey to a cleaner and healthier lifestyle.

Erin is a independent distributor for Young Living.  To purchase your starter kit, you can sign up here!!!

Strawberry Lemonade Chia Seed Beverage

DSC_4059 copy

Yesterday I went to the store to grab something for dinner and on whim, picked up a Mamma Chia drink.  I love these and they are just deliciously yum.  At checkout, this beverage rang up for $4.00.  $4 flipping dollars.  For a not large drink.  I got the evil eye from my husband and when we got into the car, I said to him, I bet I can make my own.

Chia seeds are a superfoods and have a ton of amazing health benefits.  They are loaded with antioxidants and rich in fiber.  Just two tablespoons of chia seeds contains 4 grams of protein!  They are also super high in Omega-3 fatty acids and can help to improve heart health and diabetes.  Plus, they are super easy to incorporate into your diet.  Sprinkle them in smoothies, chia seed pudding, and homemade granola are all excellent ways to get them into your body.  Or you could just make this delicious and healthy beverage.

So here we go.  So fast, so easy, so yummy, and so inexpensive.

Ingredients:

  • 2 TBS Chia Seeds (I buy mine from BJs in bulk, but you can find them pretty much anywhere at this point)
  • 2 cups of filtered water
  • 1 TBS of fresh fruit juices (I used thawed organic strawberries and a freshly squeezed lemon)
  • 1 TBS of natural sweetener (can be raw honey or organic maple syrup)

Directions:

  • Measure water into a glass container and add chia seeds.  I used a mason jar.  Shake to combine and place in refrigerator for around 10 minutes or so.  The chia seeds should for a gel and look like this:

LEP_0191

  • Remove from refrigerator and give them a few good shakes
  • Add your juices.  I used thawed strawberries and squished them through a strainer.  I also used half of a lemon that I juiced.  I love lemons!

DSC_4048 copy

  • Shake again and add your sweetener.  I love maple syrup and raw honey, but if you are a stevia person, you can add that too.  I just don’t use it often enough to be sure of how much to put in there and prefer honey or maple syrup.
  • Pour into pretty glass (or keep in mason jar, whatevs) and enjoy!
  • Feel free to experiment using different juices, teas, etc…I am looking forward to trying this with a green tea and honey for summer.  Yum!

DSC_4058 copy