Back to School with Young Living Essential Oils

DSC_1263text copy
It is THAT time of year you guys!  Back to School!!!  This year I am soooo torn about it – I have one entering first grade and another entering kindergarten and I am not sure whether I should celebrate or cry.  I will probably do both that first week – such an emotional time!!!

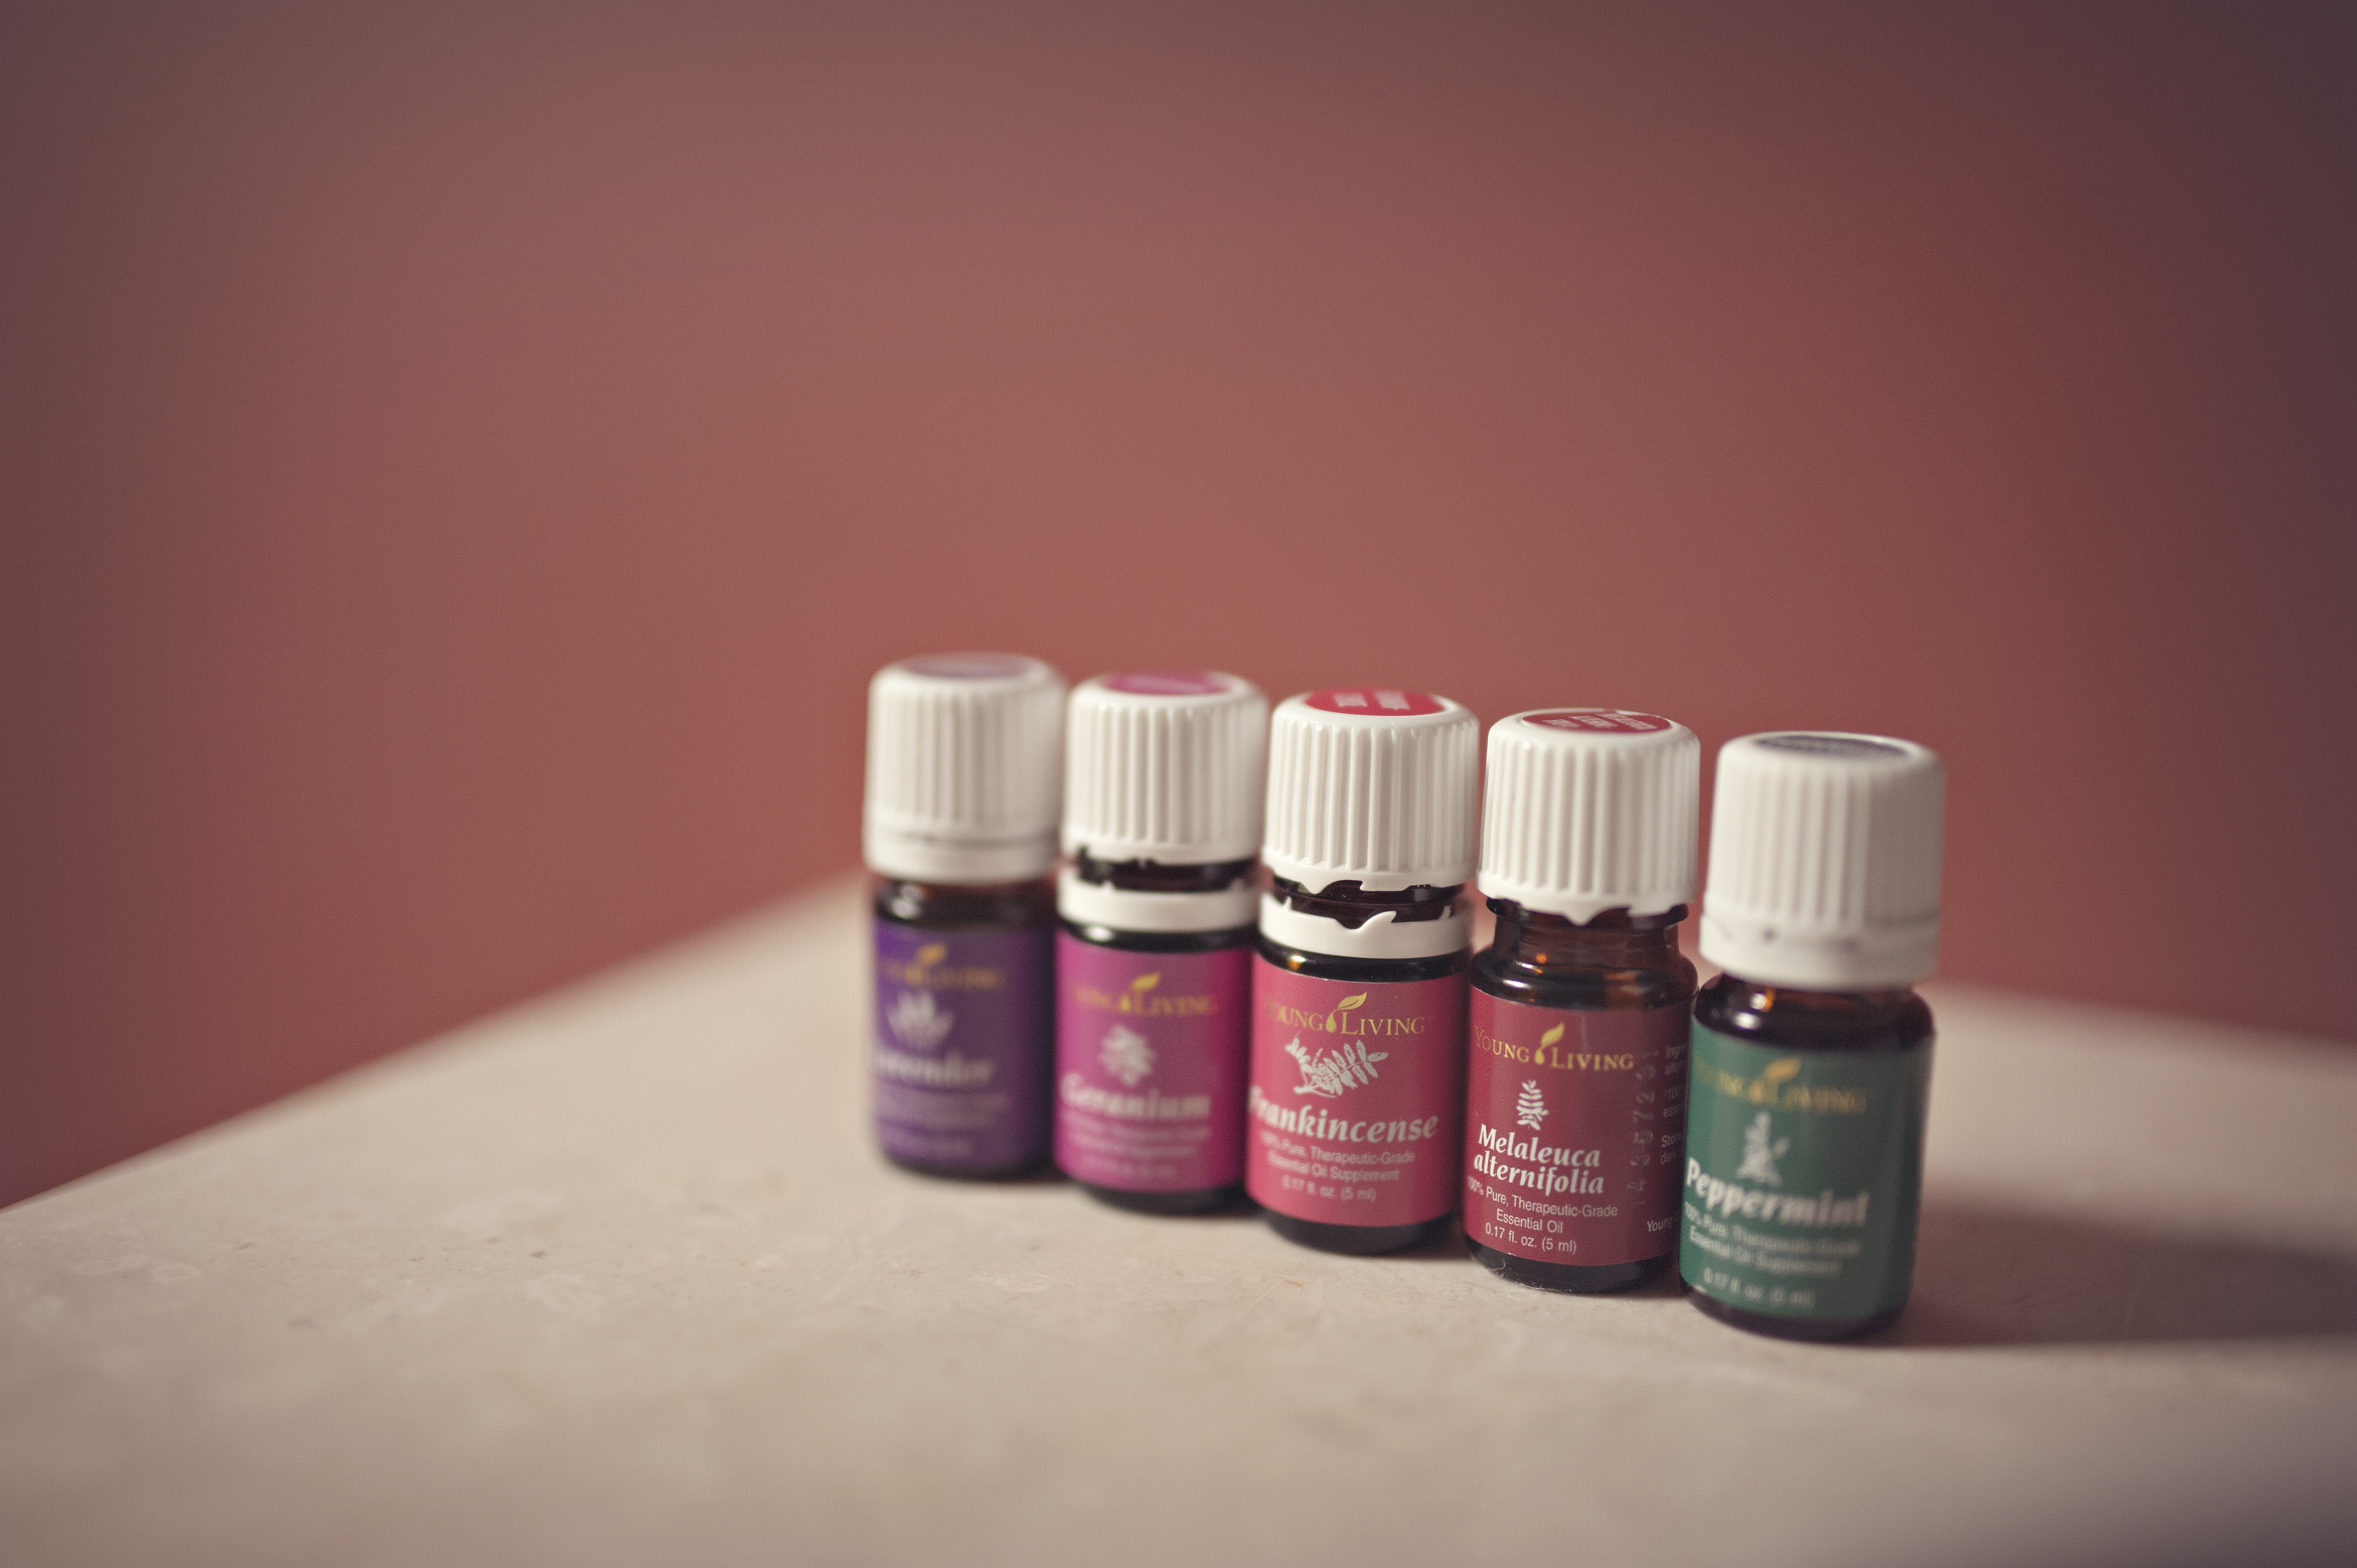
I am starting my back to school prep by making sure my essential oils are fully stocked for the school year…here is how I am planning on using my oils this year!  Kind of like a day in the life!  Fun!

DSC_1253

Morning:
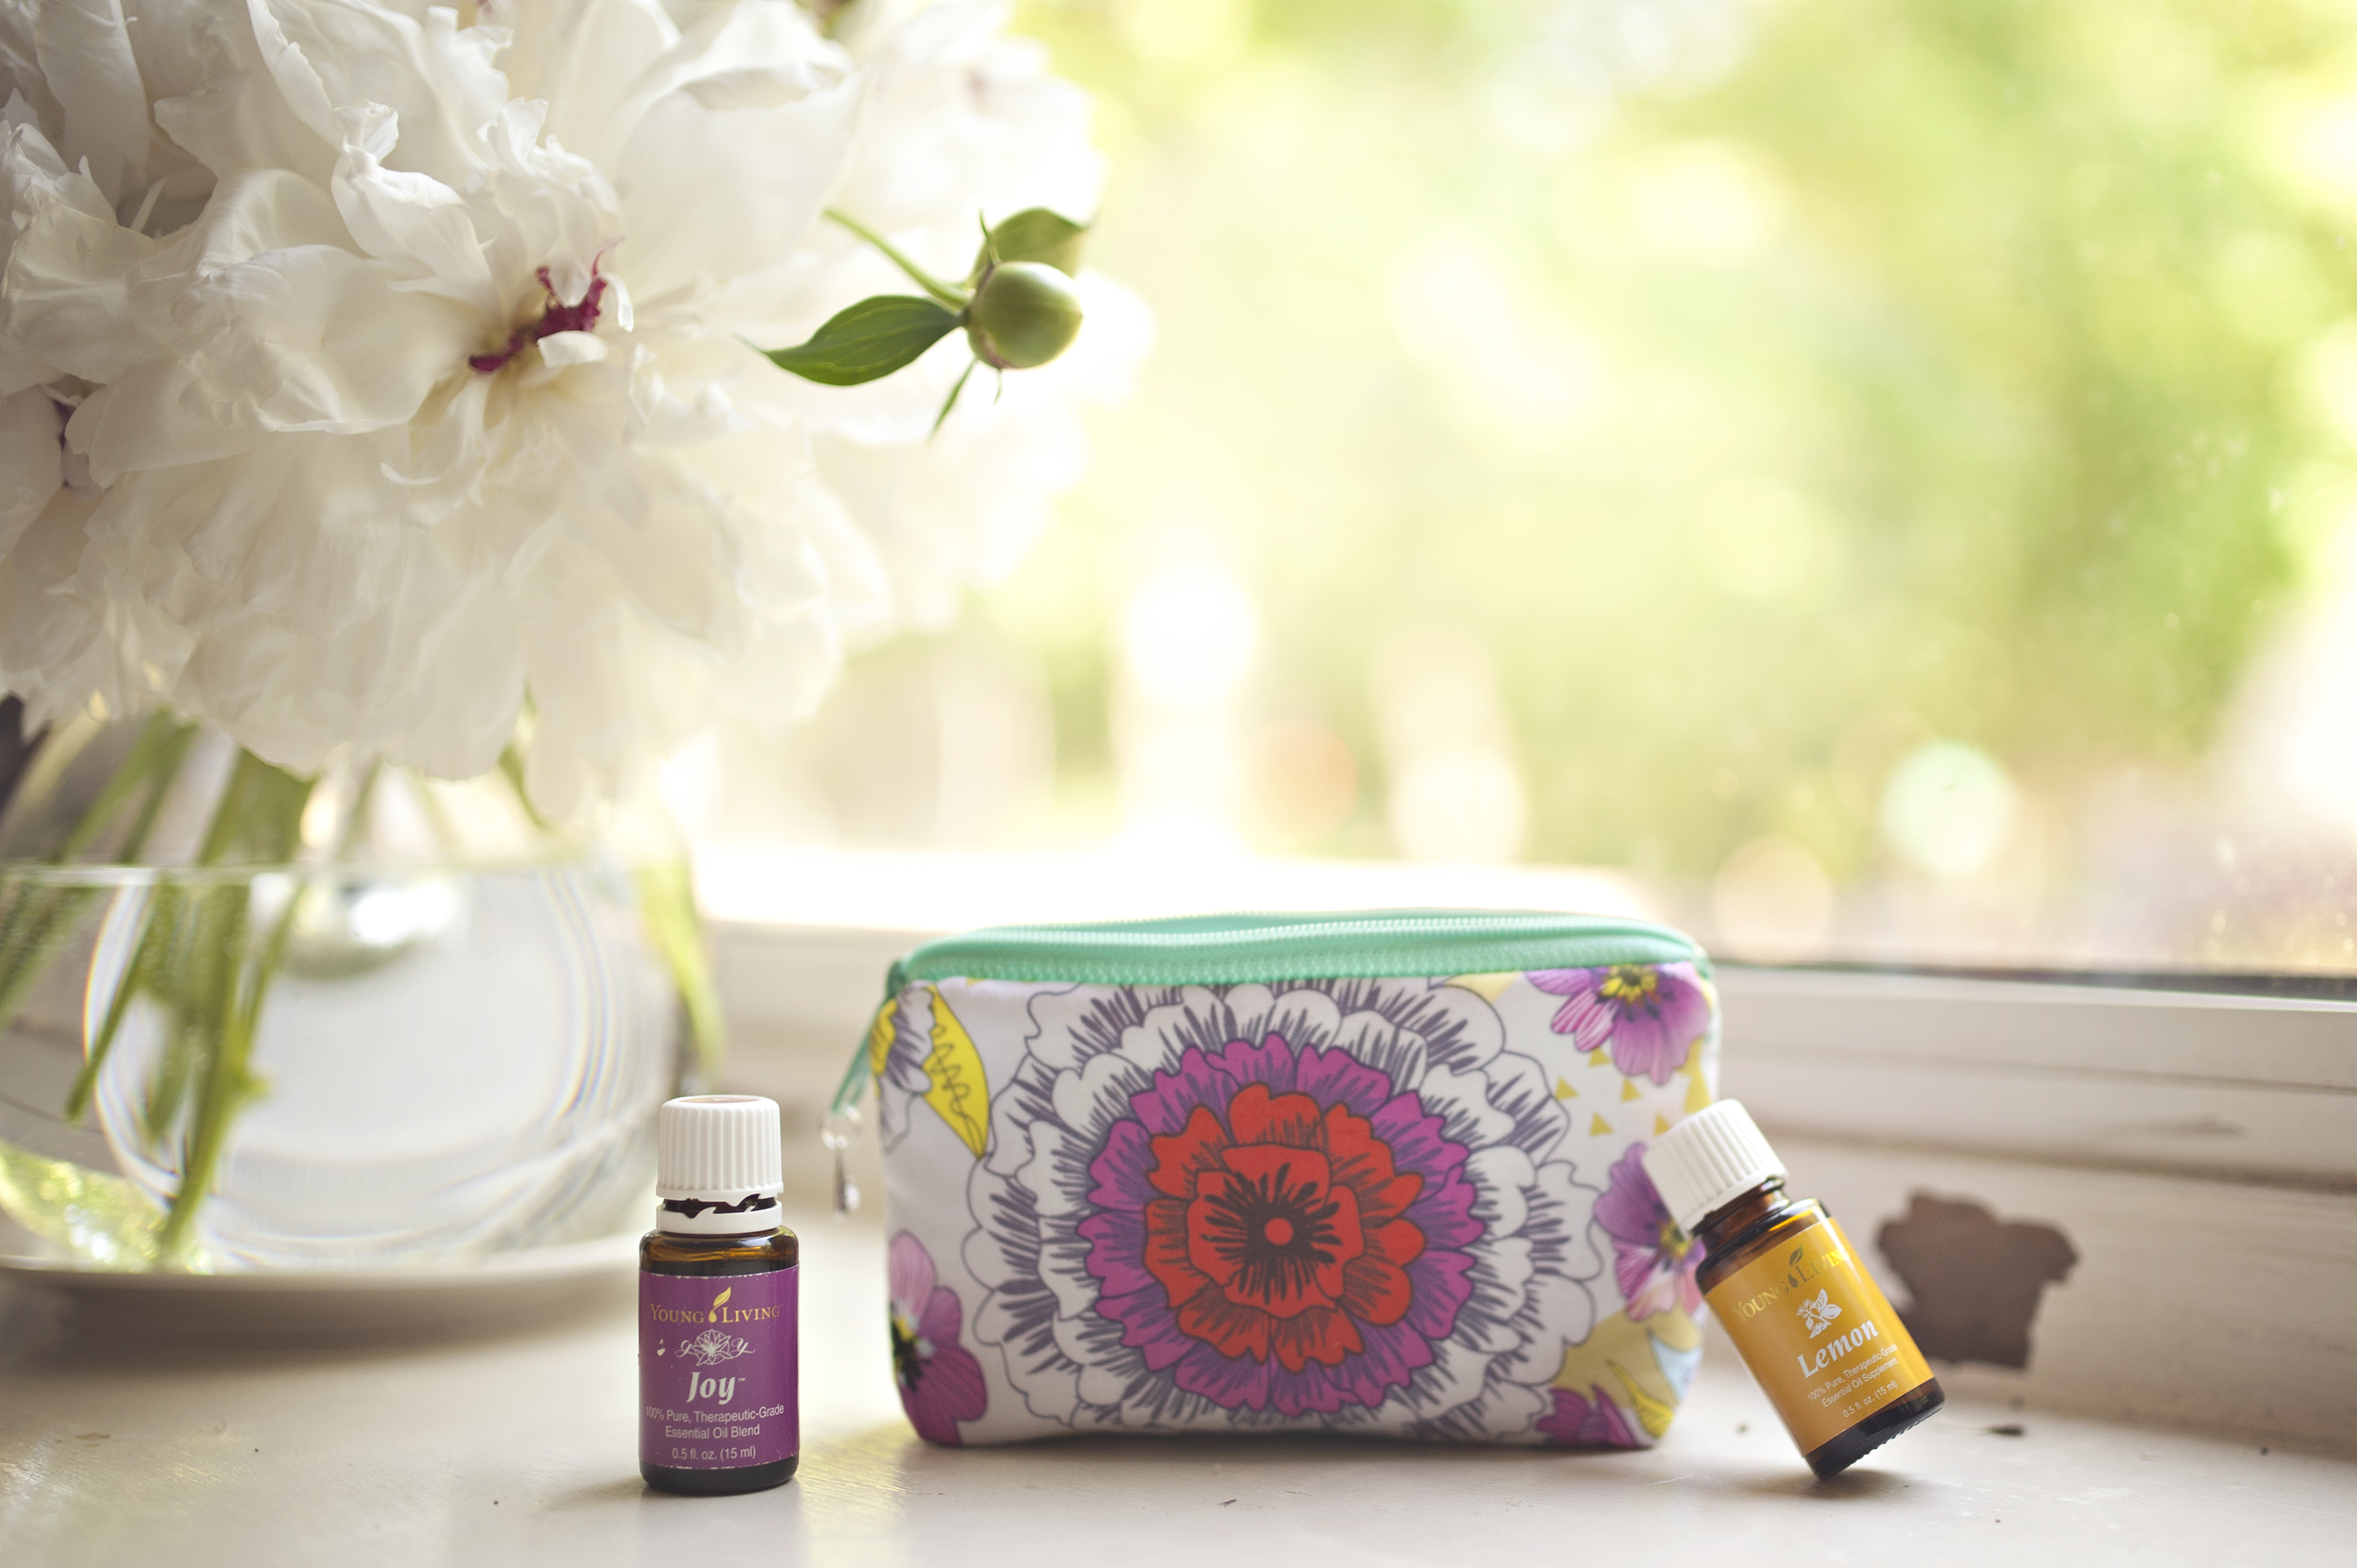
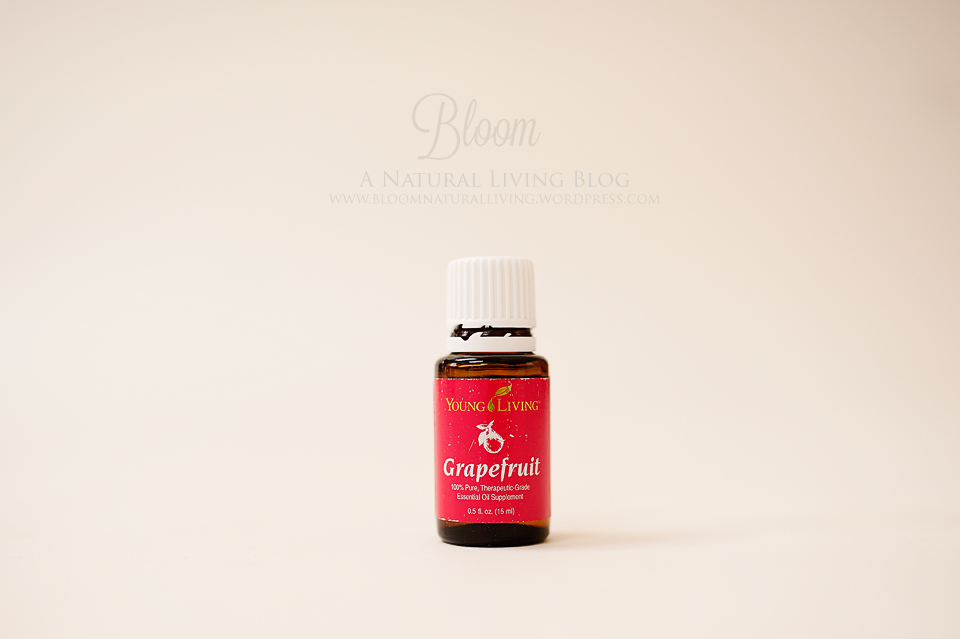
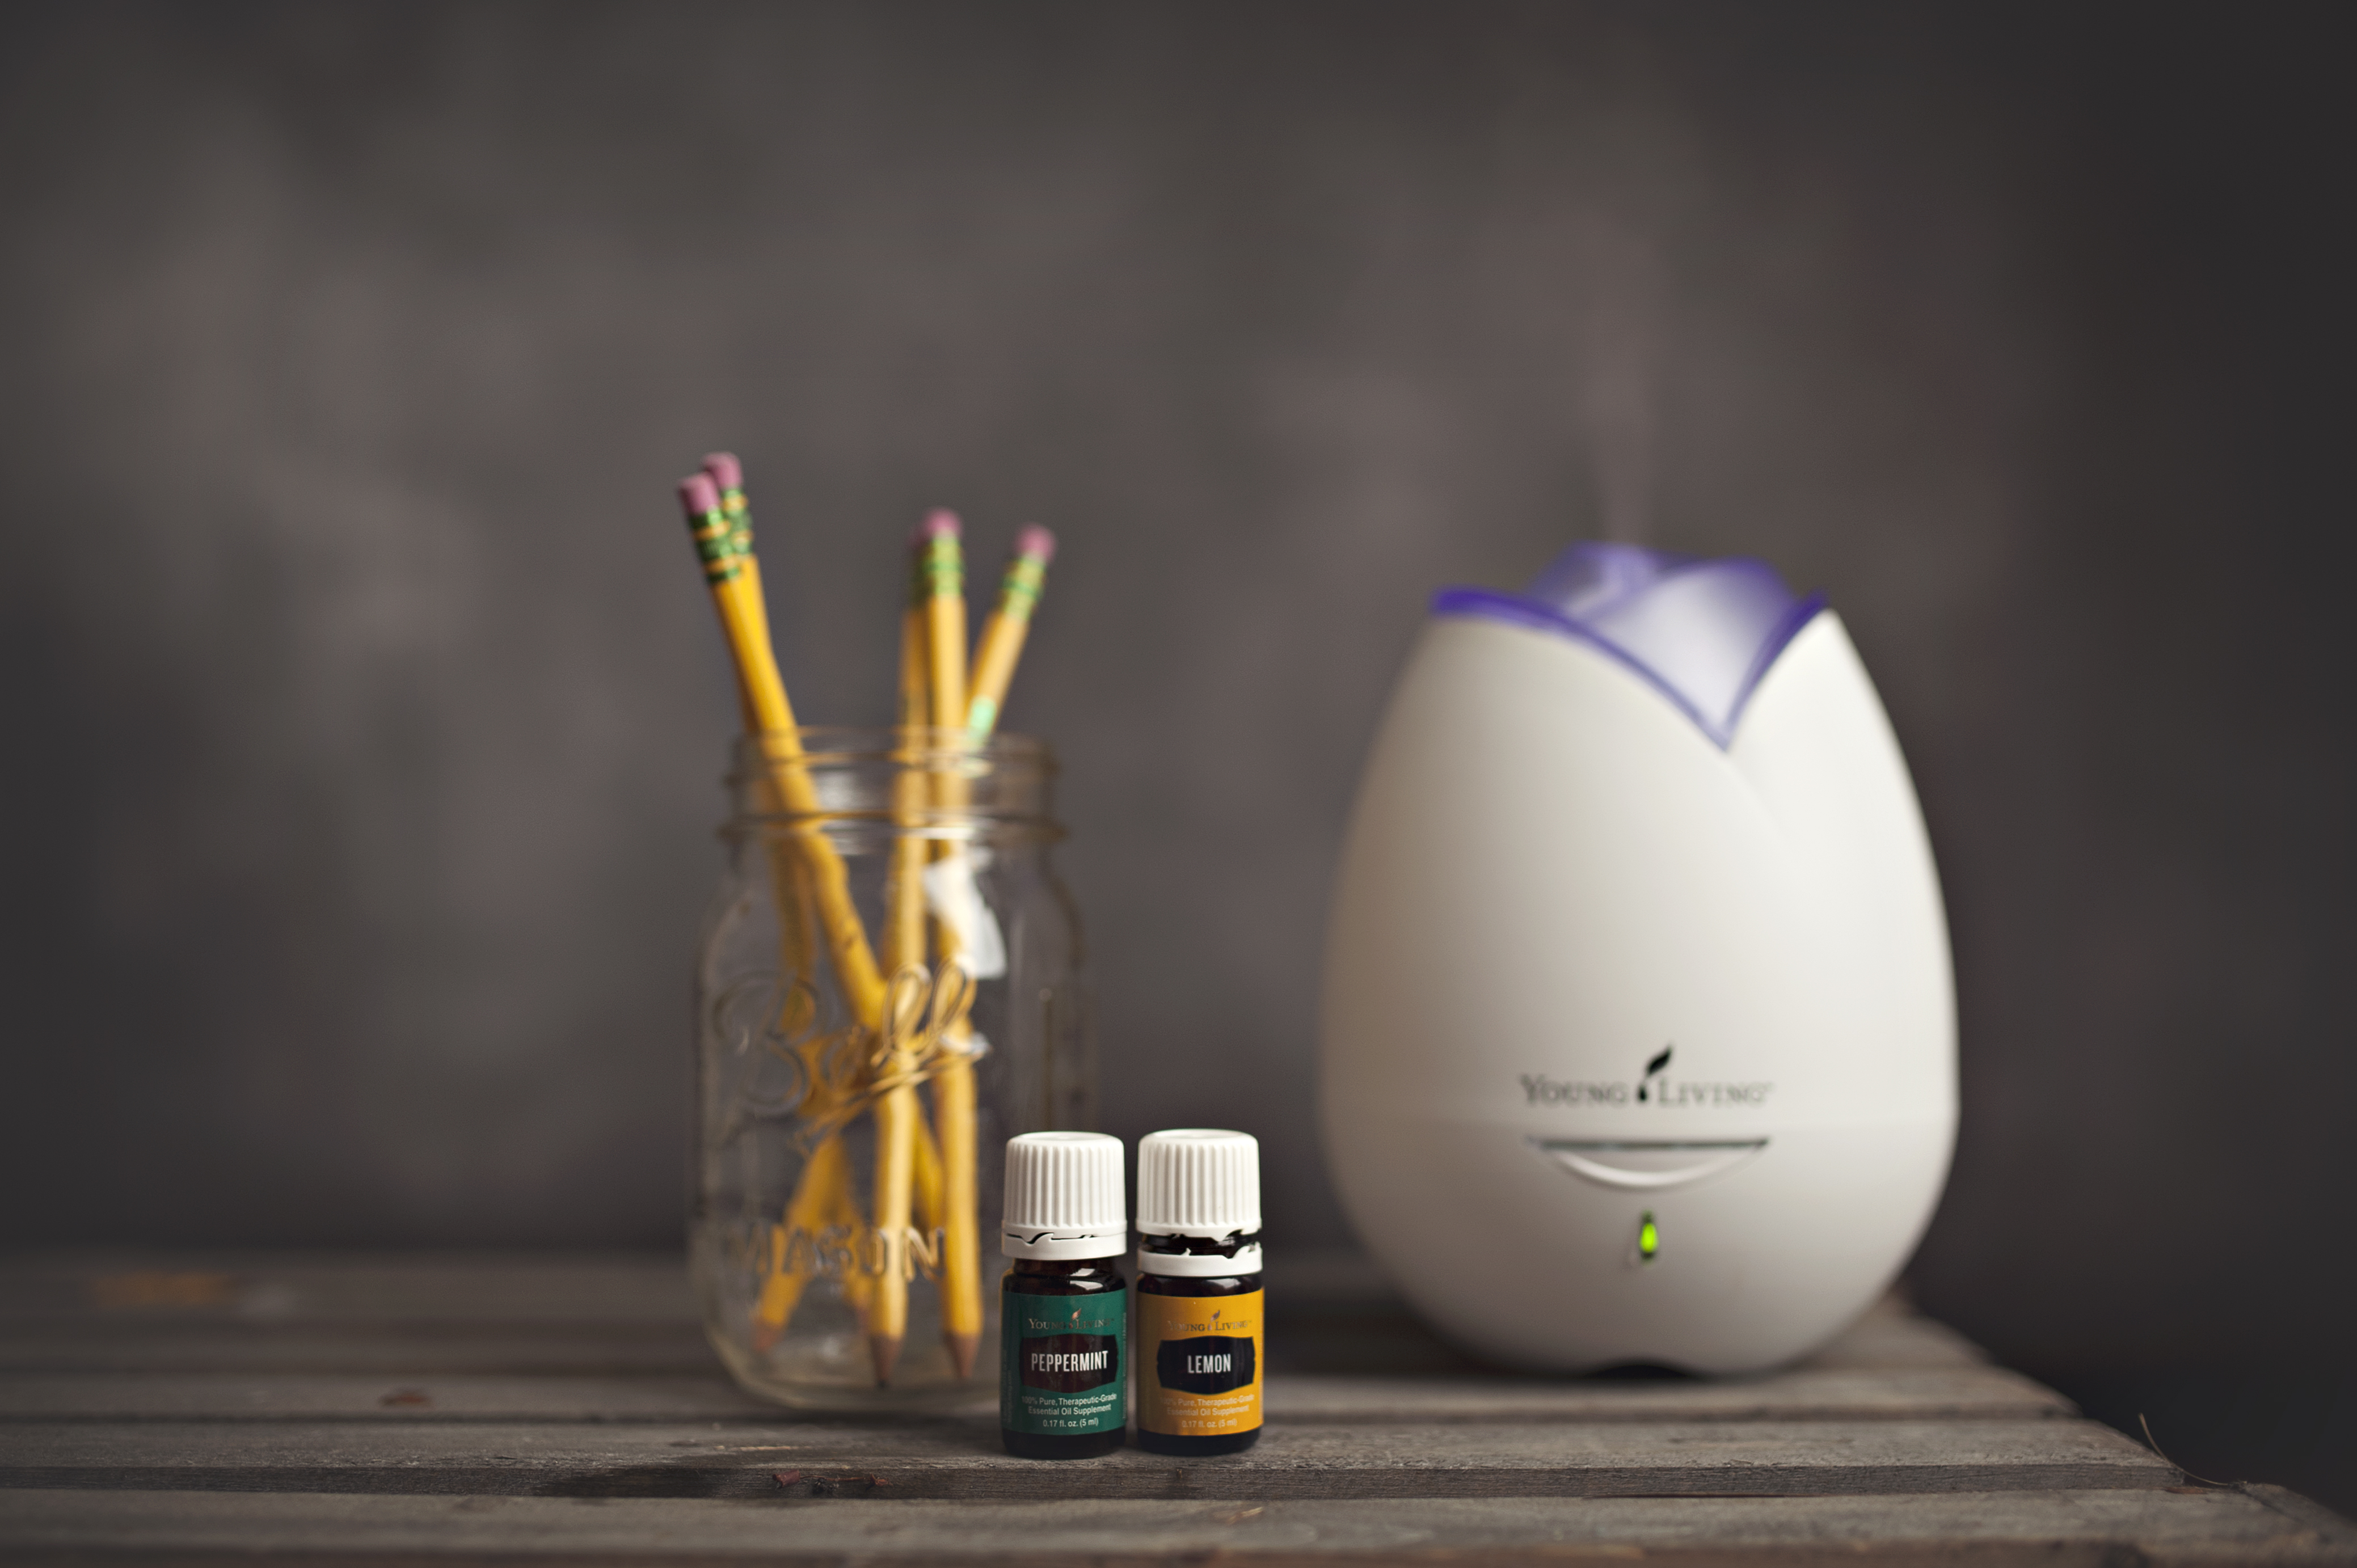
I am planning on starting the day by diffusing lemon and peppermint as a nice invigorating wake up blend.  They are happy oils and work super well.  I always feel so much better when I start the day by diffusing.

DSC_1202

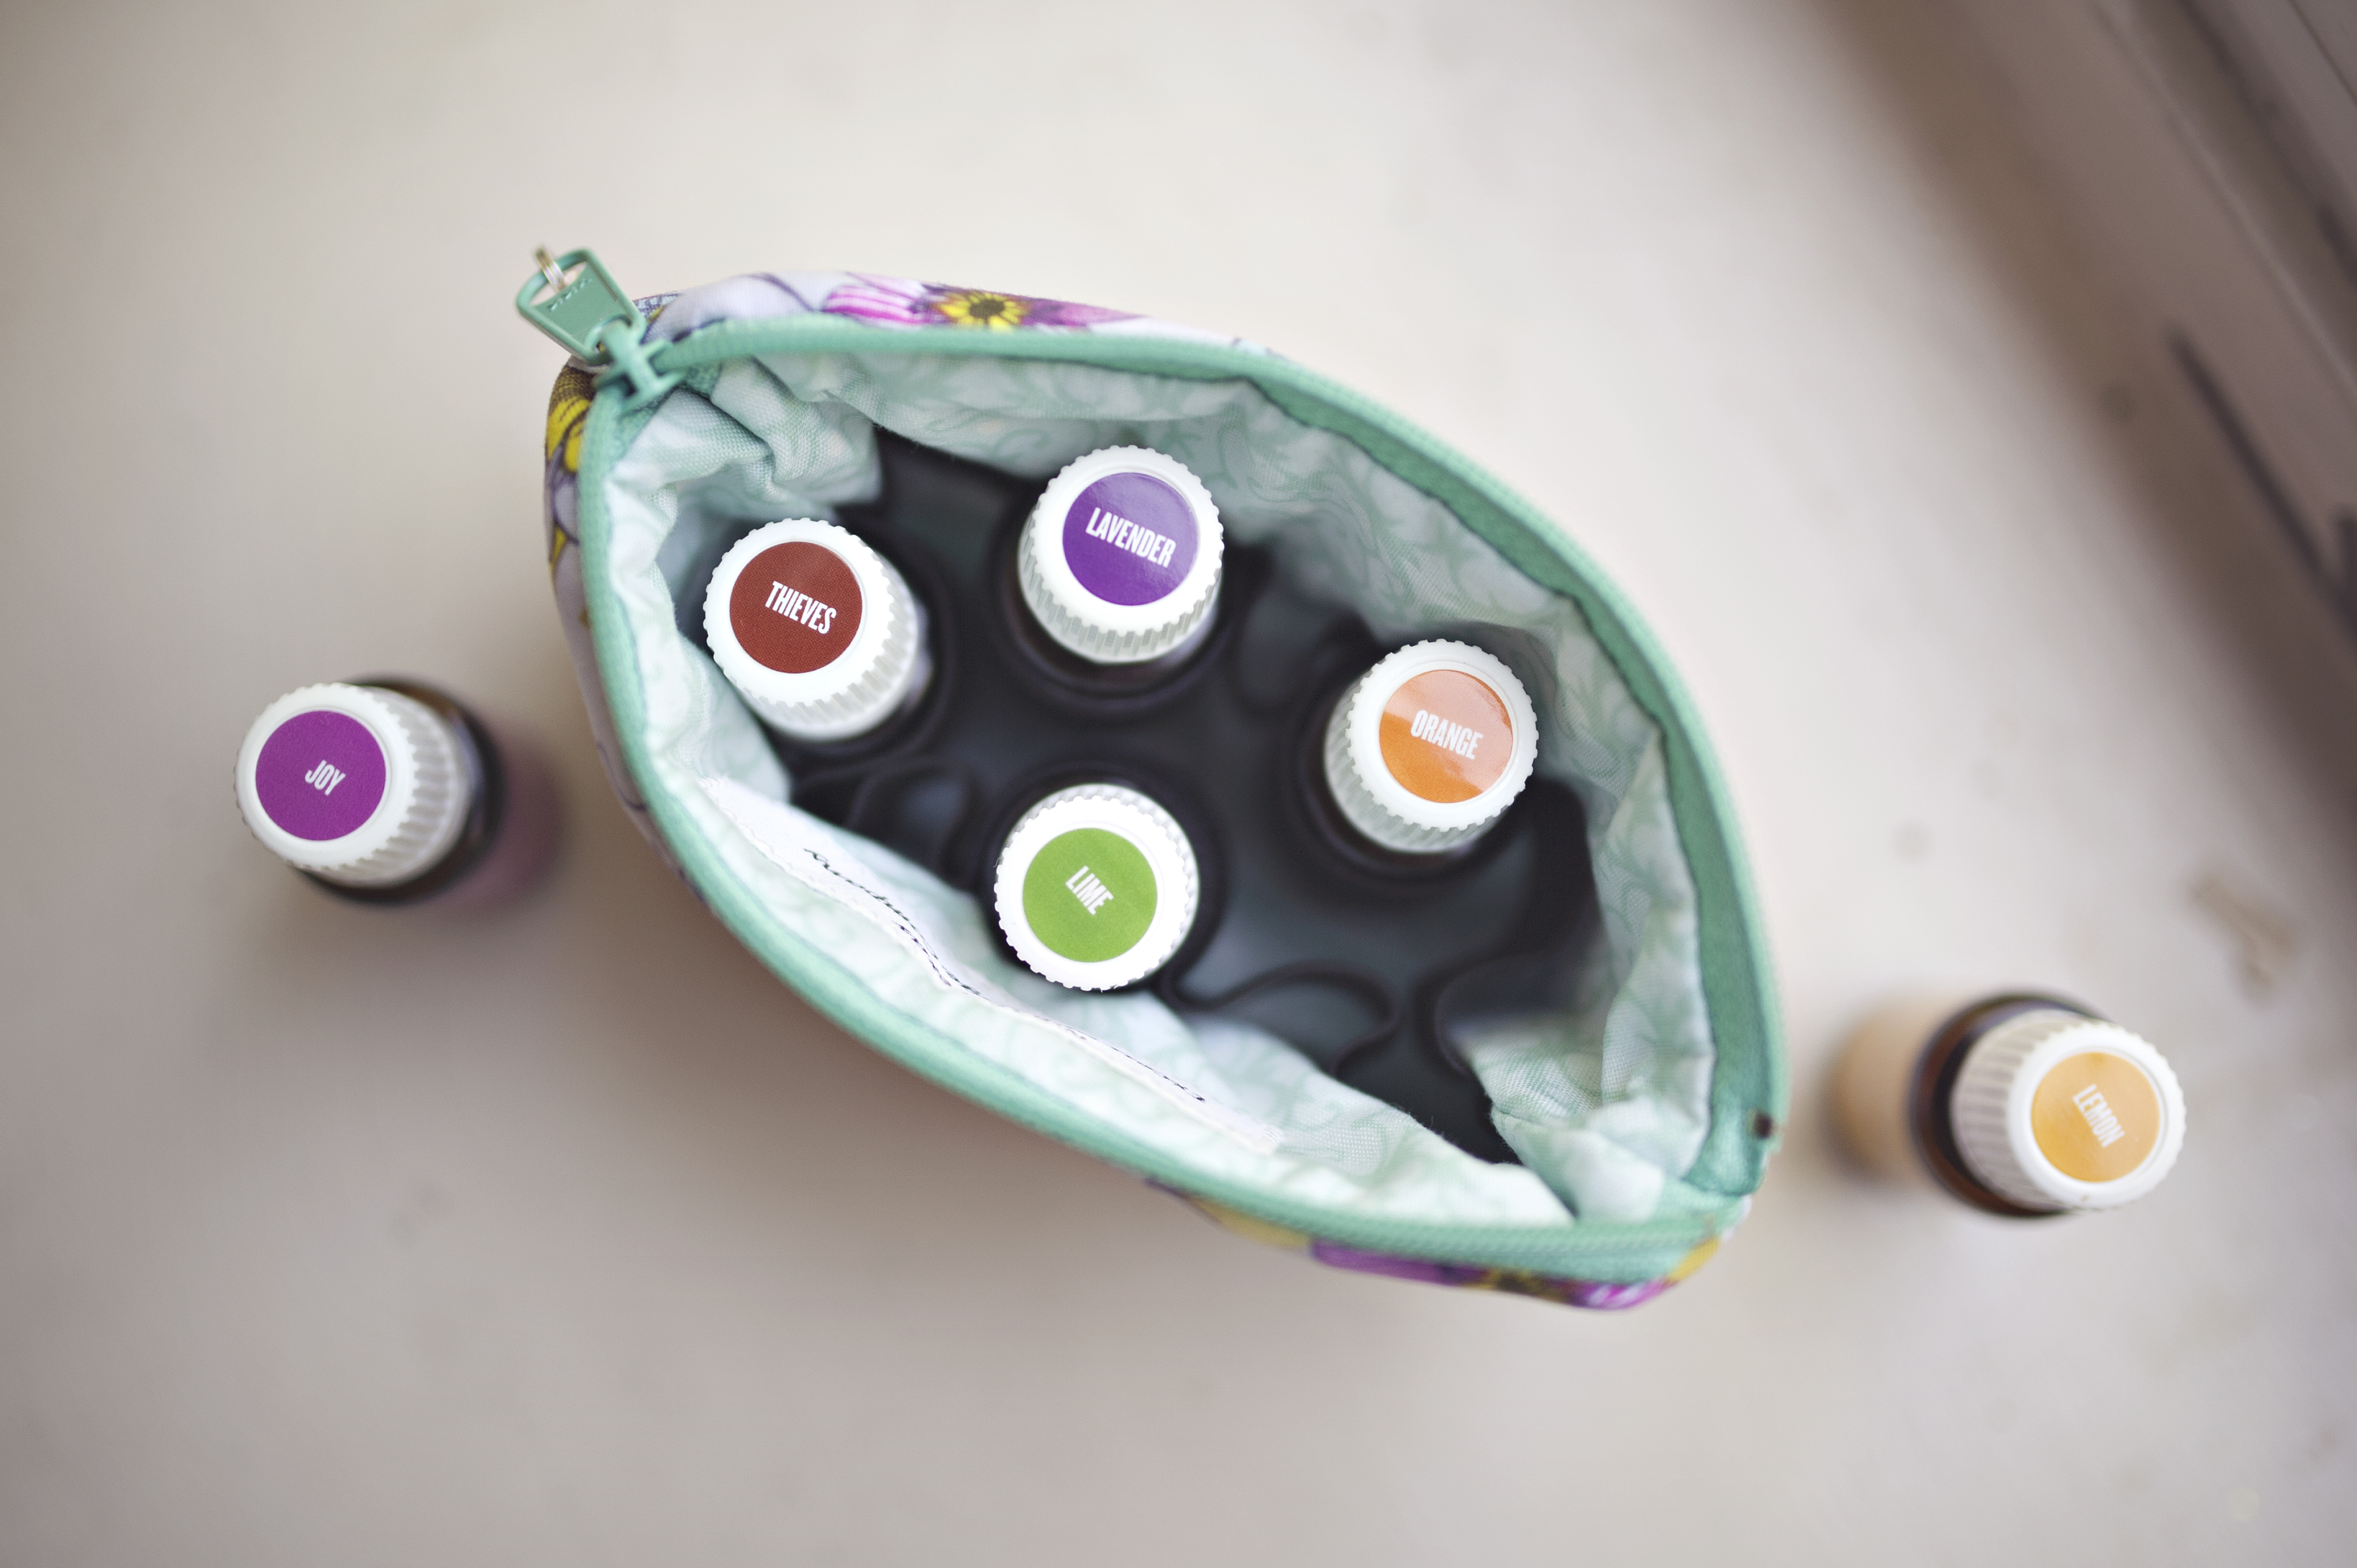
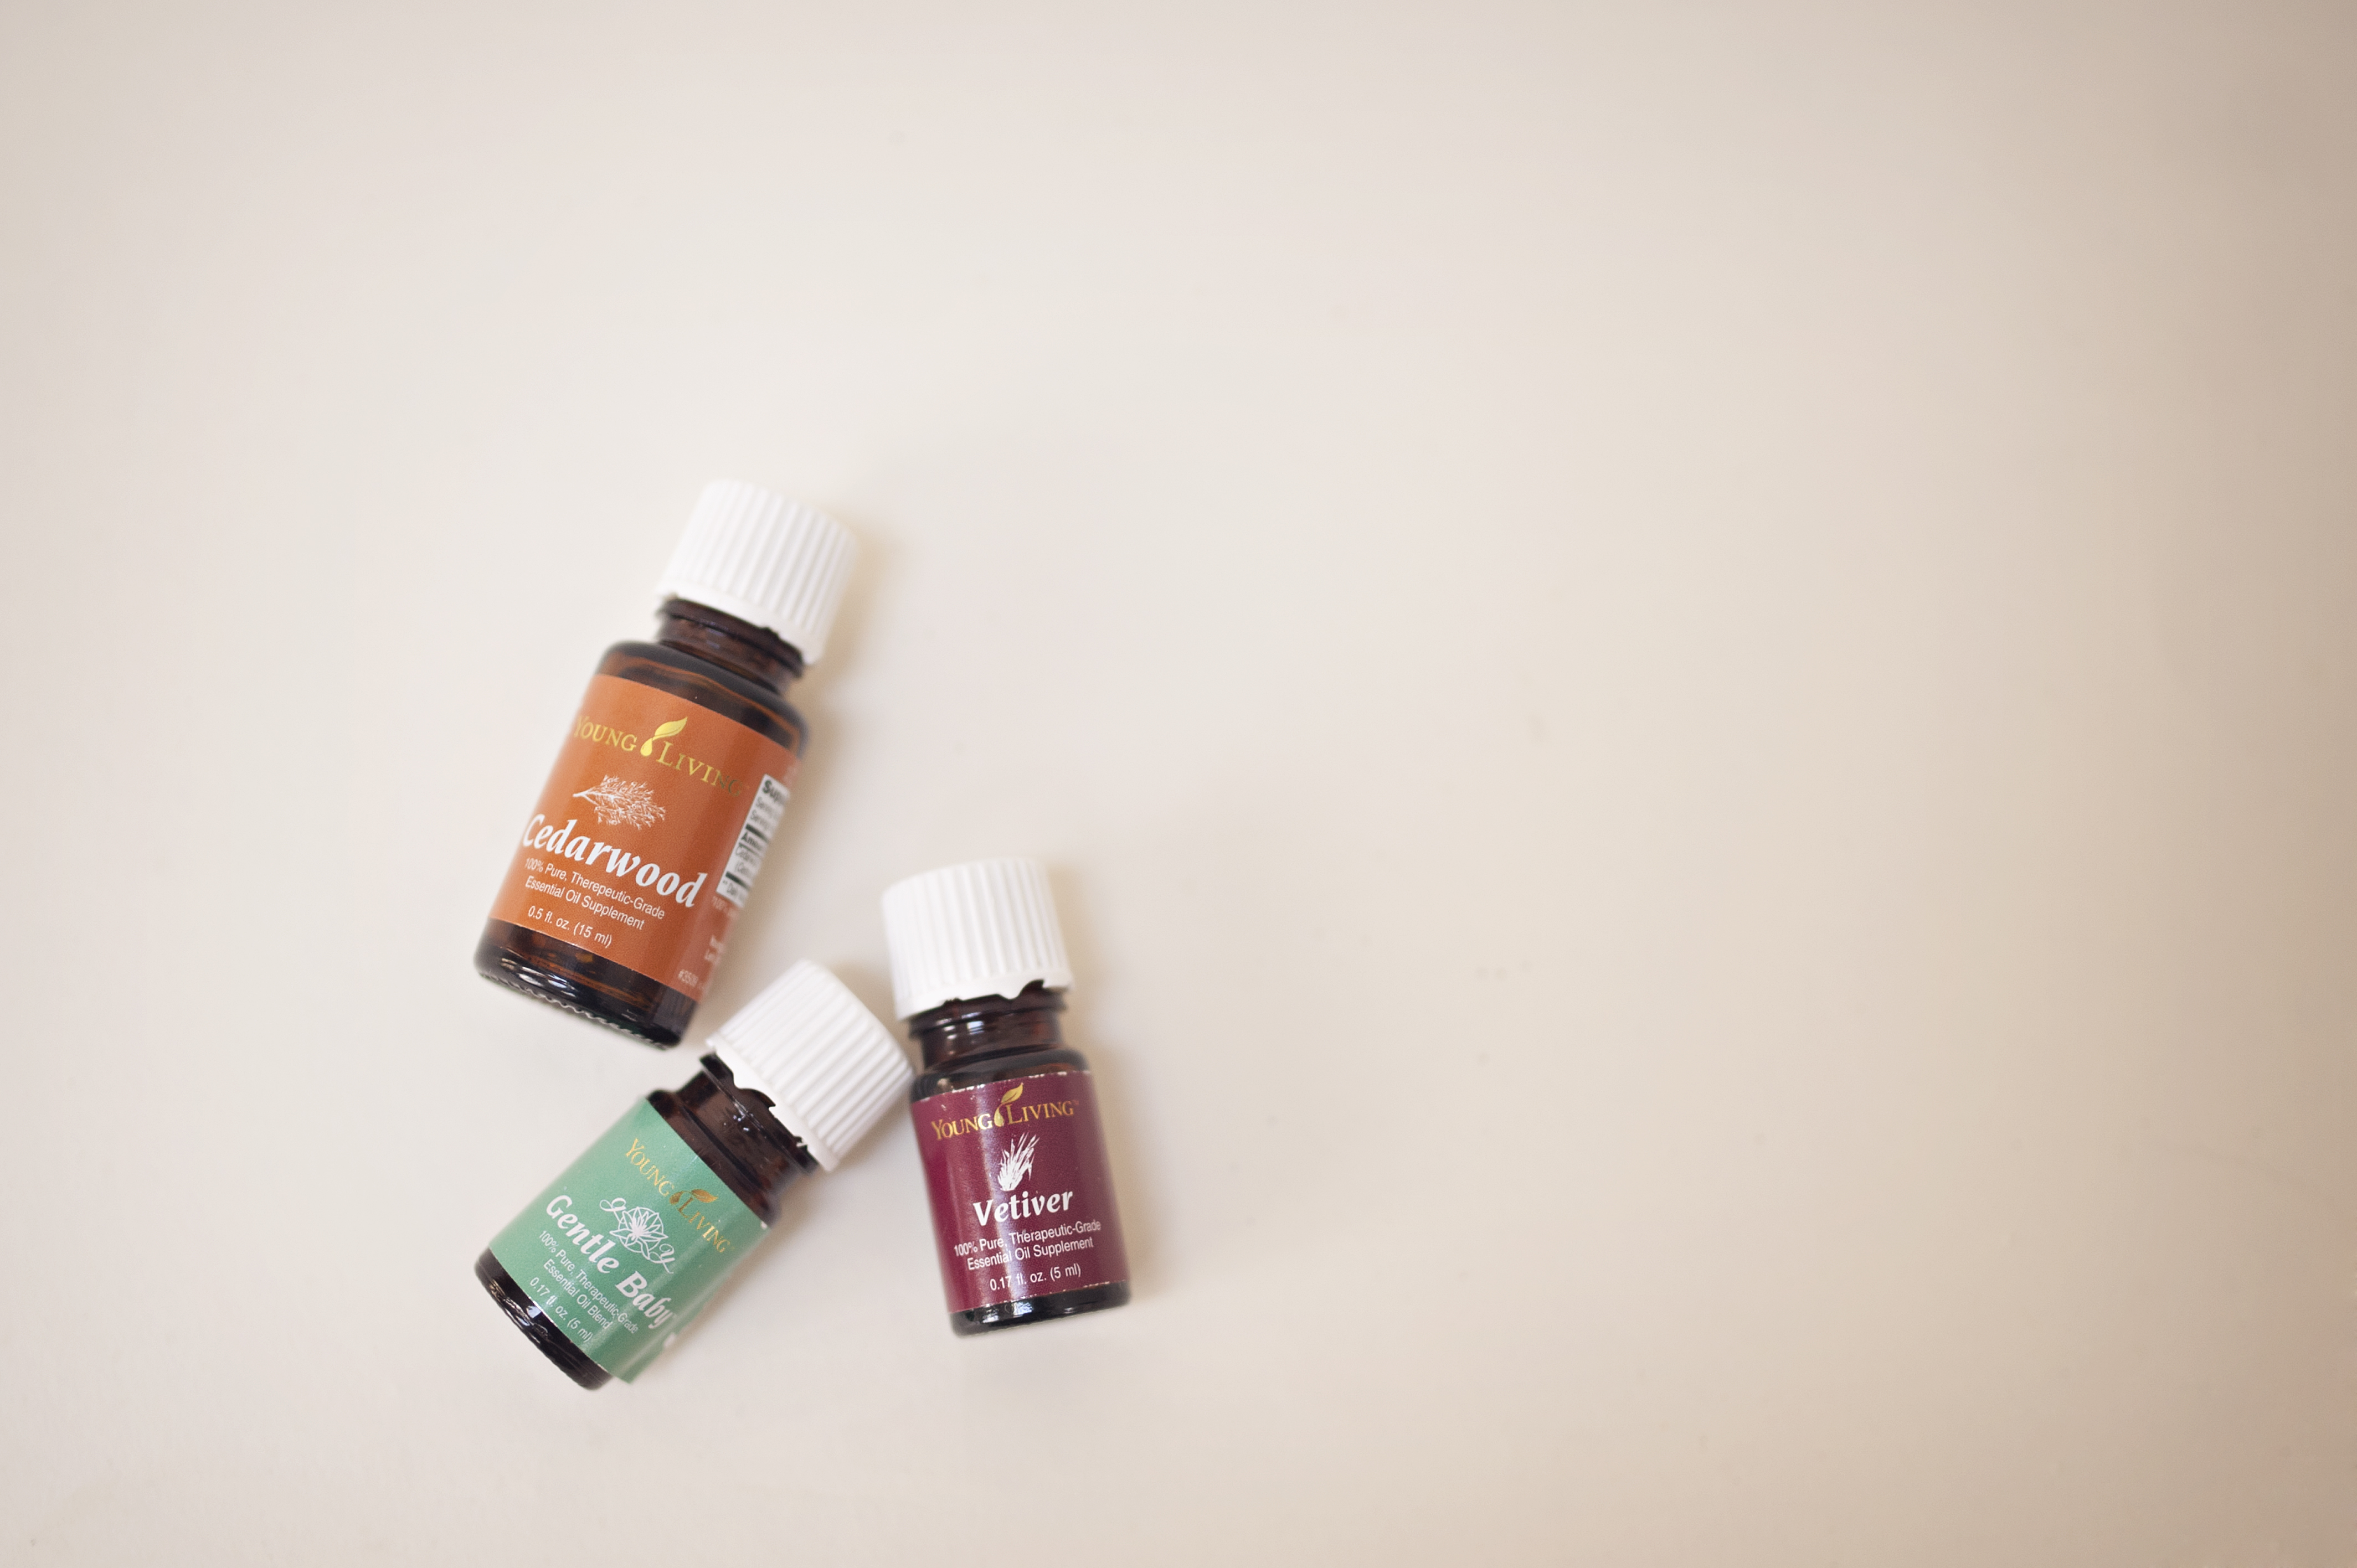
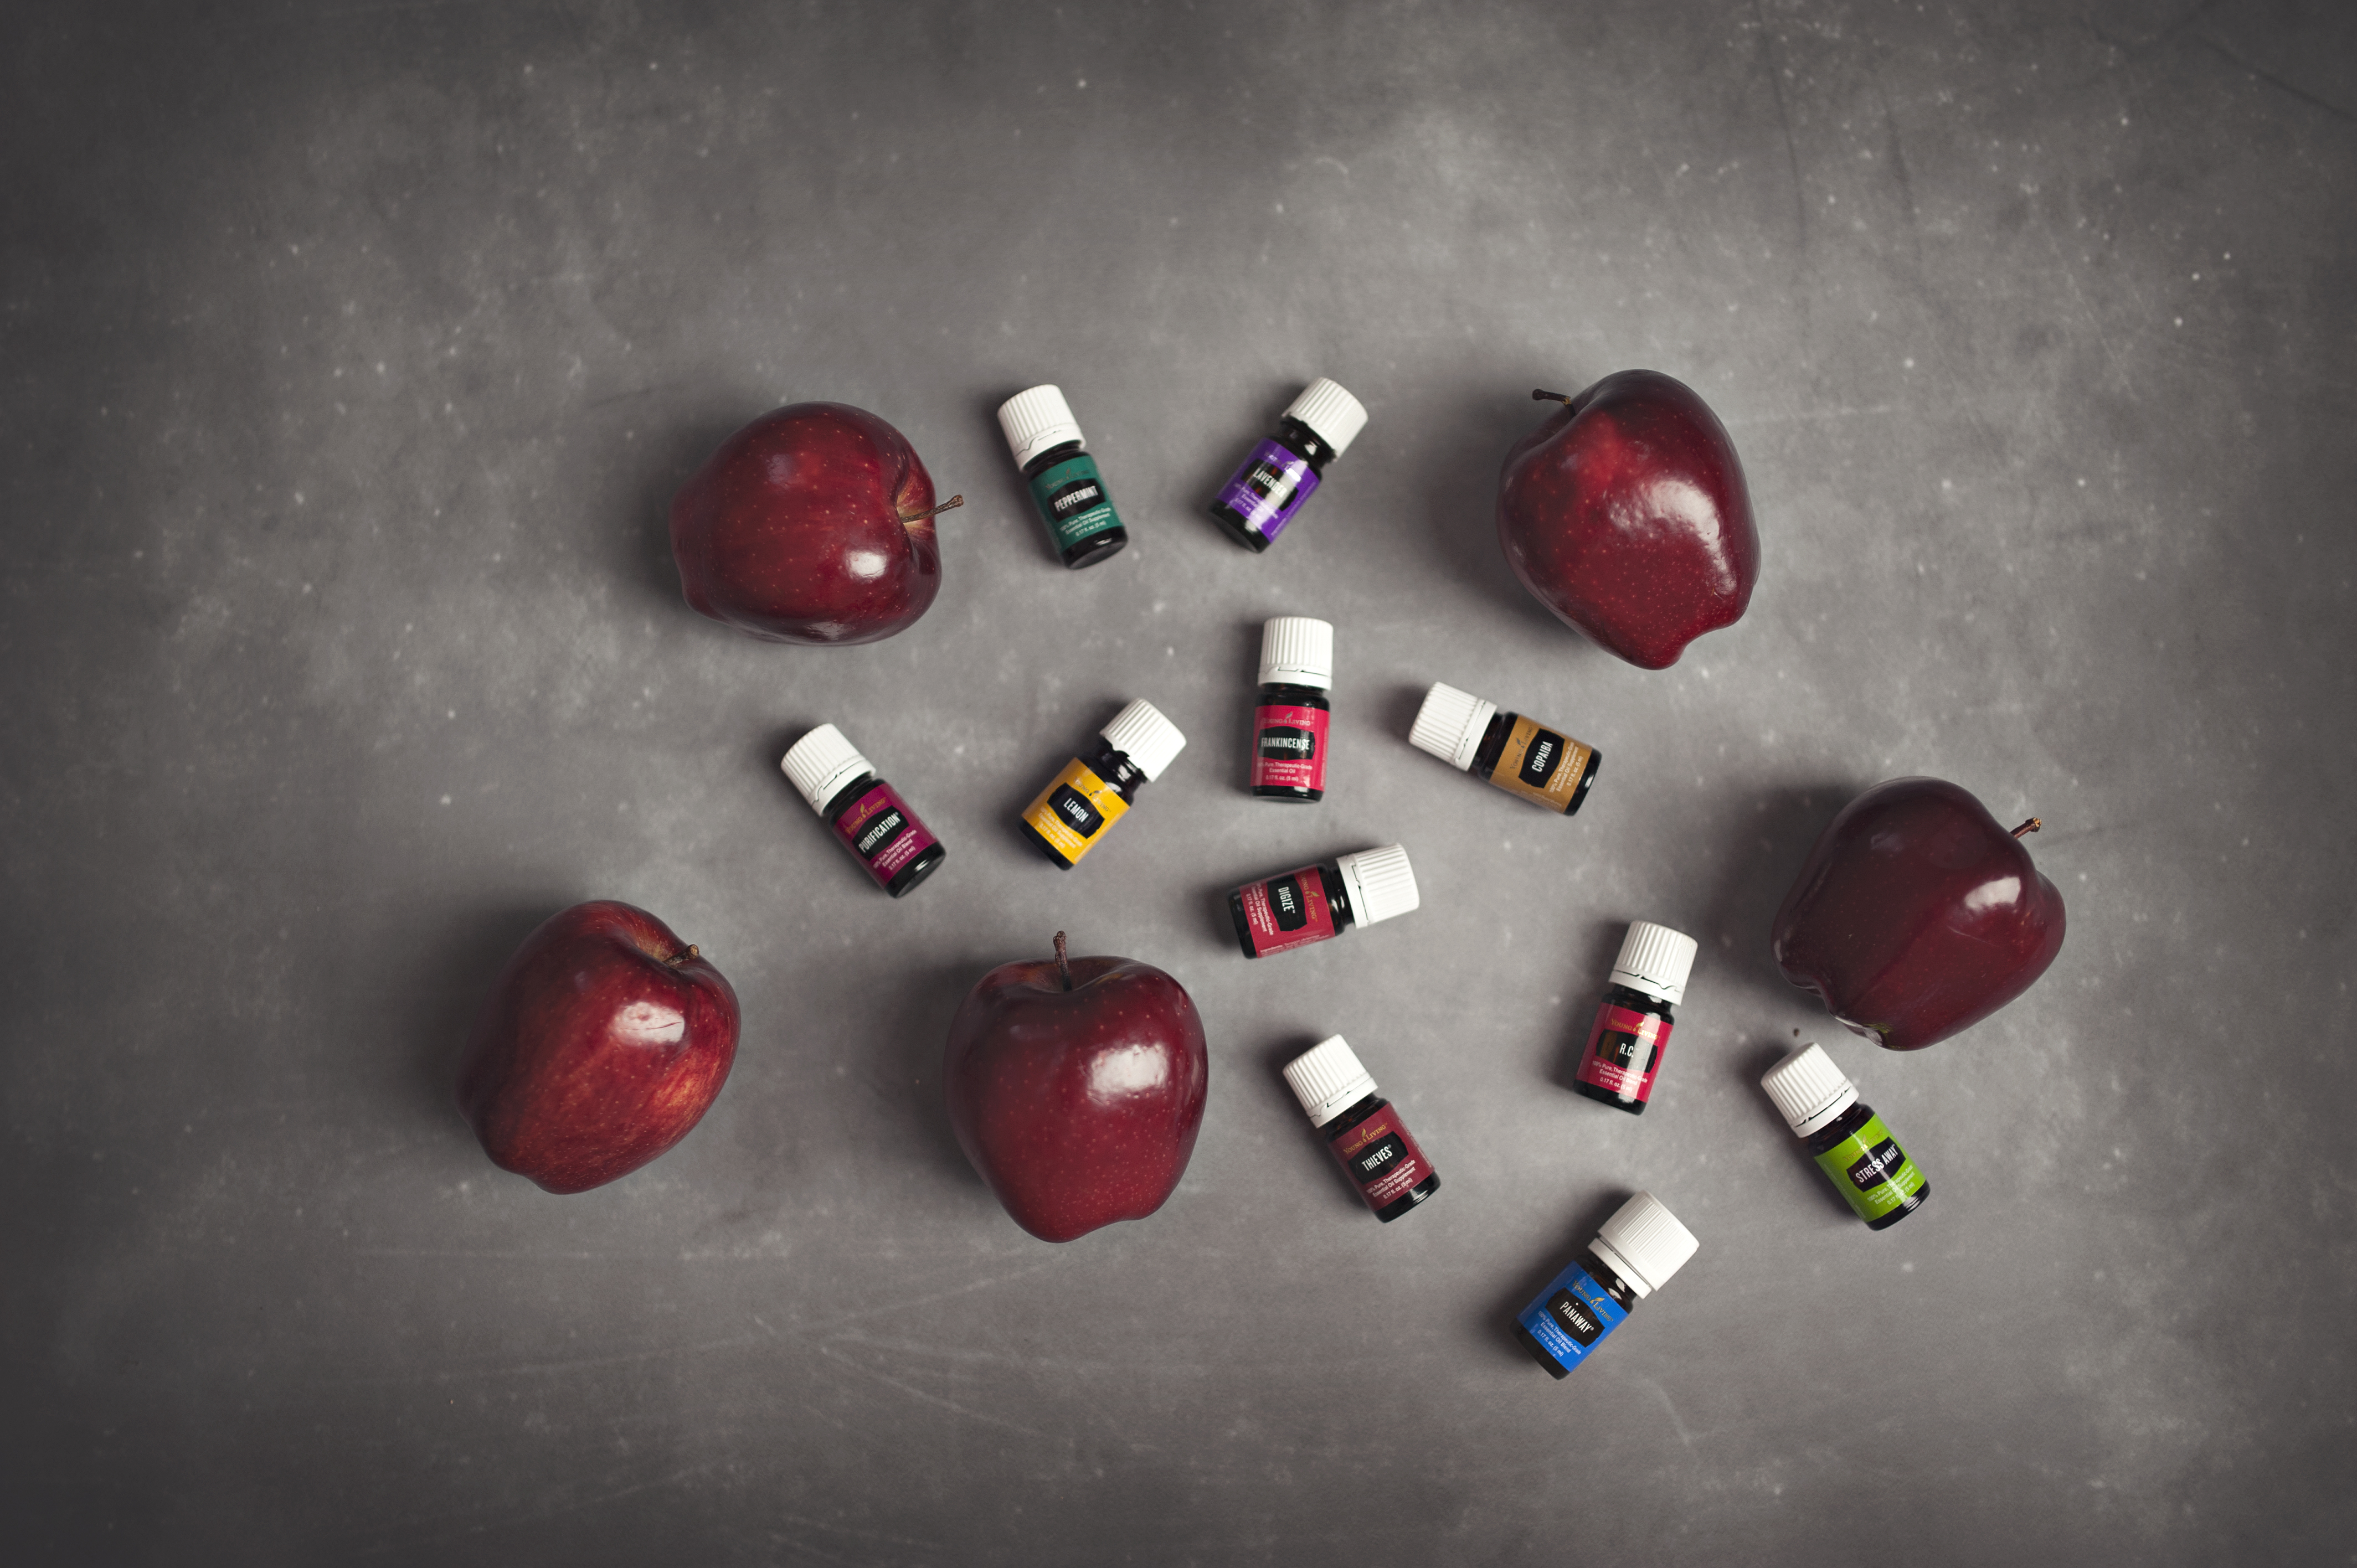
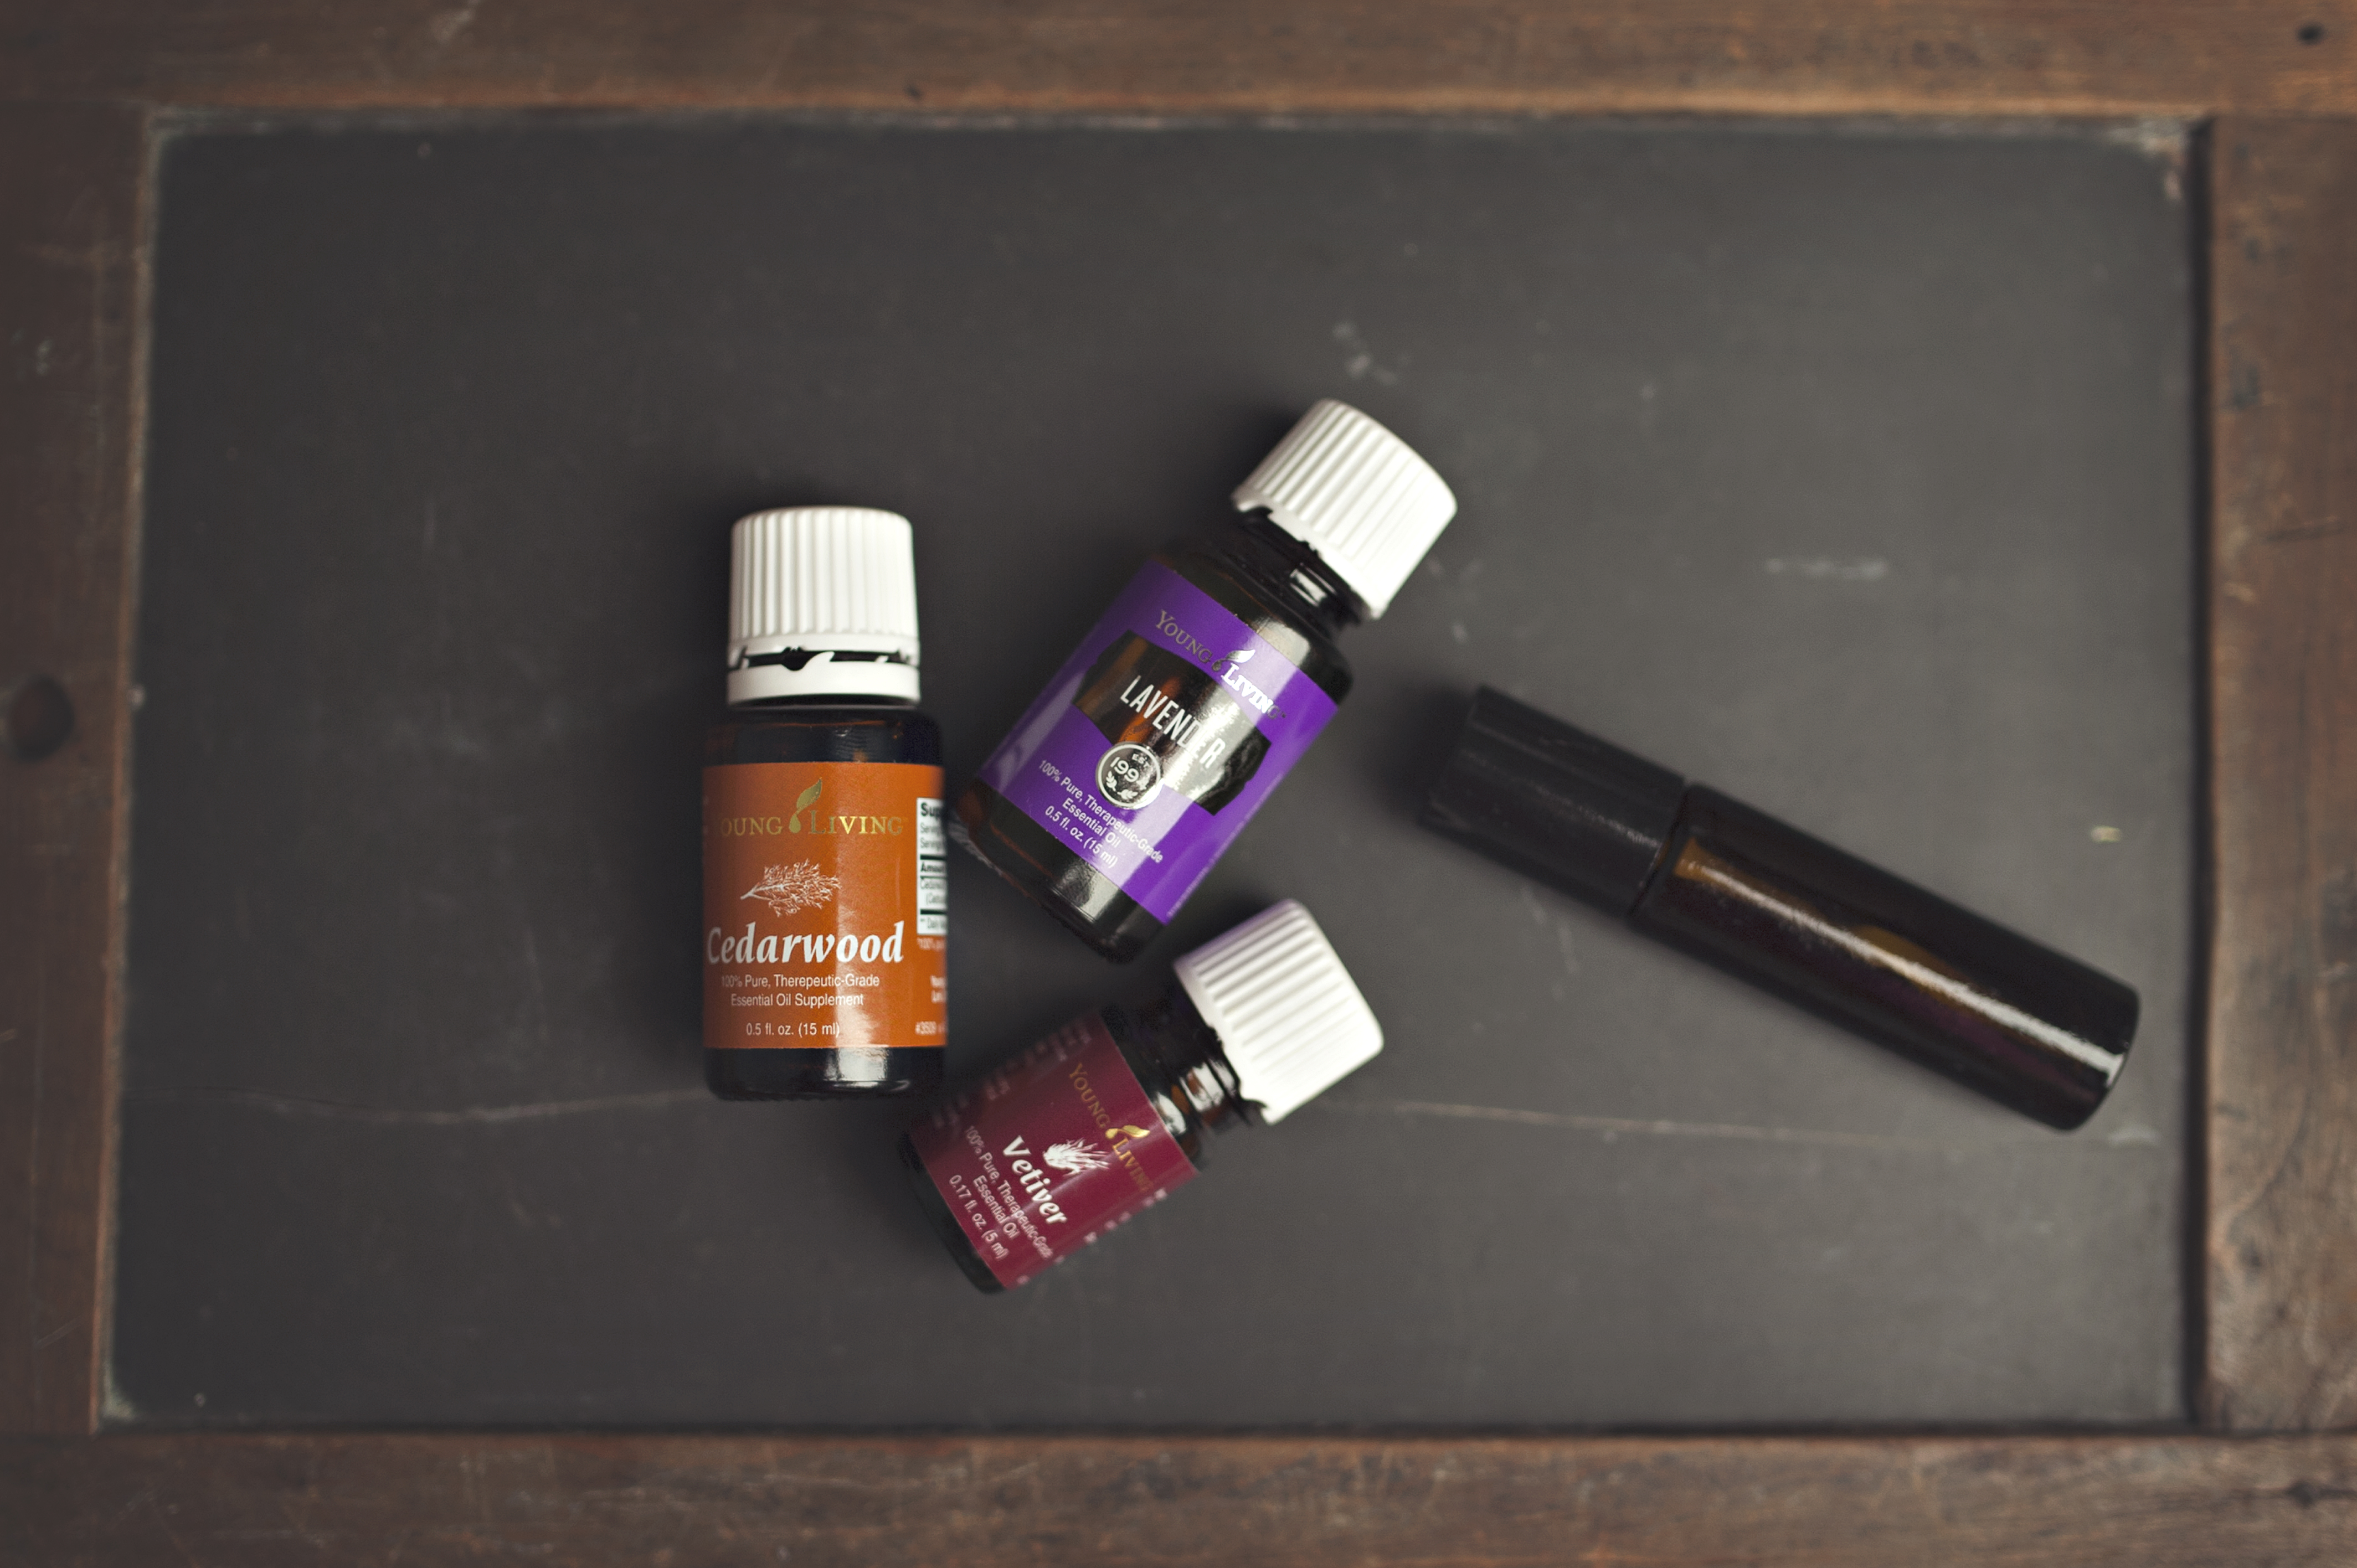
Topically, I am going to apply the focus blend to the feet and necks of my little school-bound guys.  The oils in this are Cedarwood, Vetiver, and Lavender and work wonders for their focus at school!  If there is sickness present, I will switch up the blend and use my immunity booster roller consisting of thieves and lemon.

DSC_1205

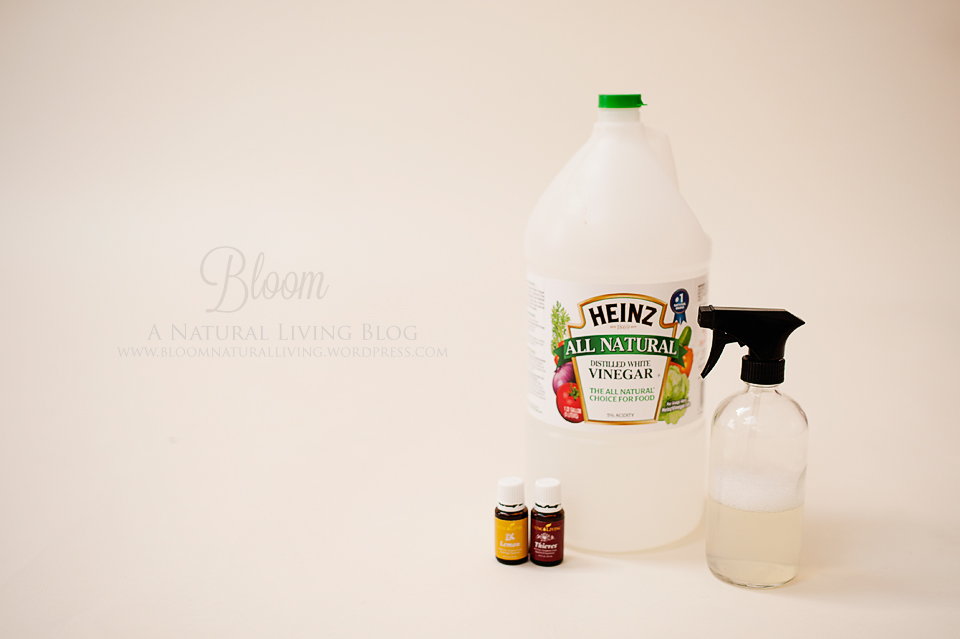
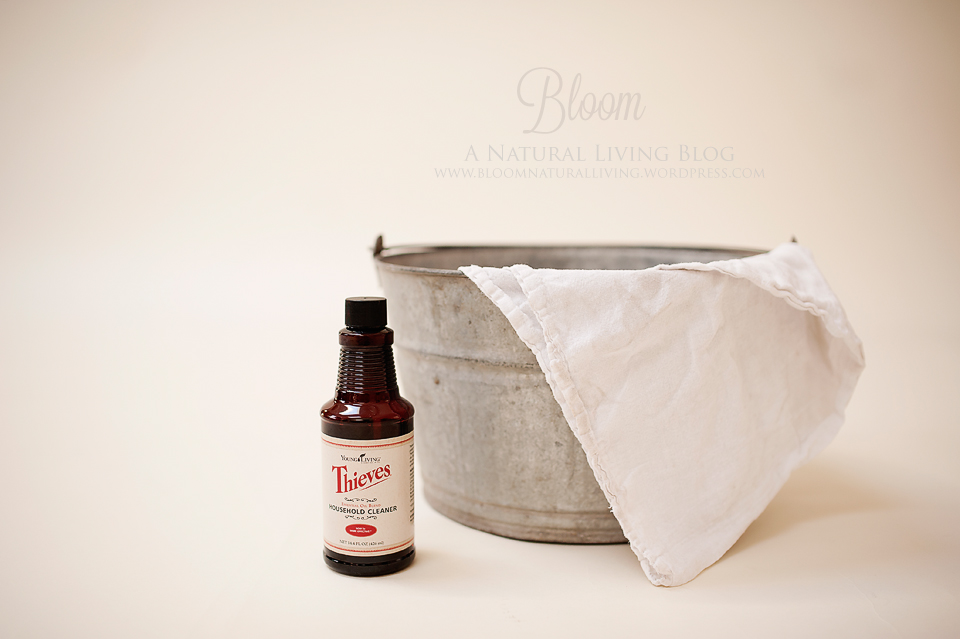
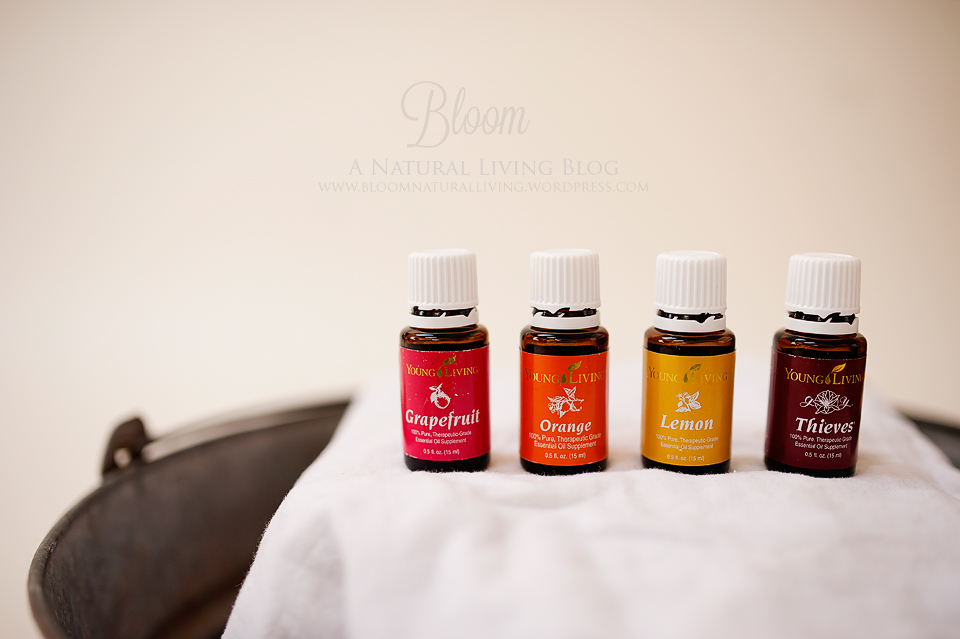
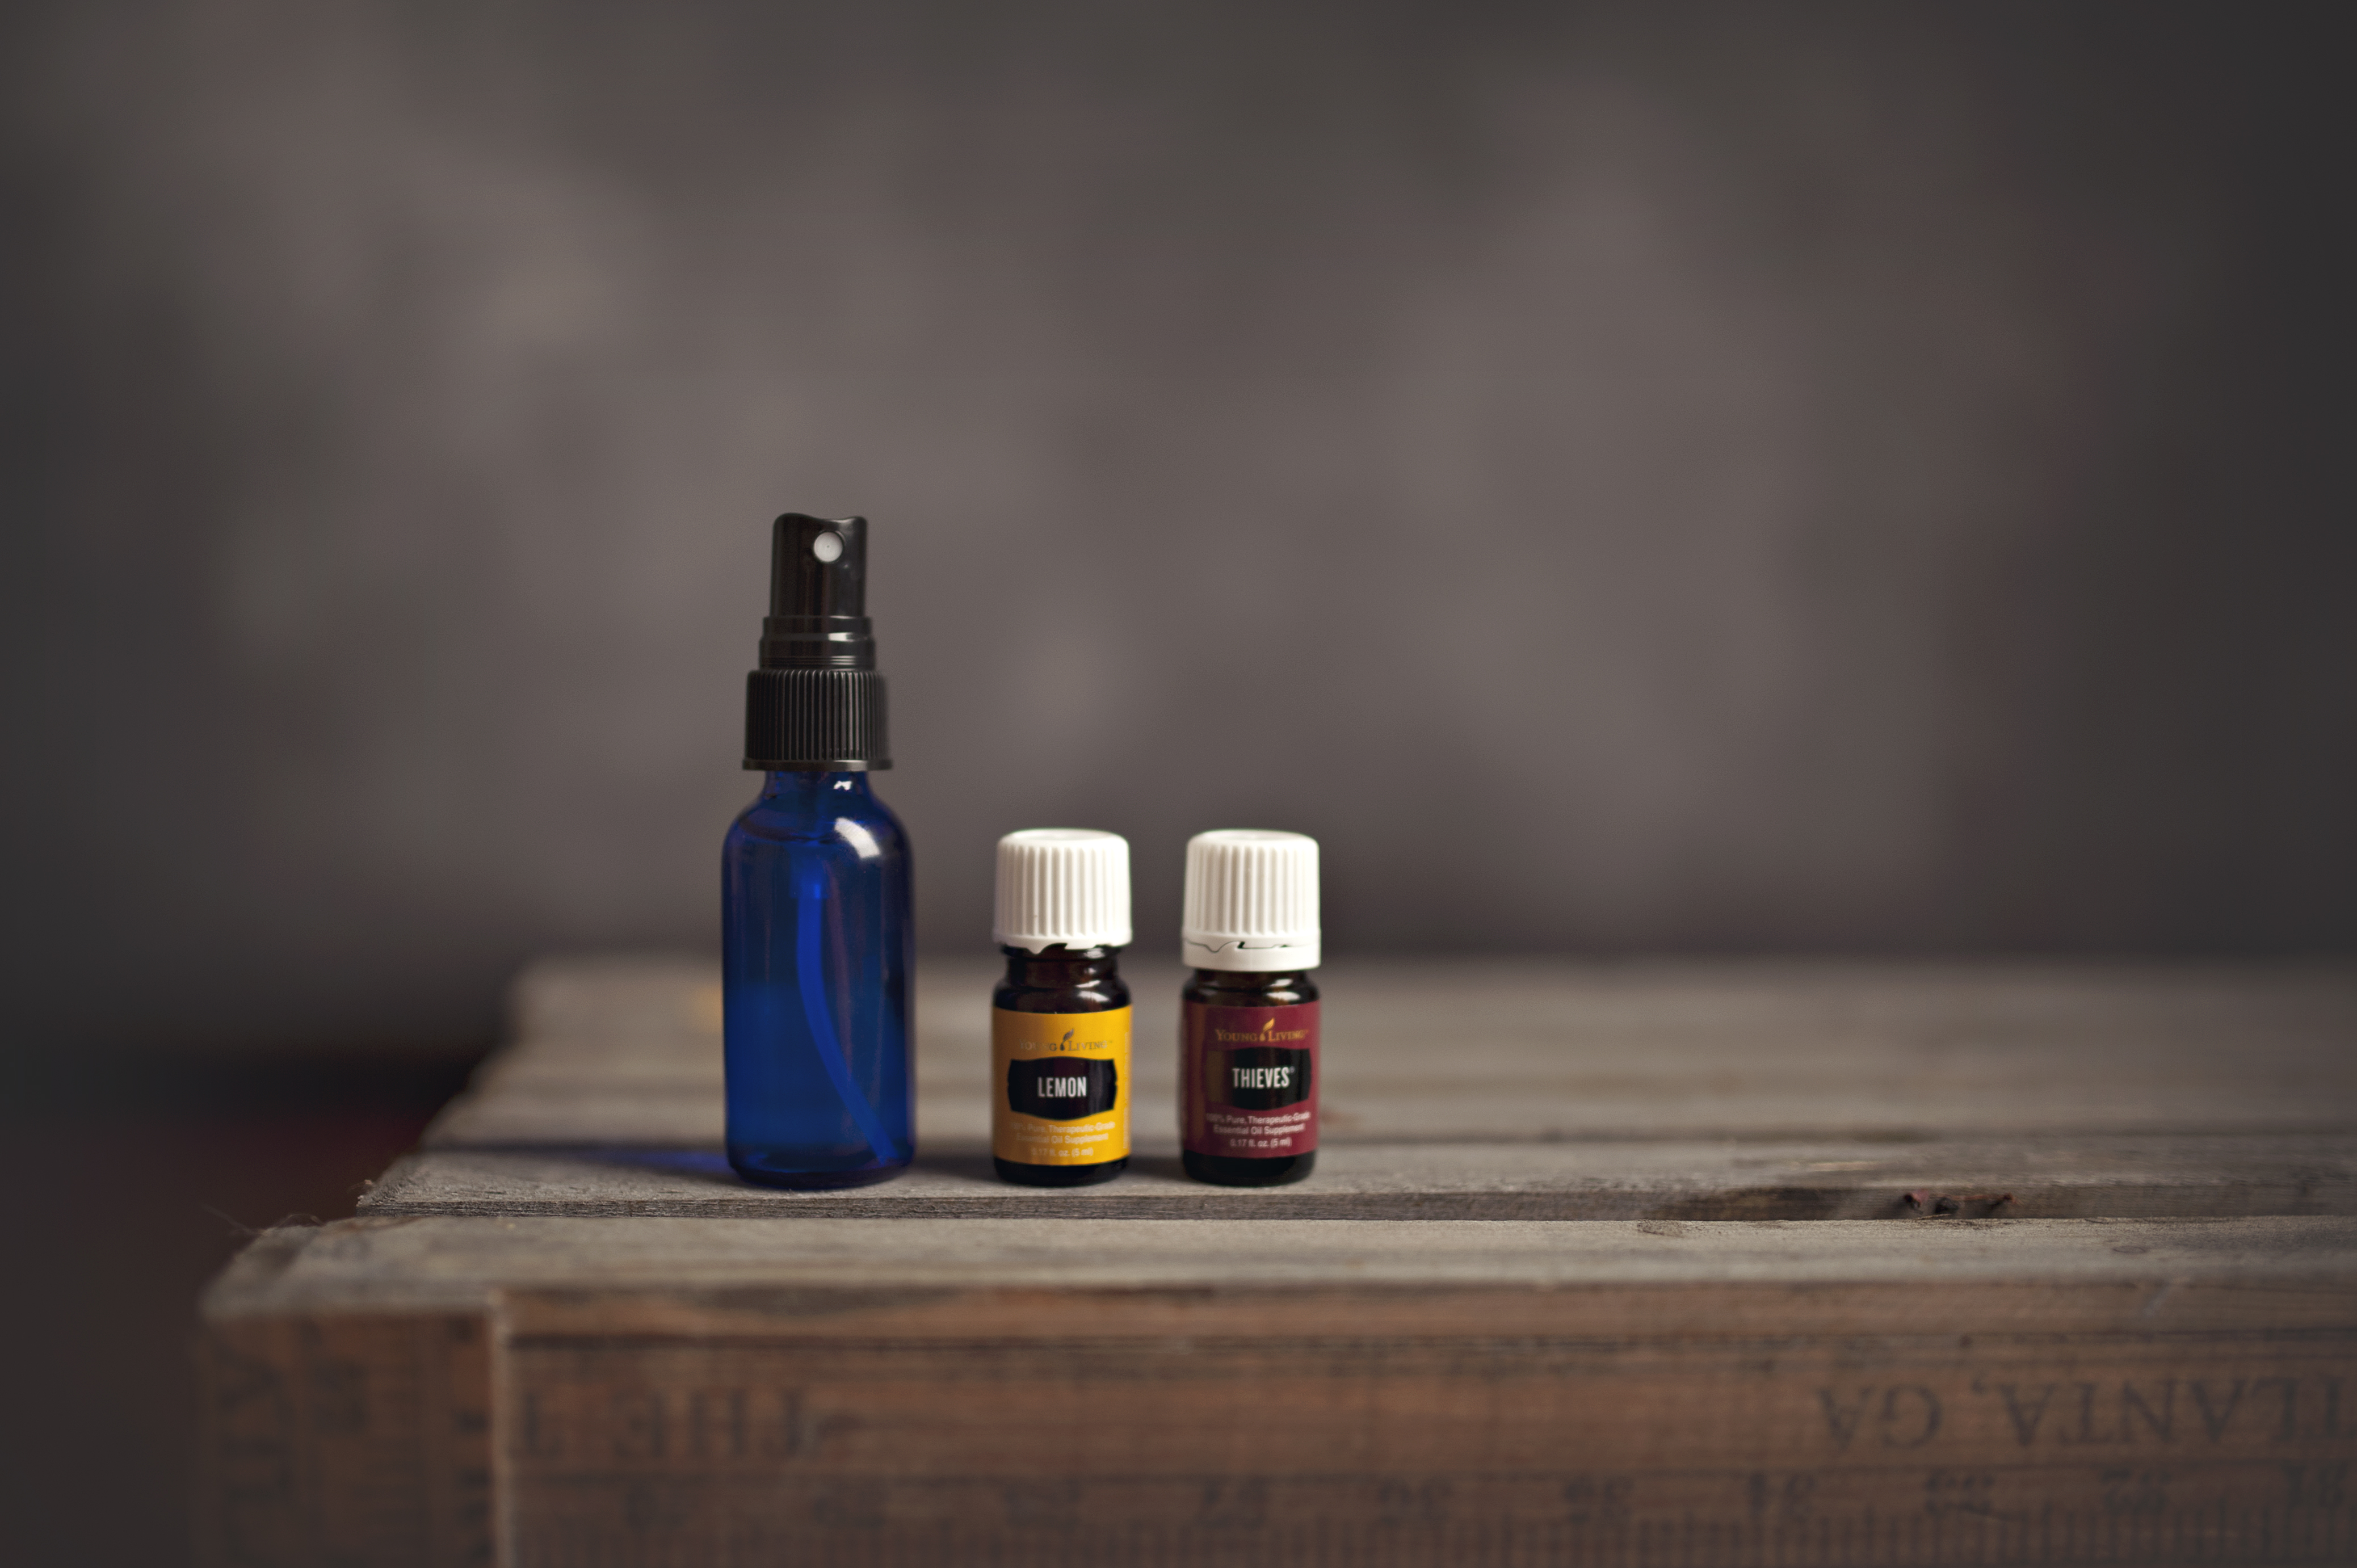
I am also going to make a bunch of mini hand sanitizers to keep in the car.  These are also thieves and lemon.

DSC_1208
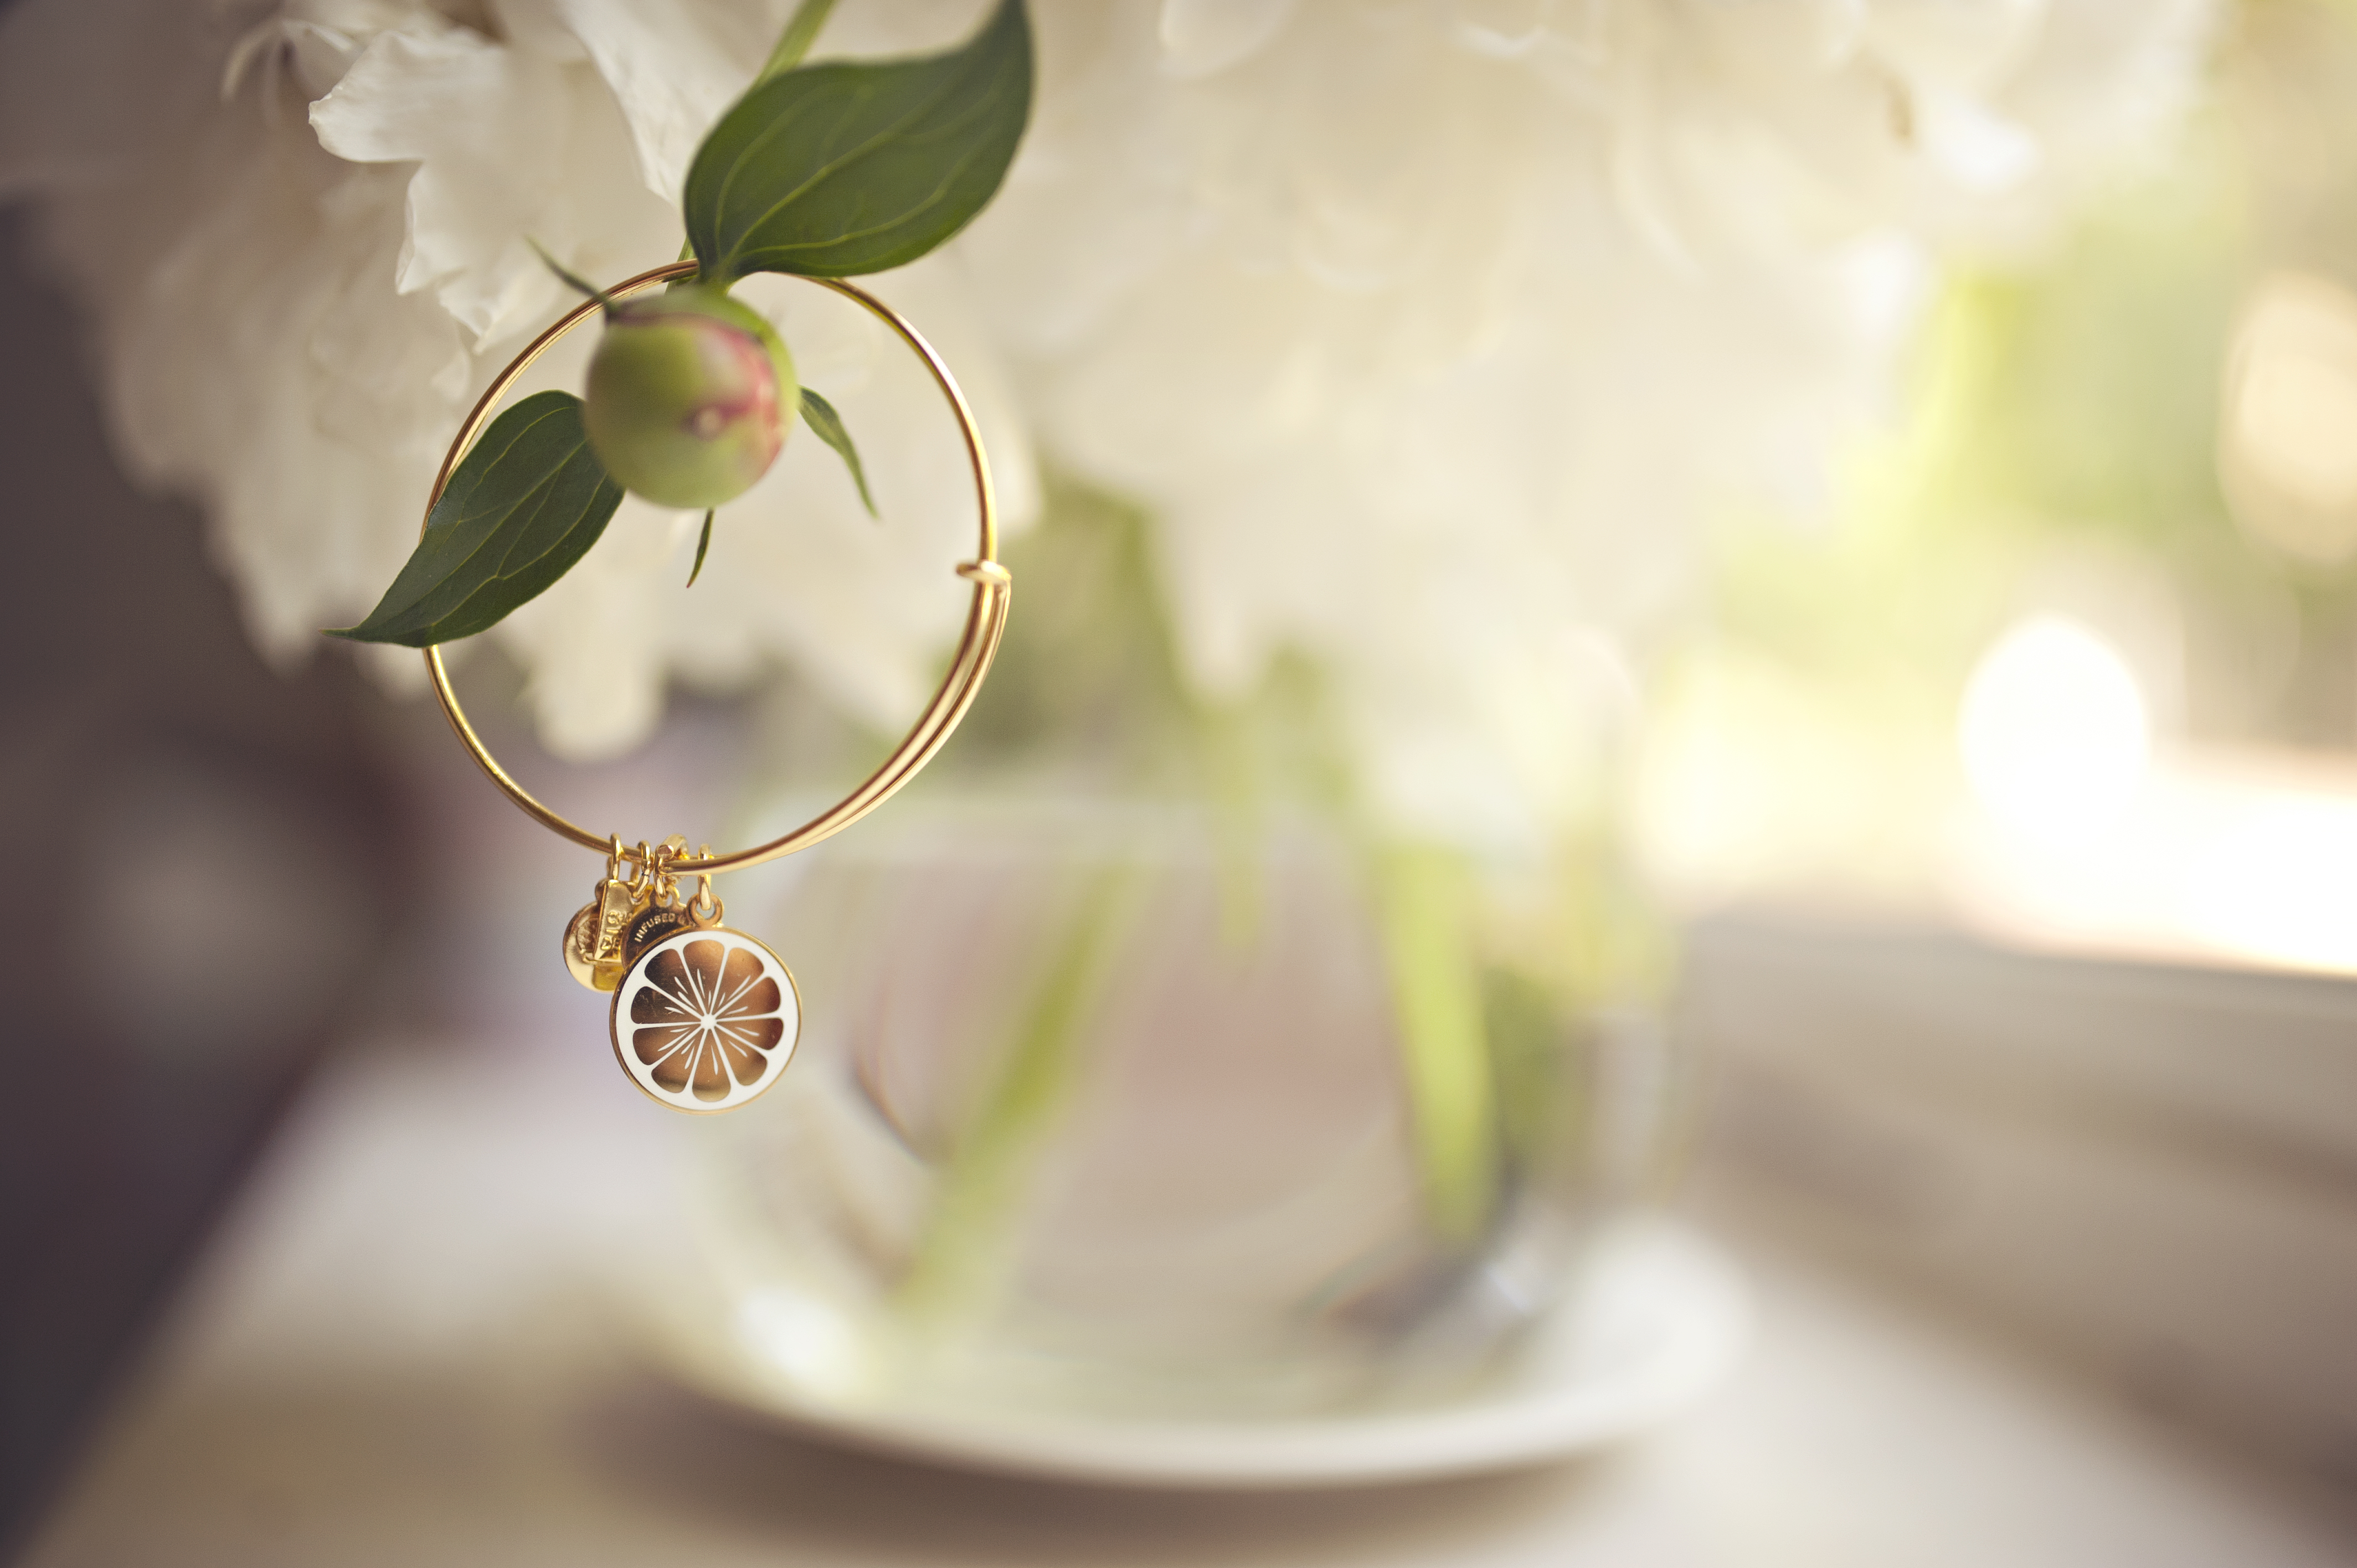
I may also grab some diffuser bracelets and put the focus blend on there so that they can have it accessible throughout the day.

For me, I plan on using Stress Away to keep me calm in the mornings.  Because, life.

DSC_1238

After School:
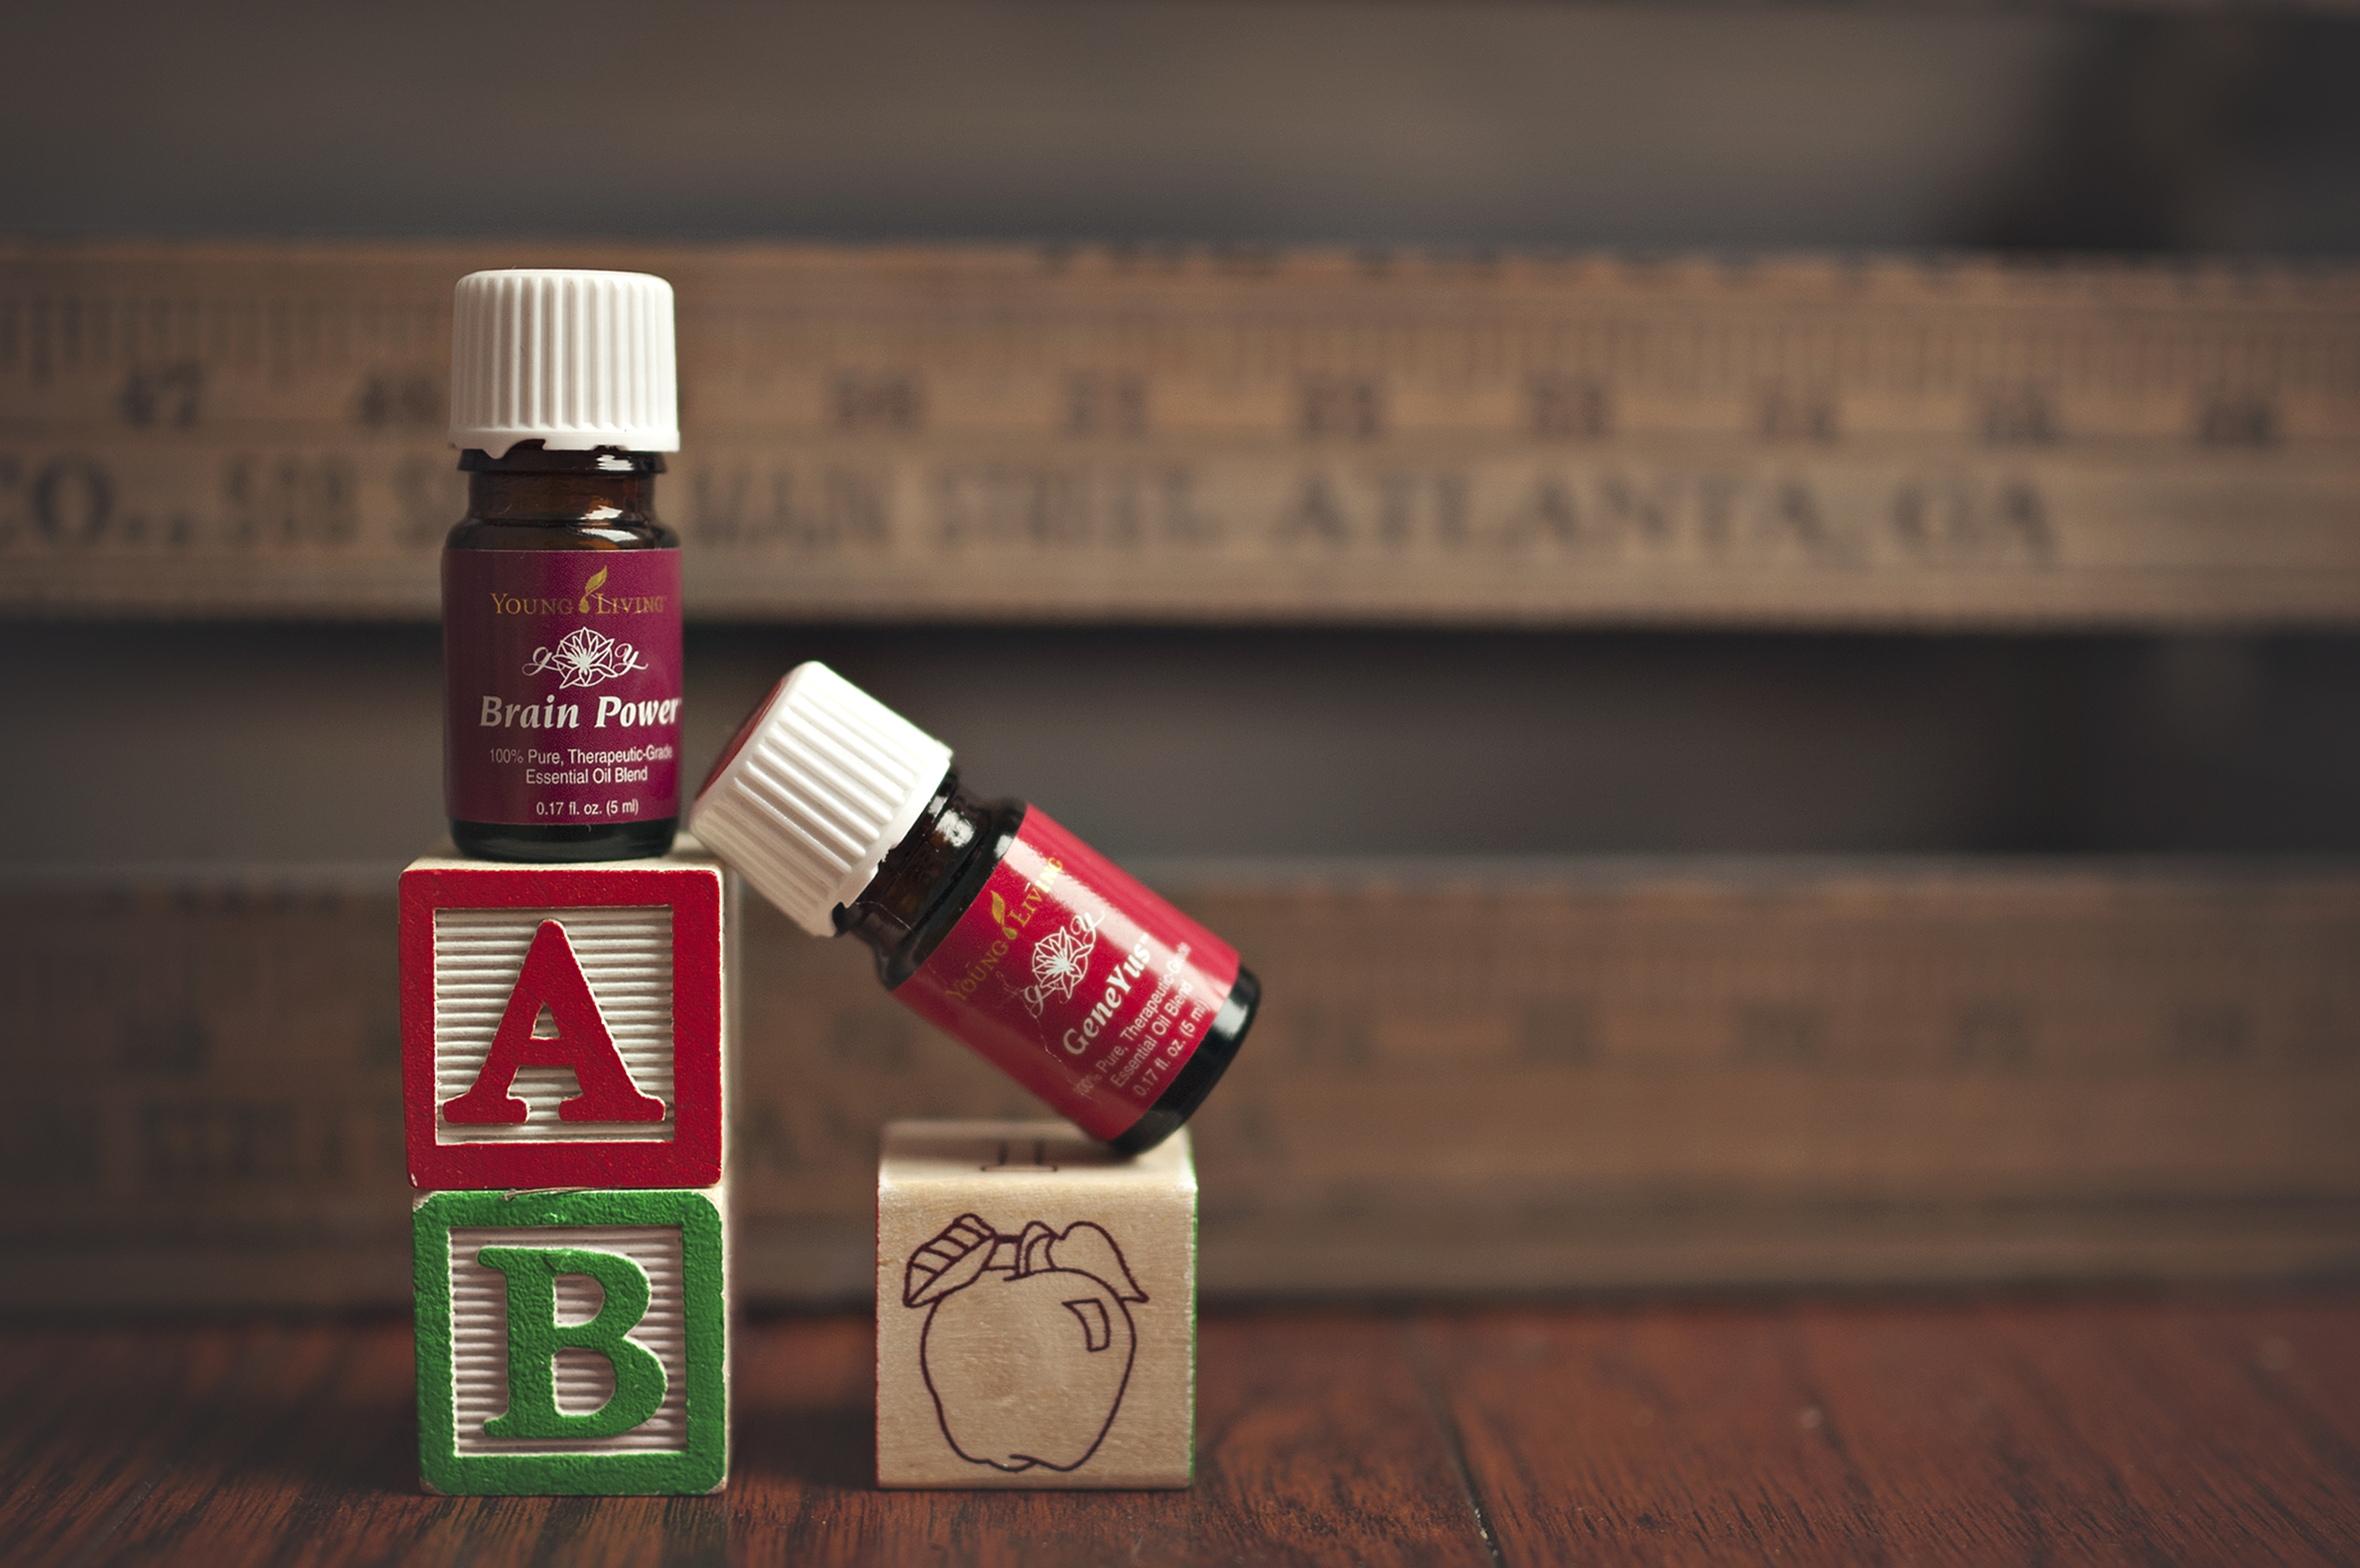
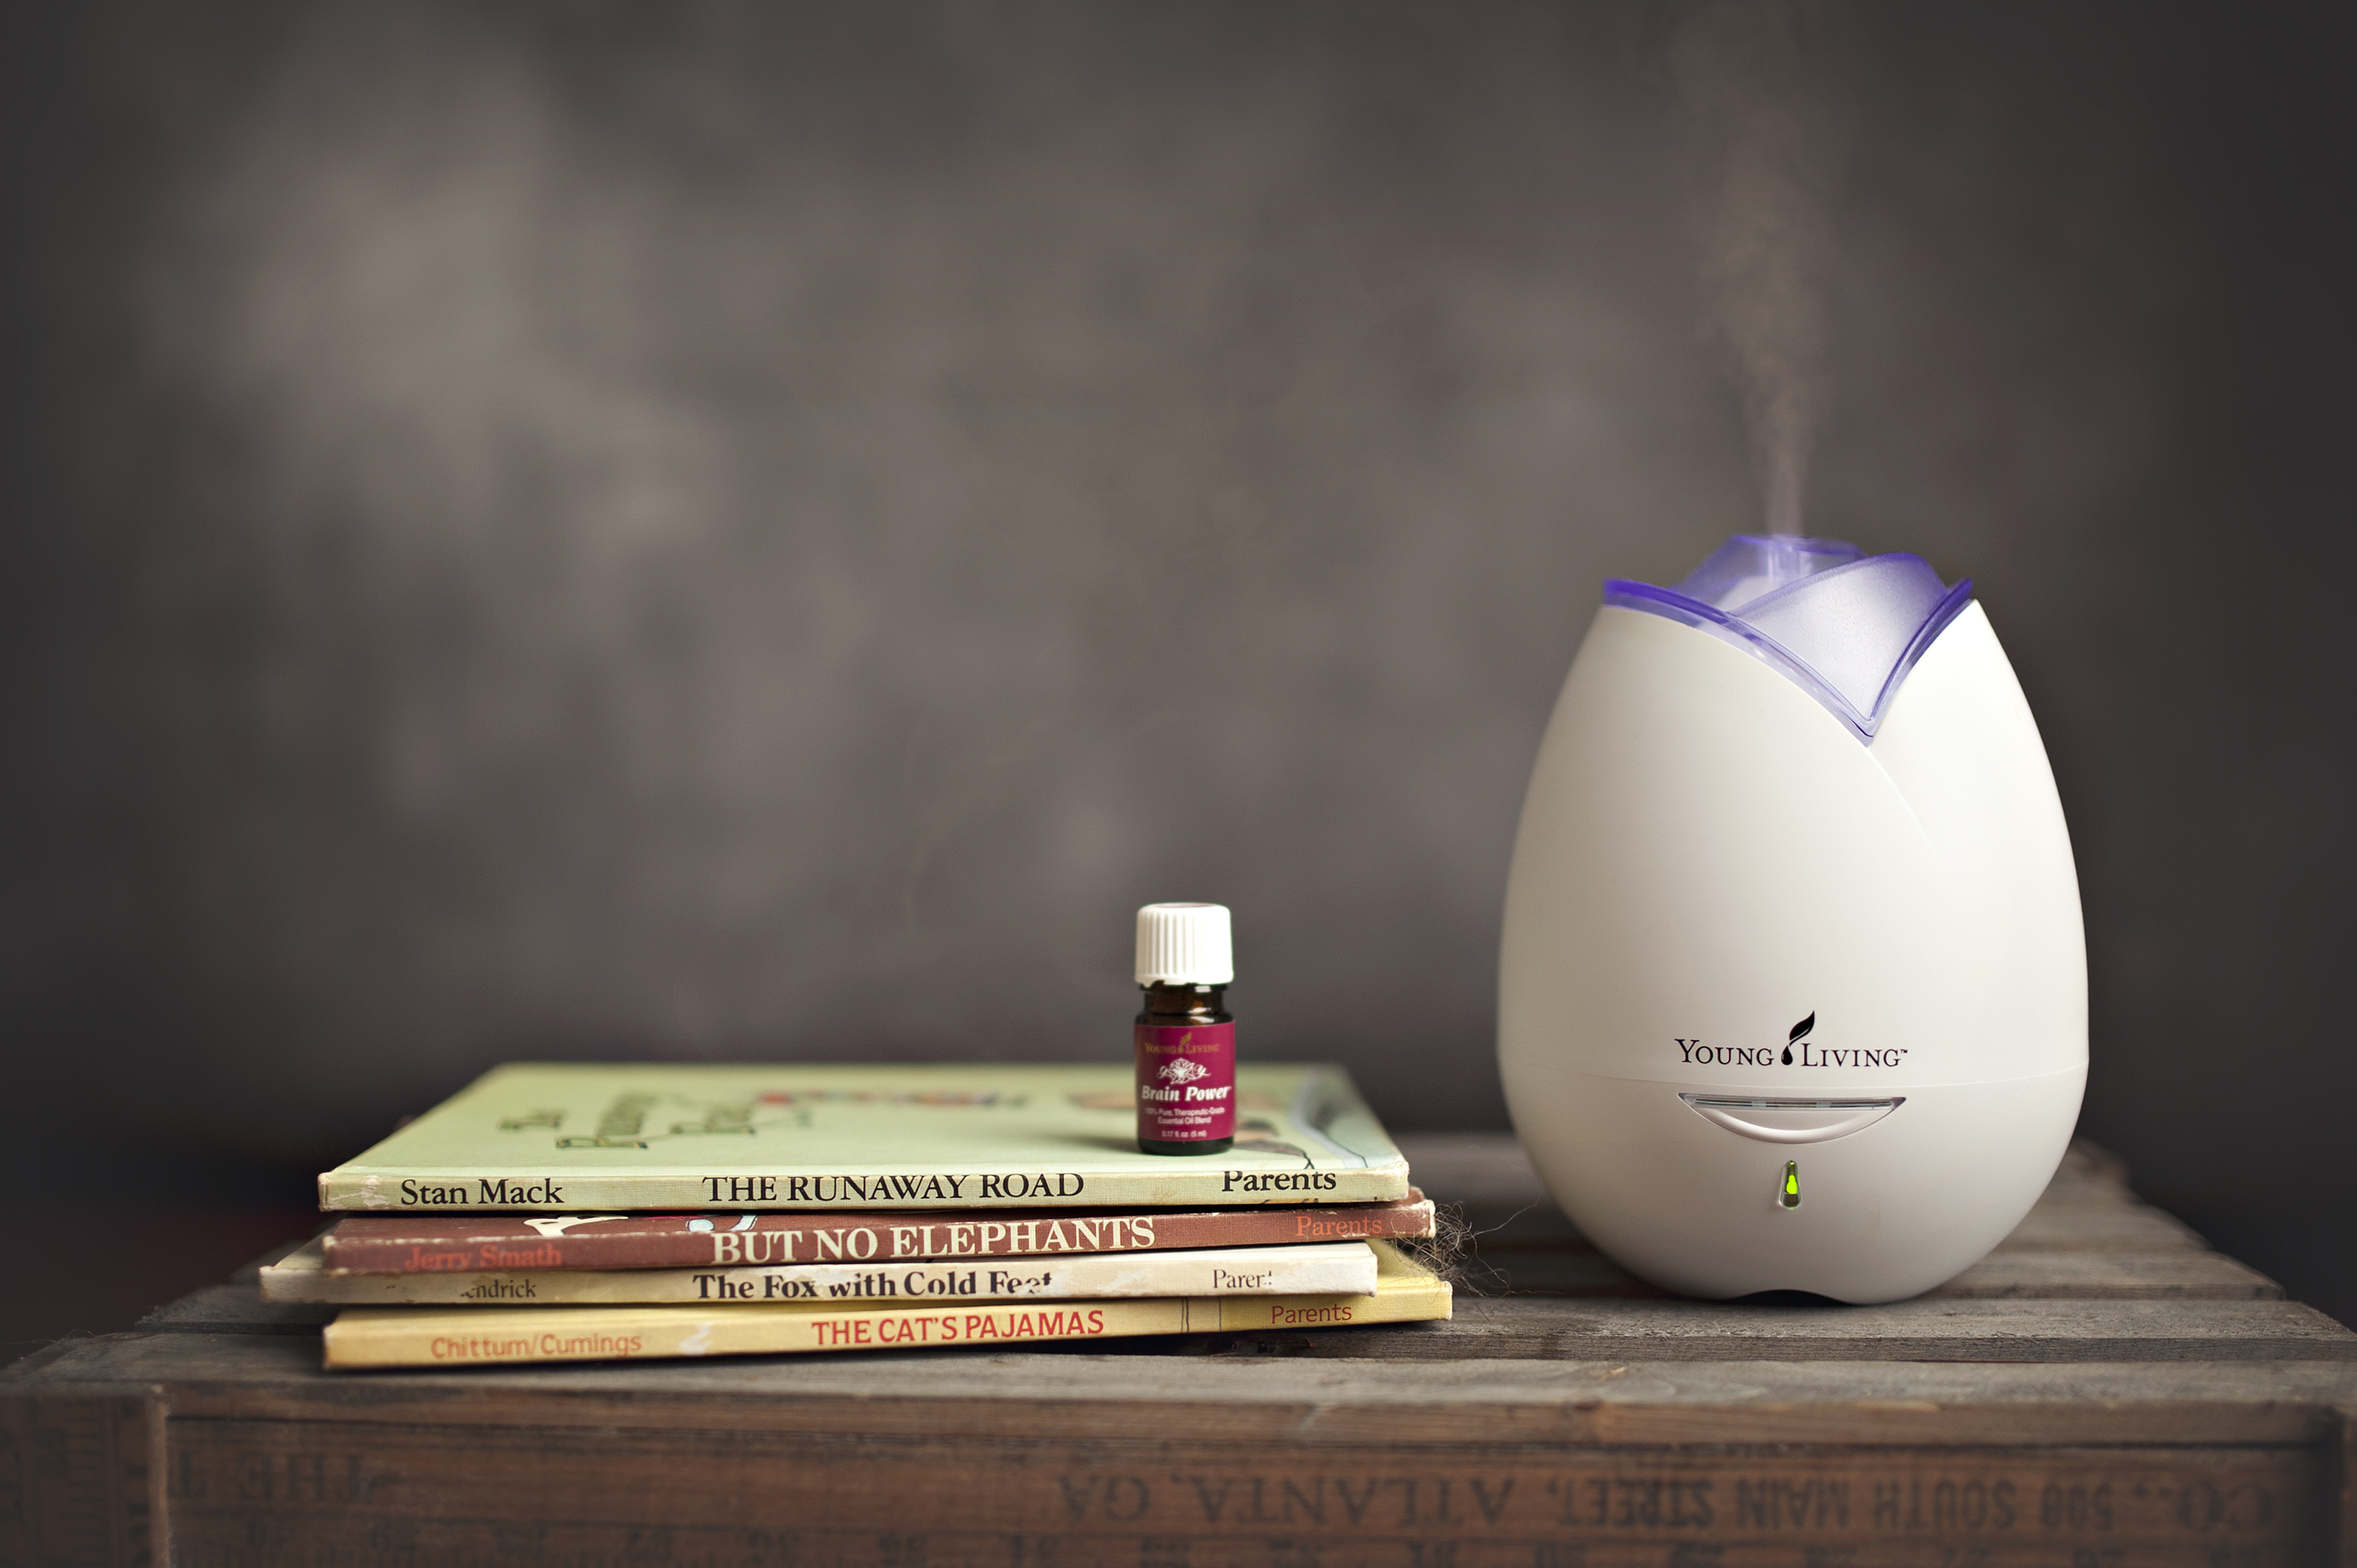
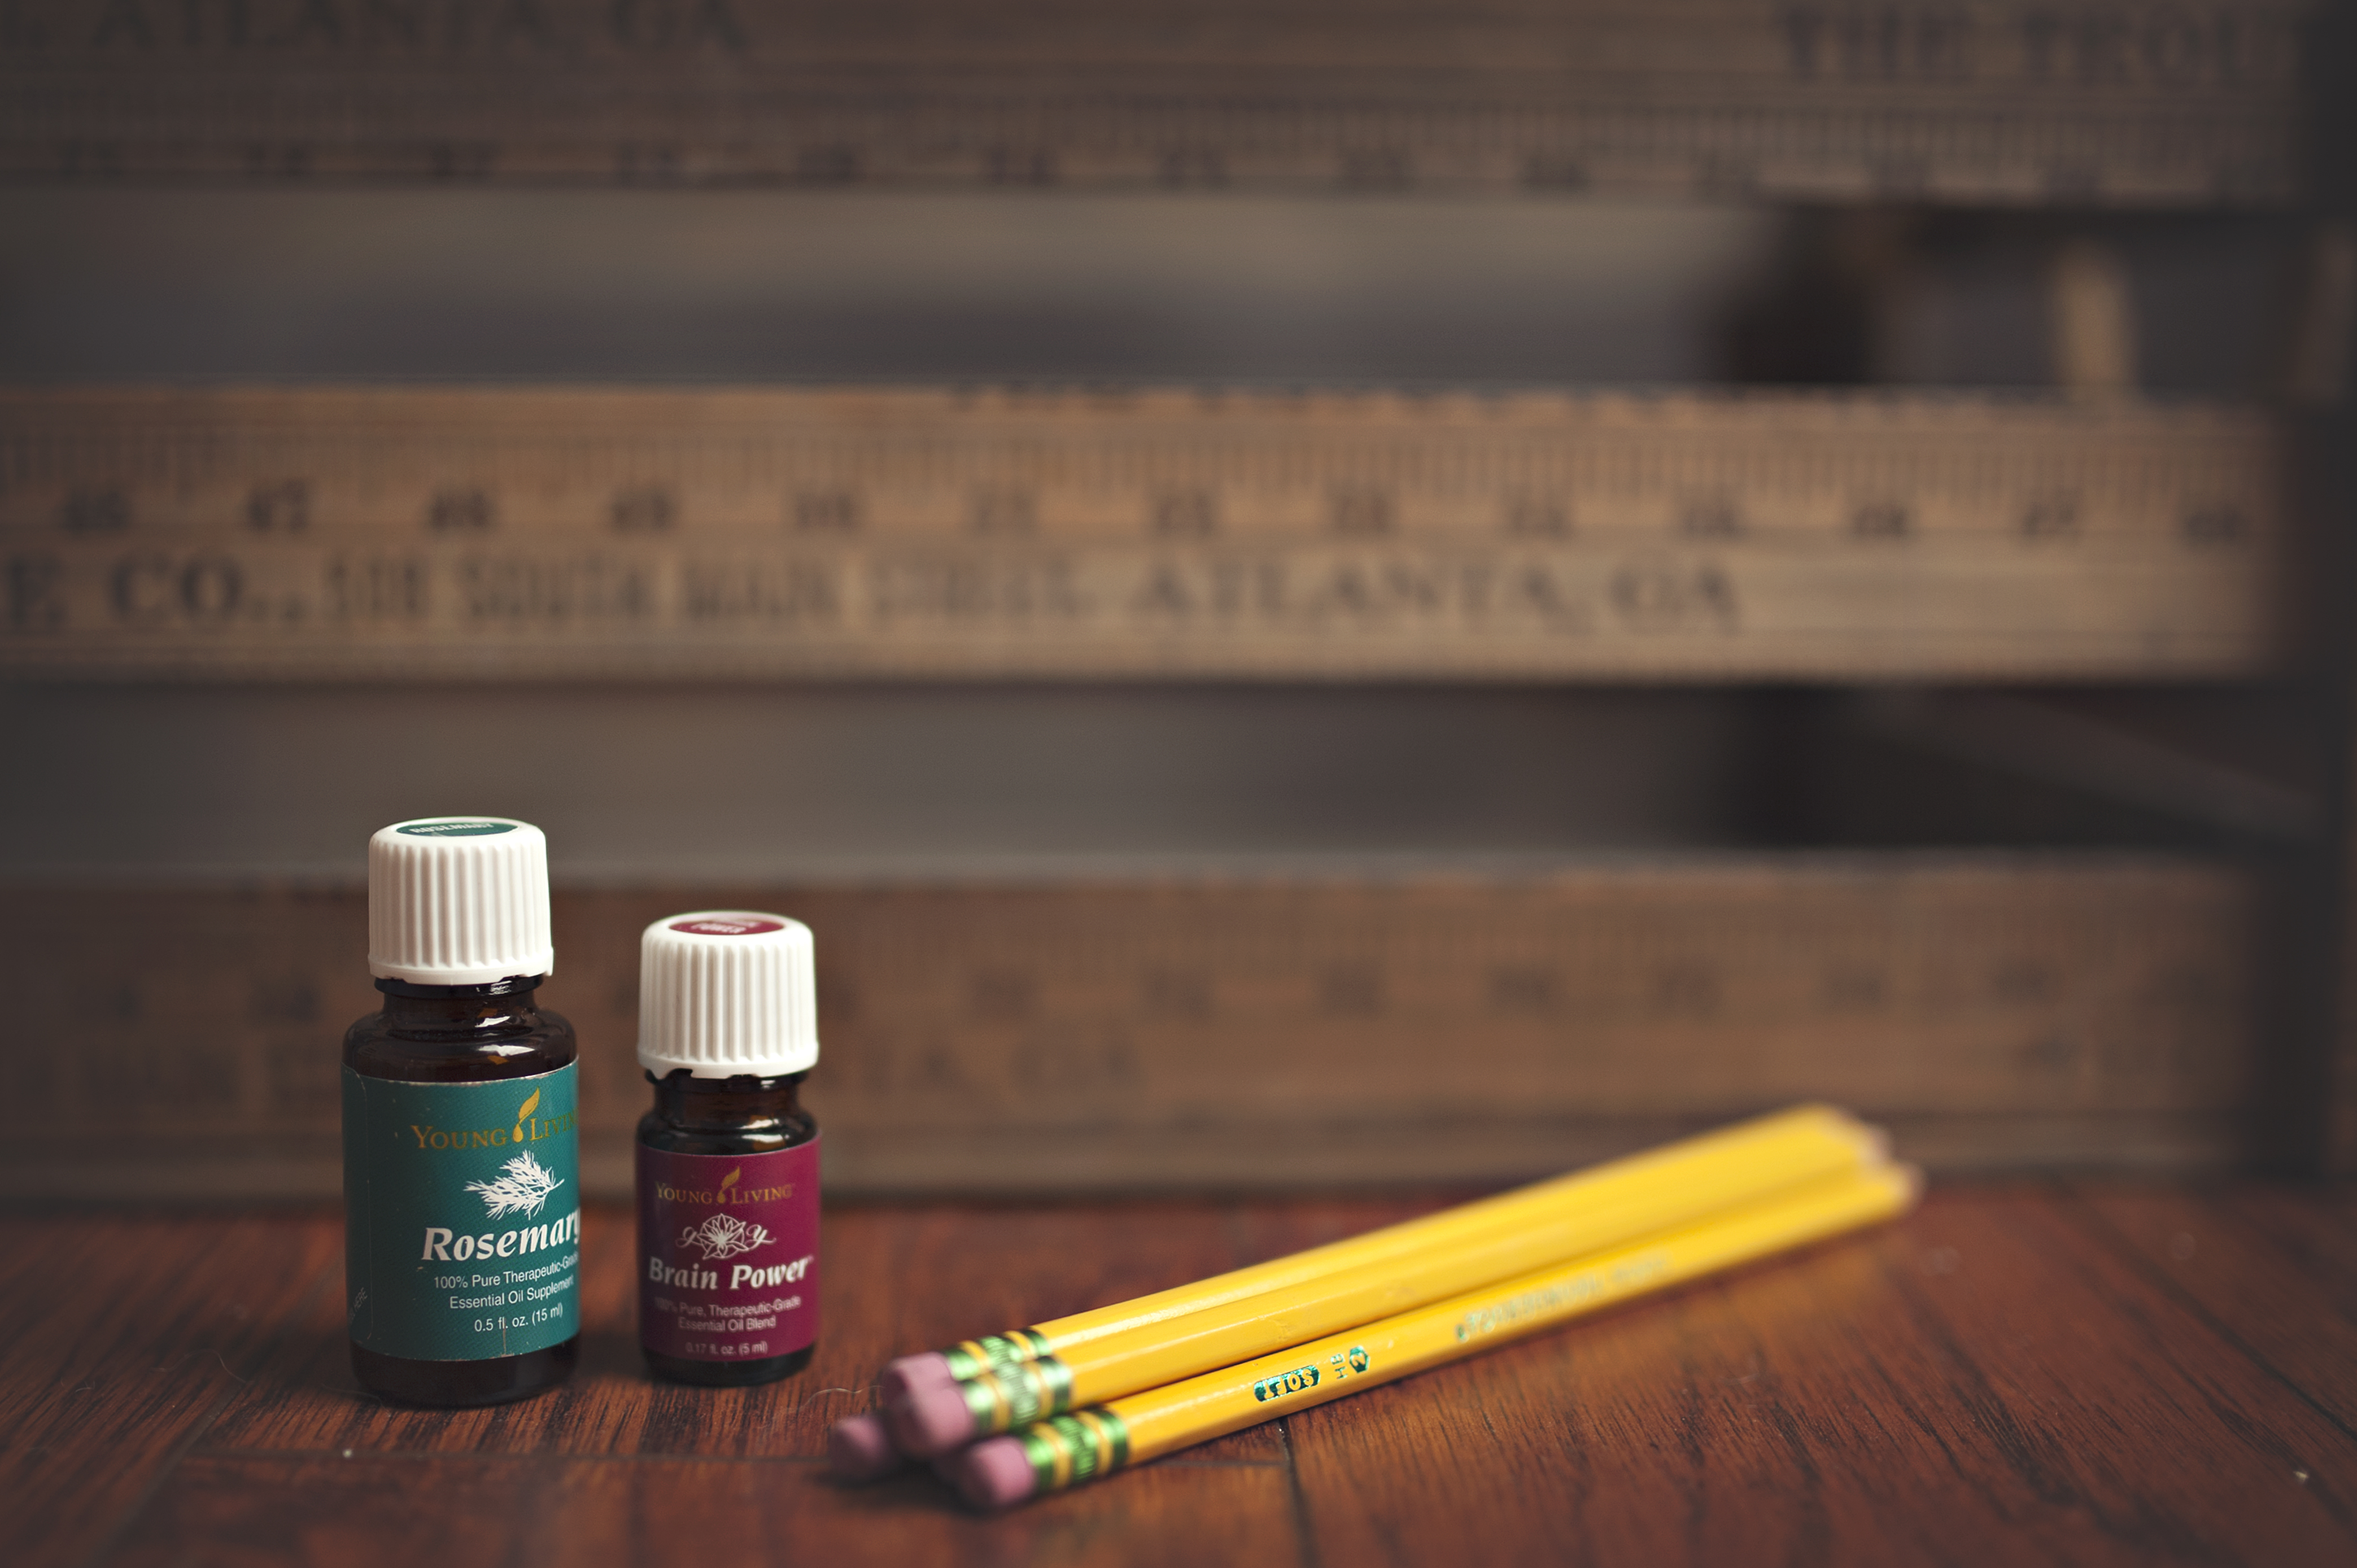
I am going to start diffusing Brain Power or Geneyus before they get off the bus so that when they get home, we can jump right into homework mode.  I will re-apply the focus oils as well to give them additional support.  For older kiddos, you can also try rosemary!

DSC_1213 DSC_1221 DSC_1214

Bath and Bedtime:
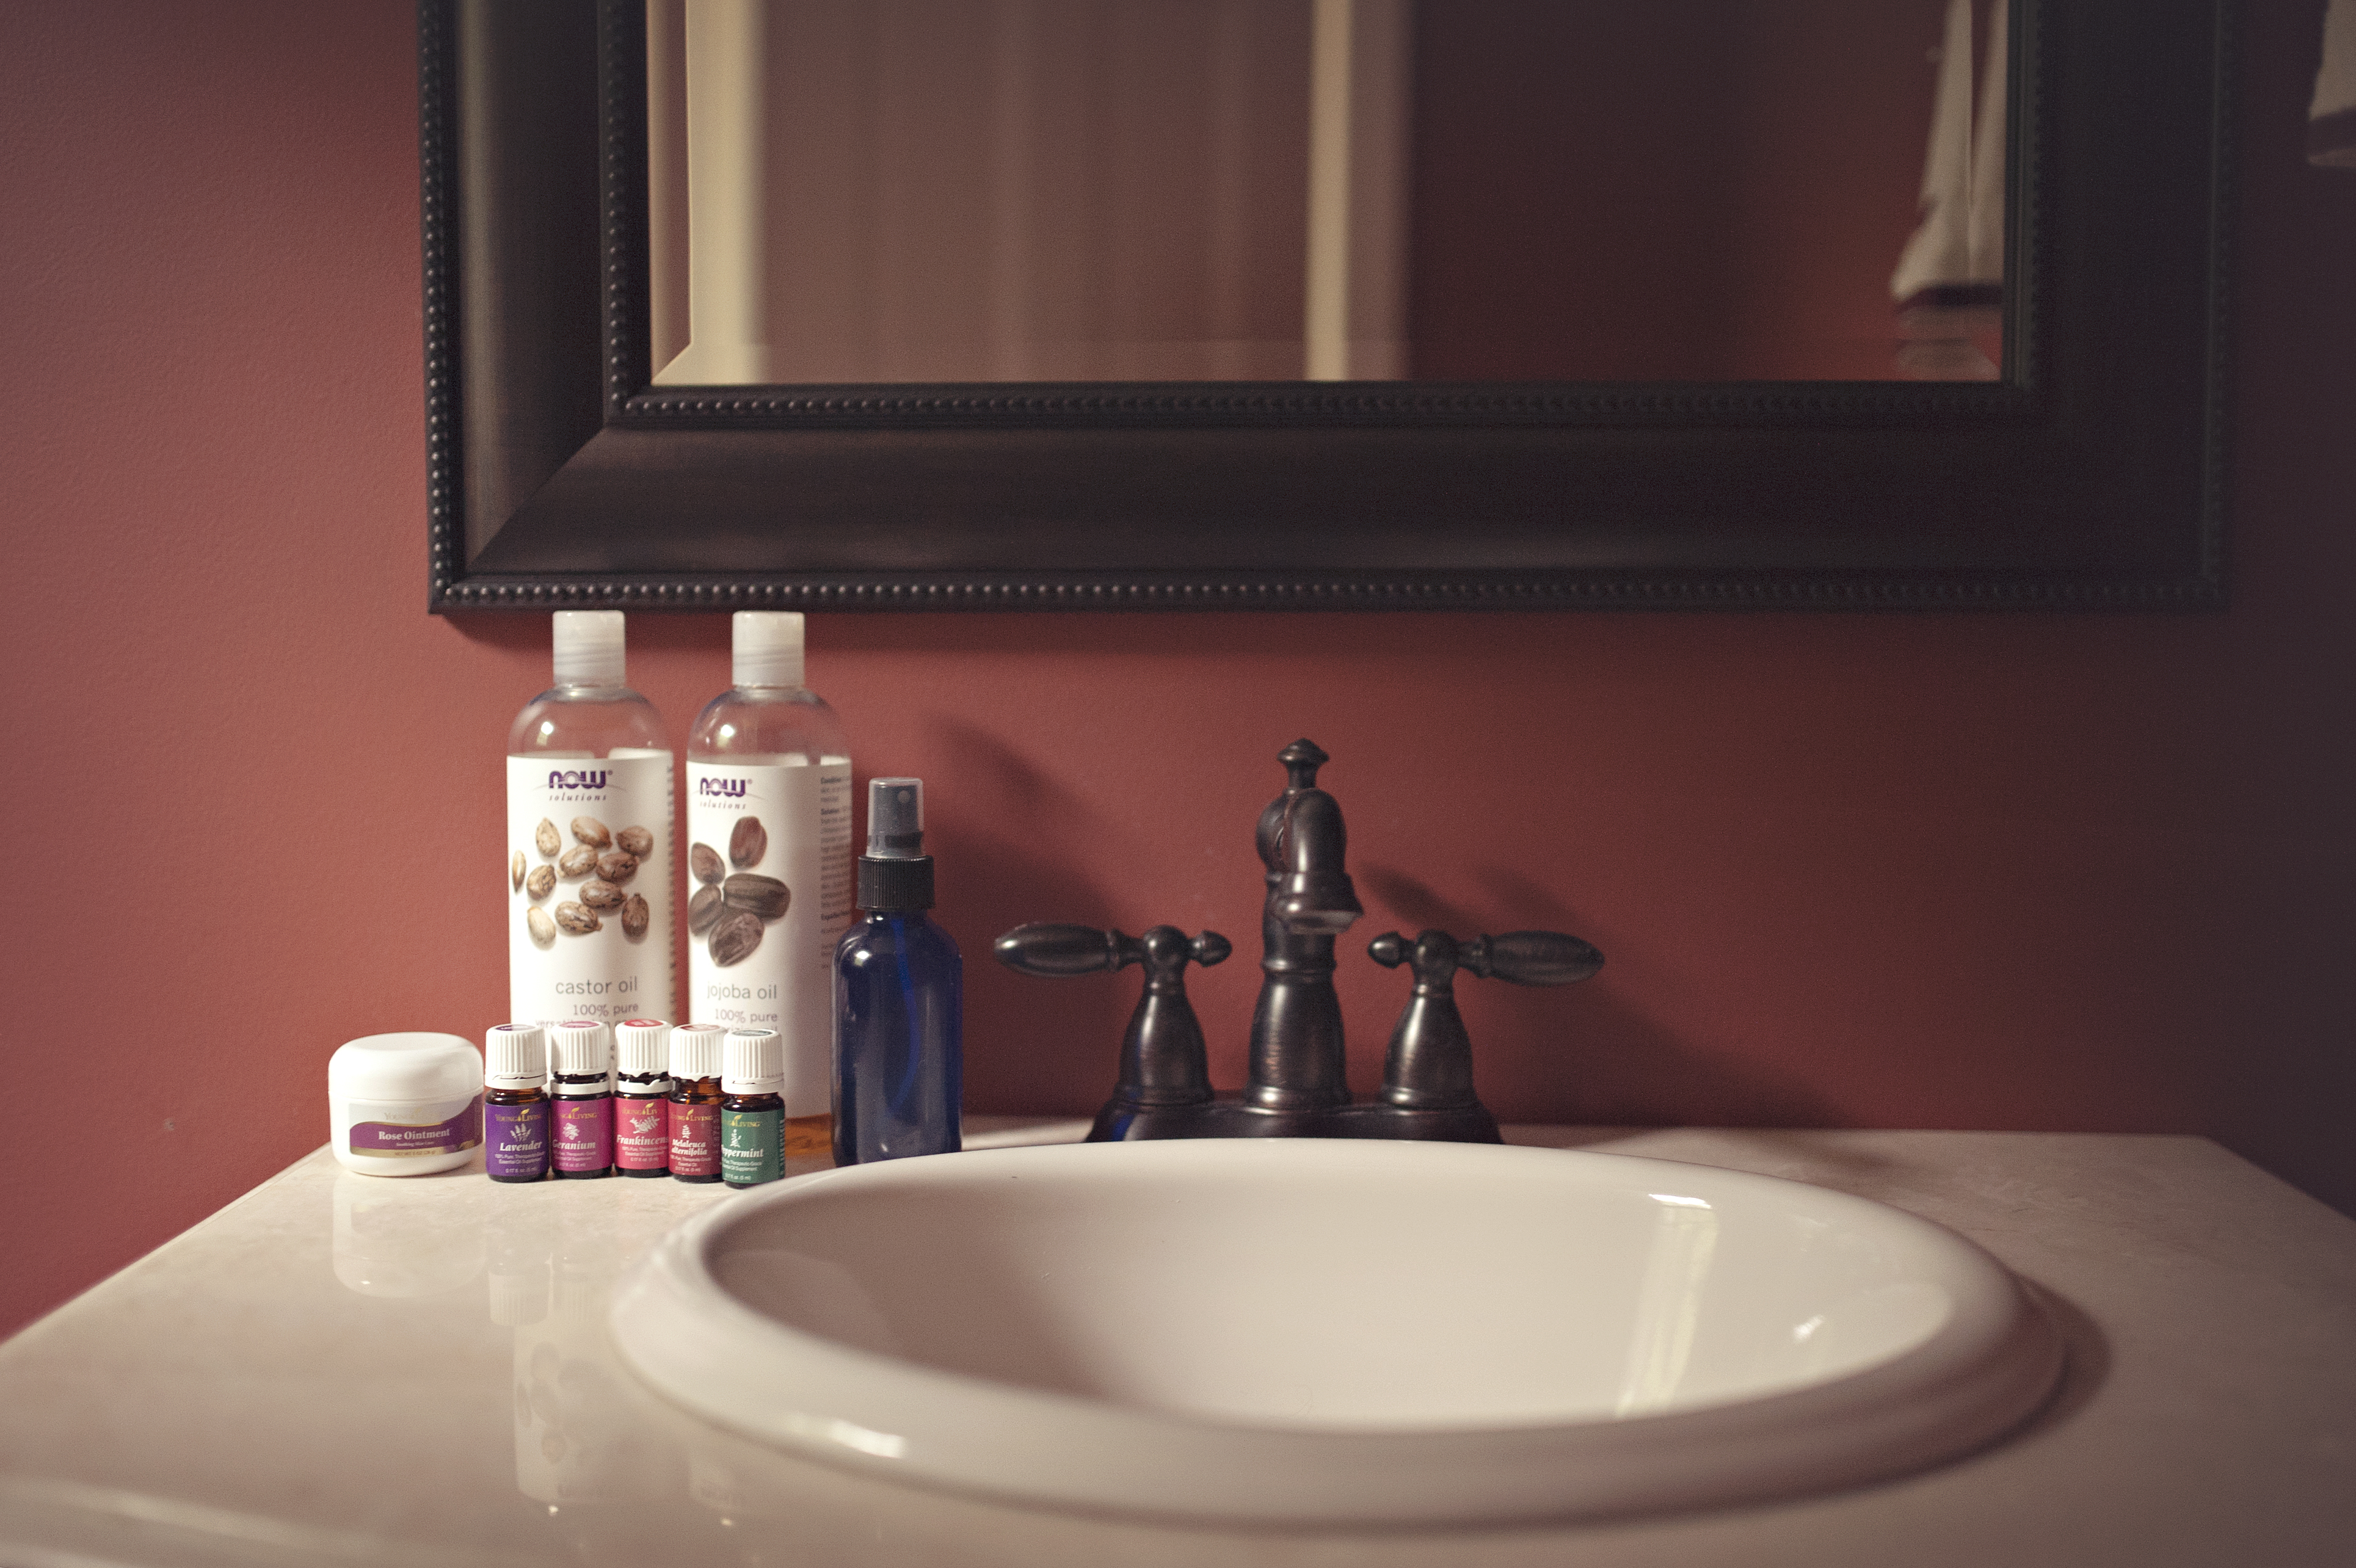
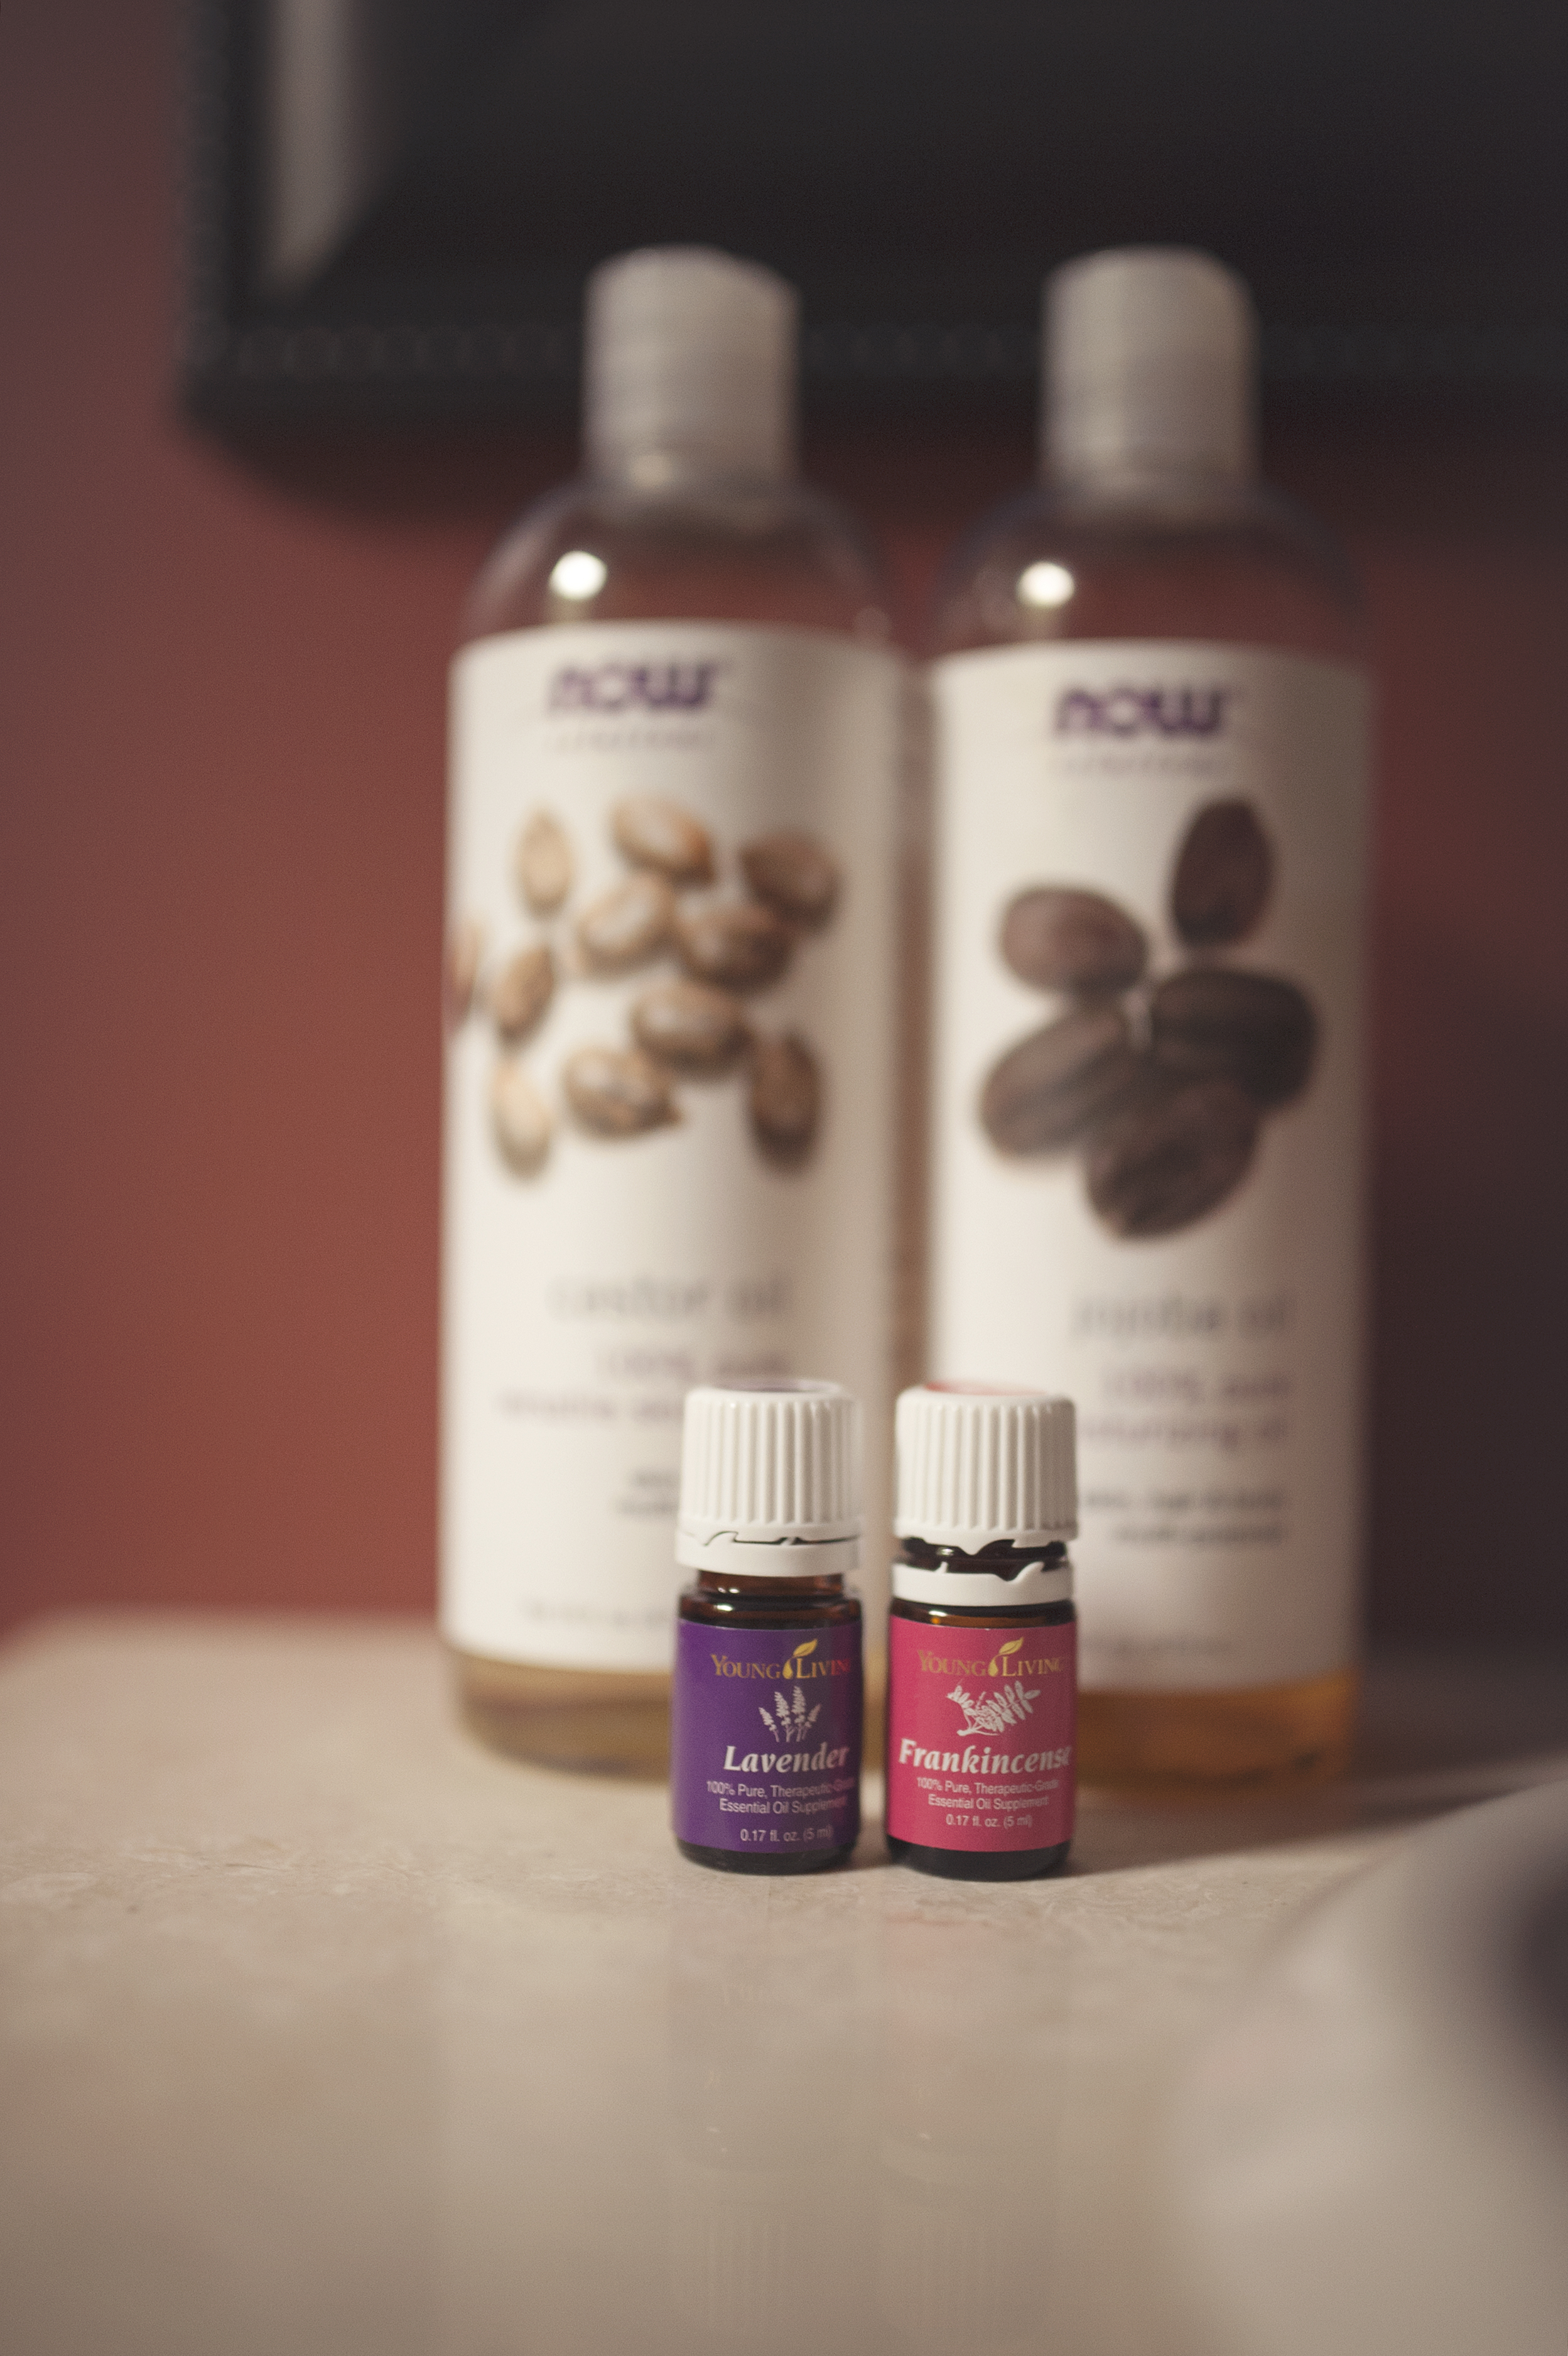
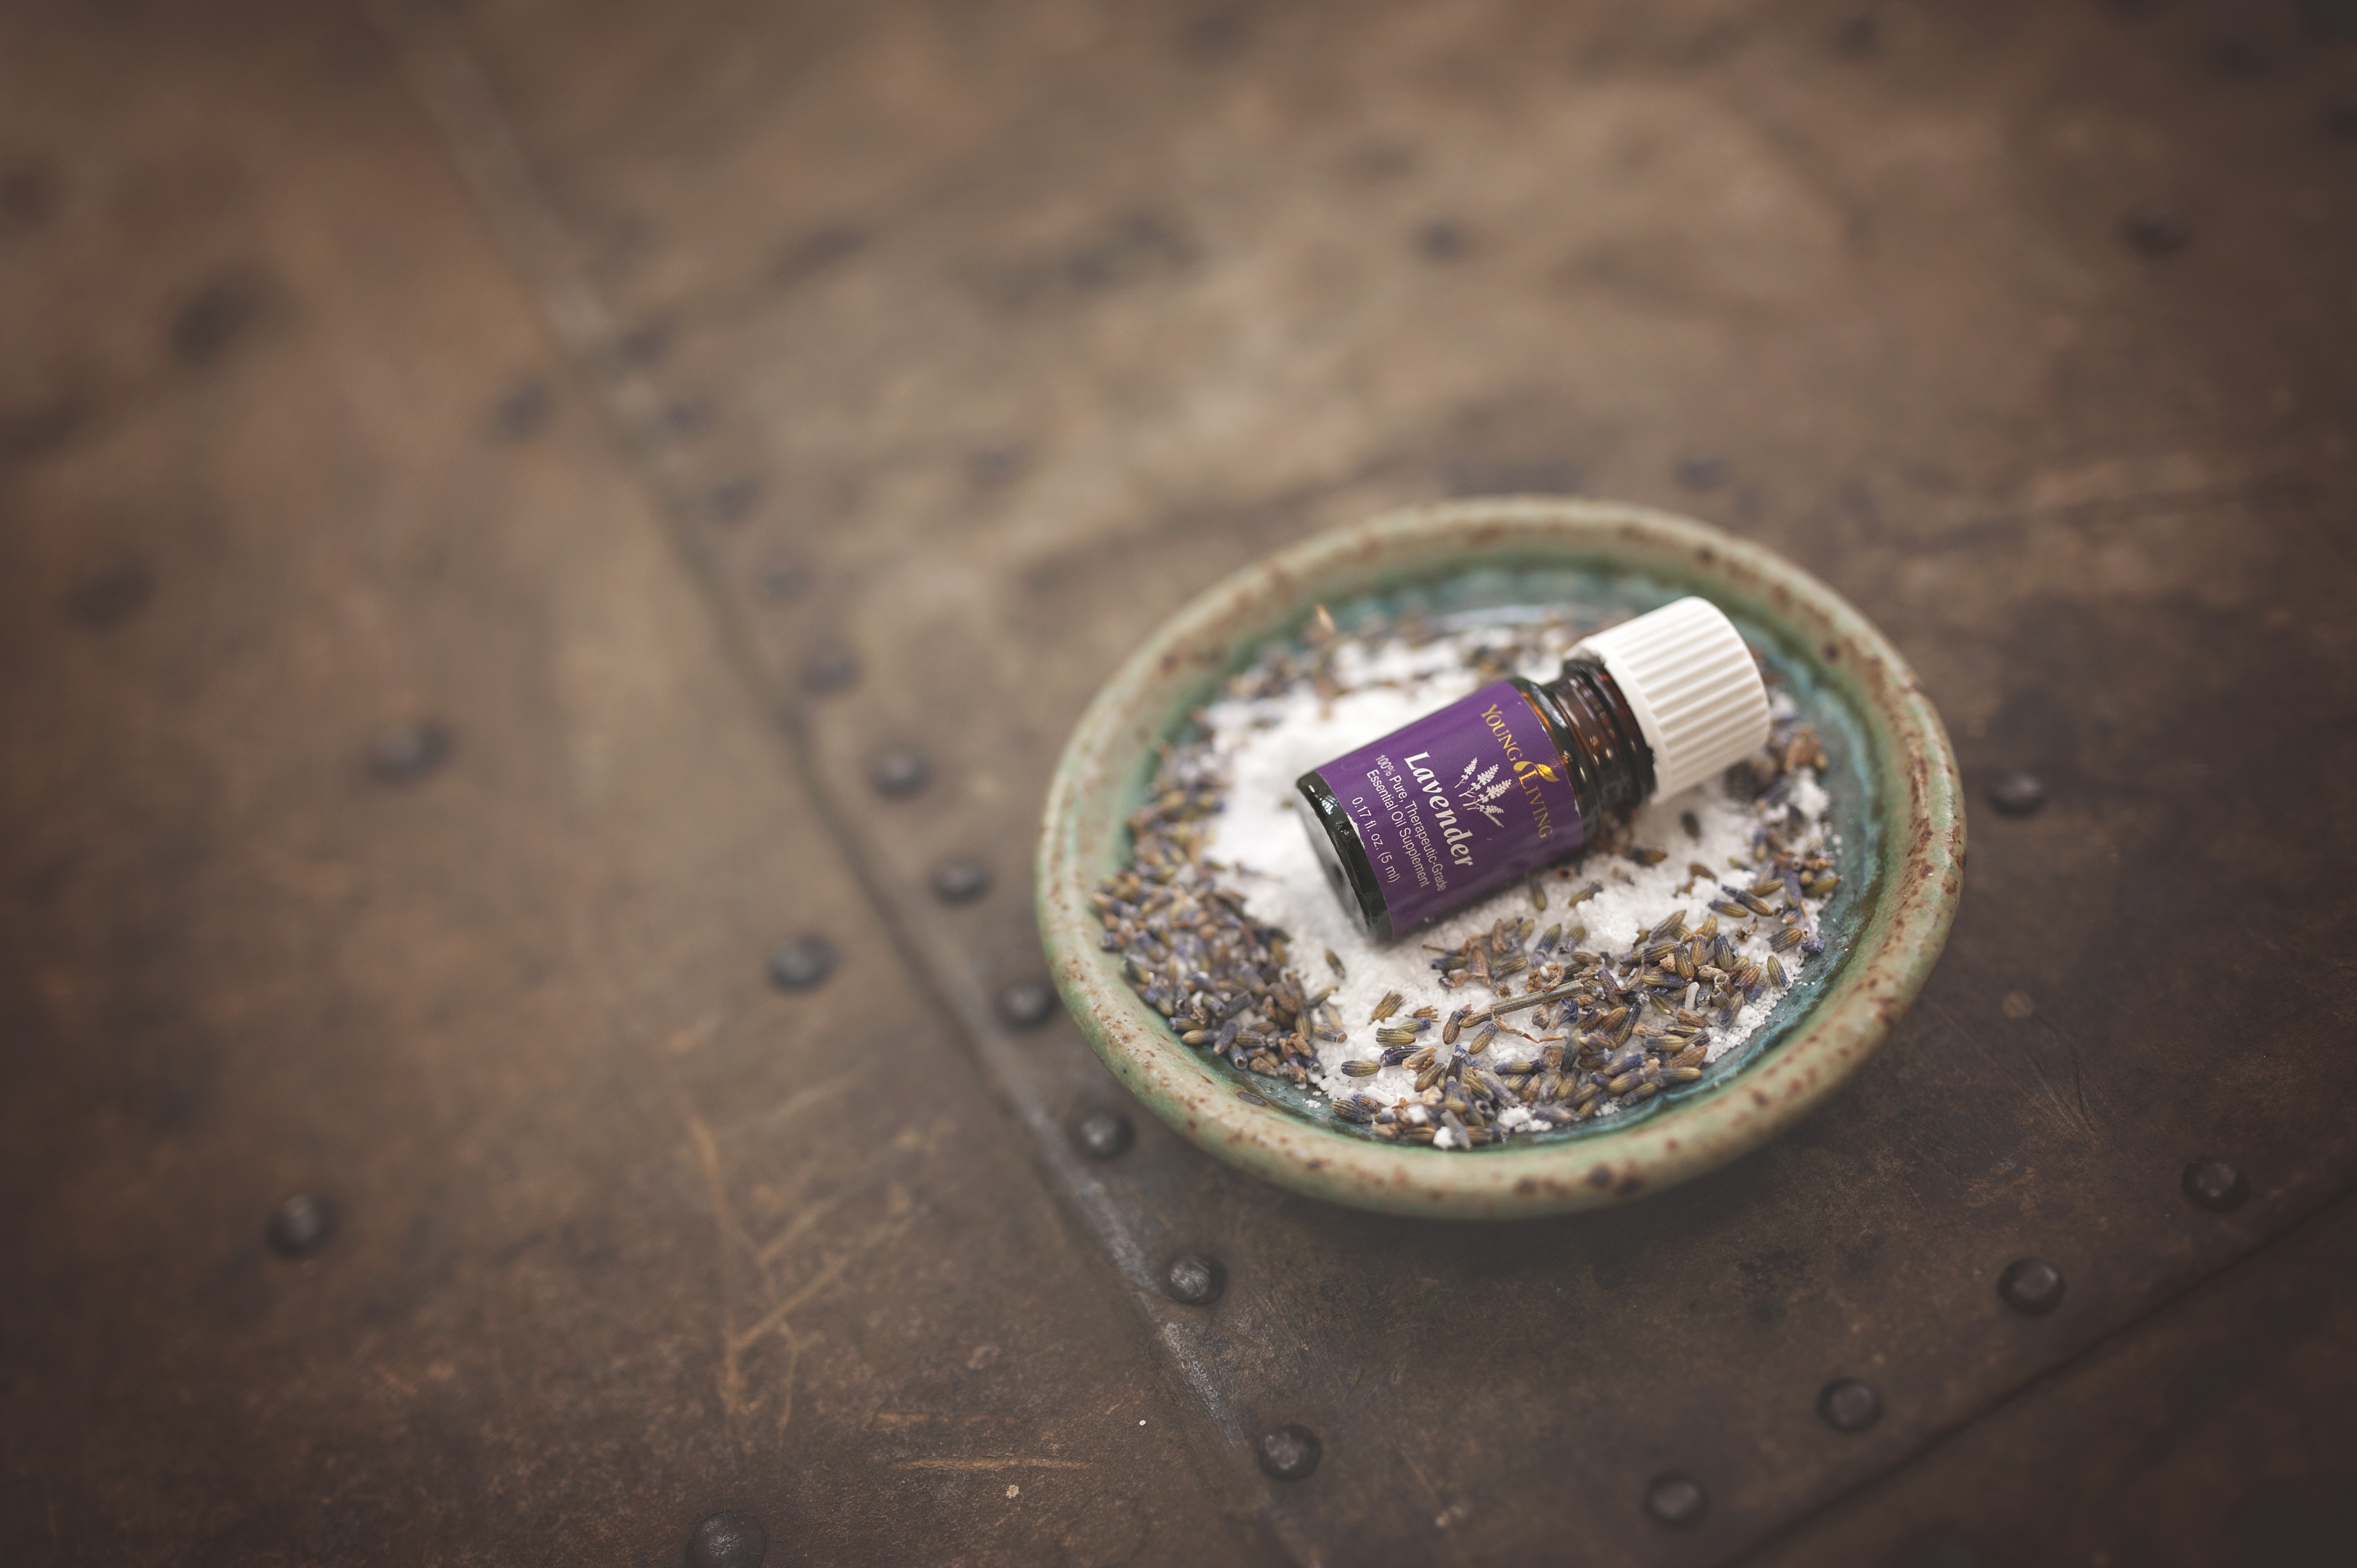
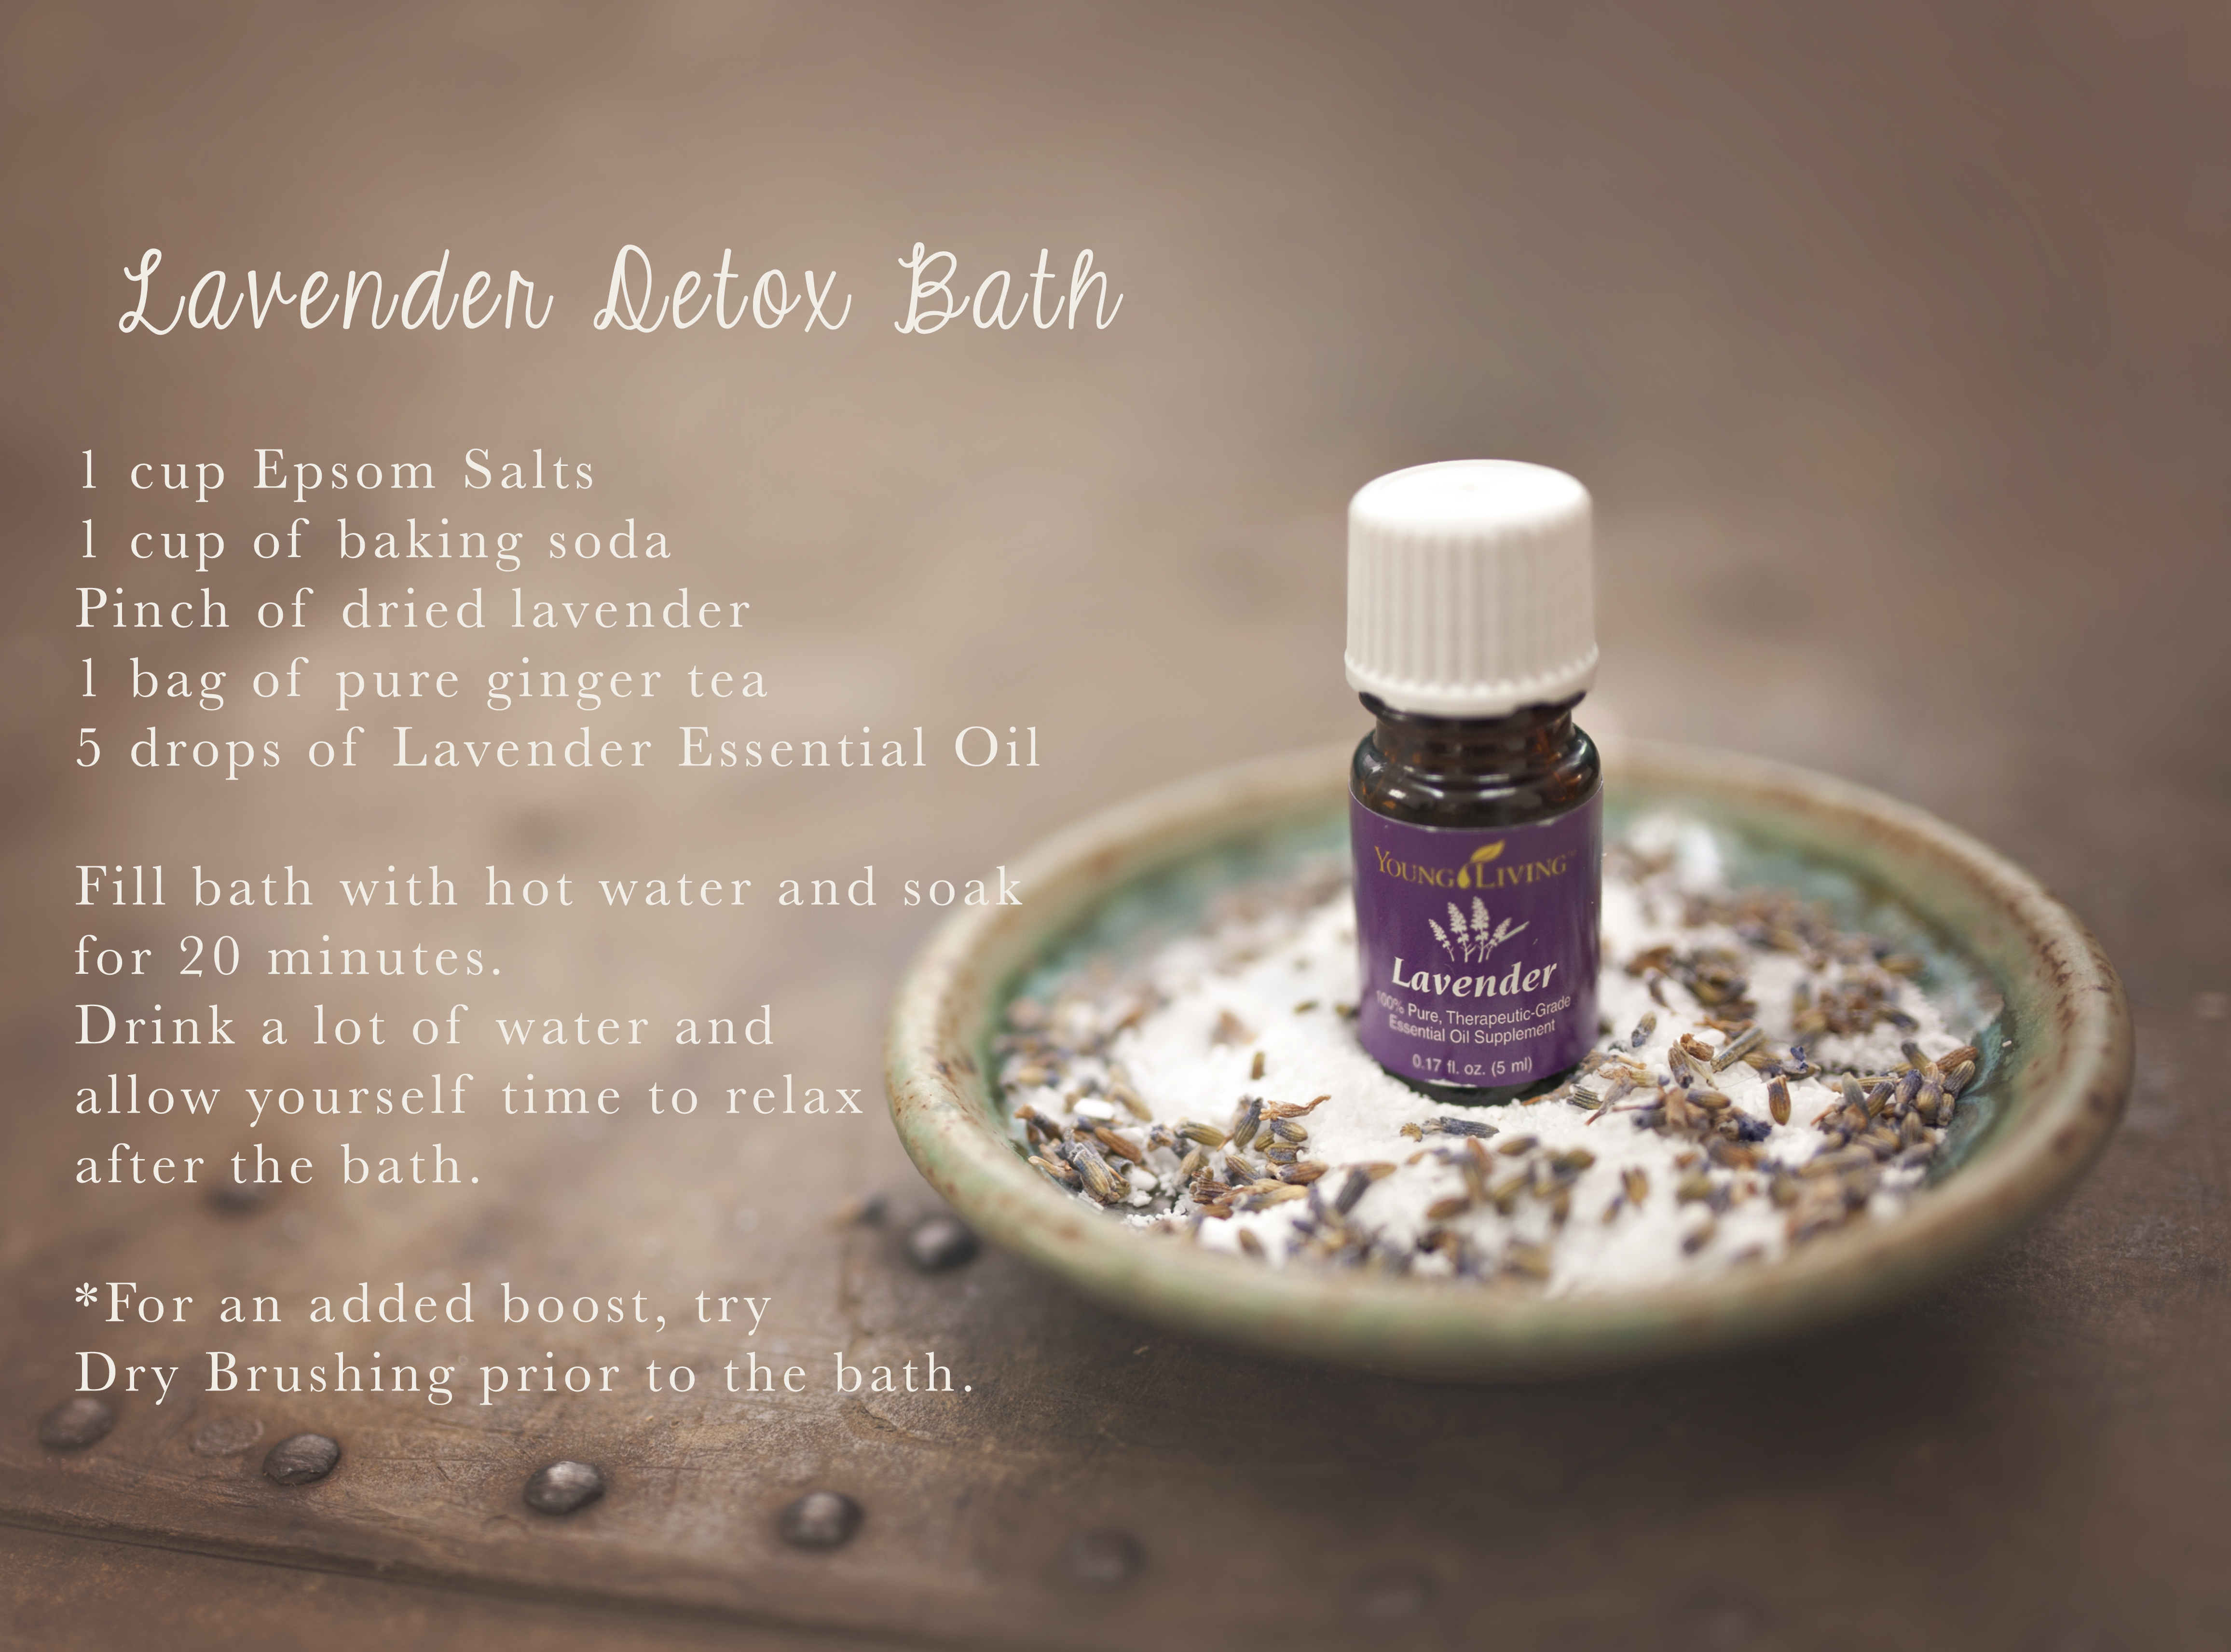
I am going to do lavender detox baths for the younger ones and am also going to make some lavender shower discs for the older guy.

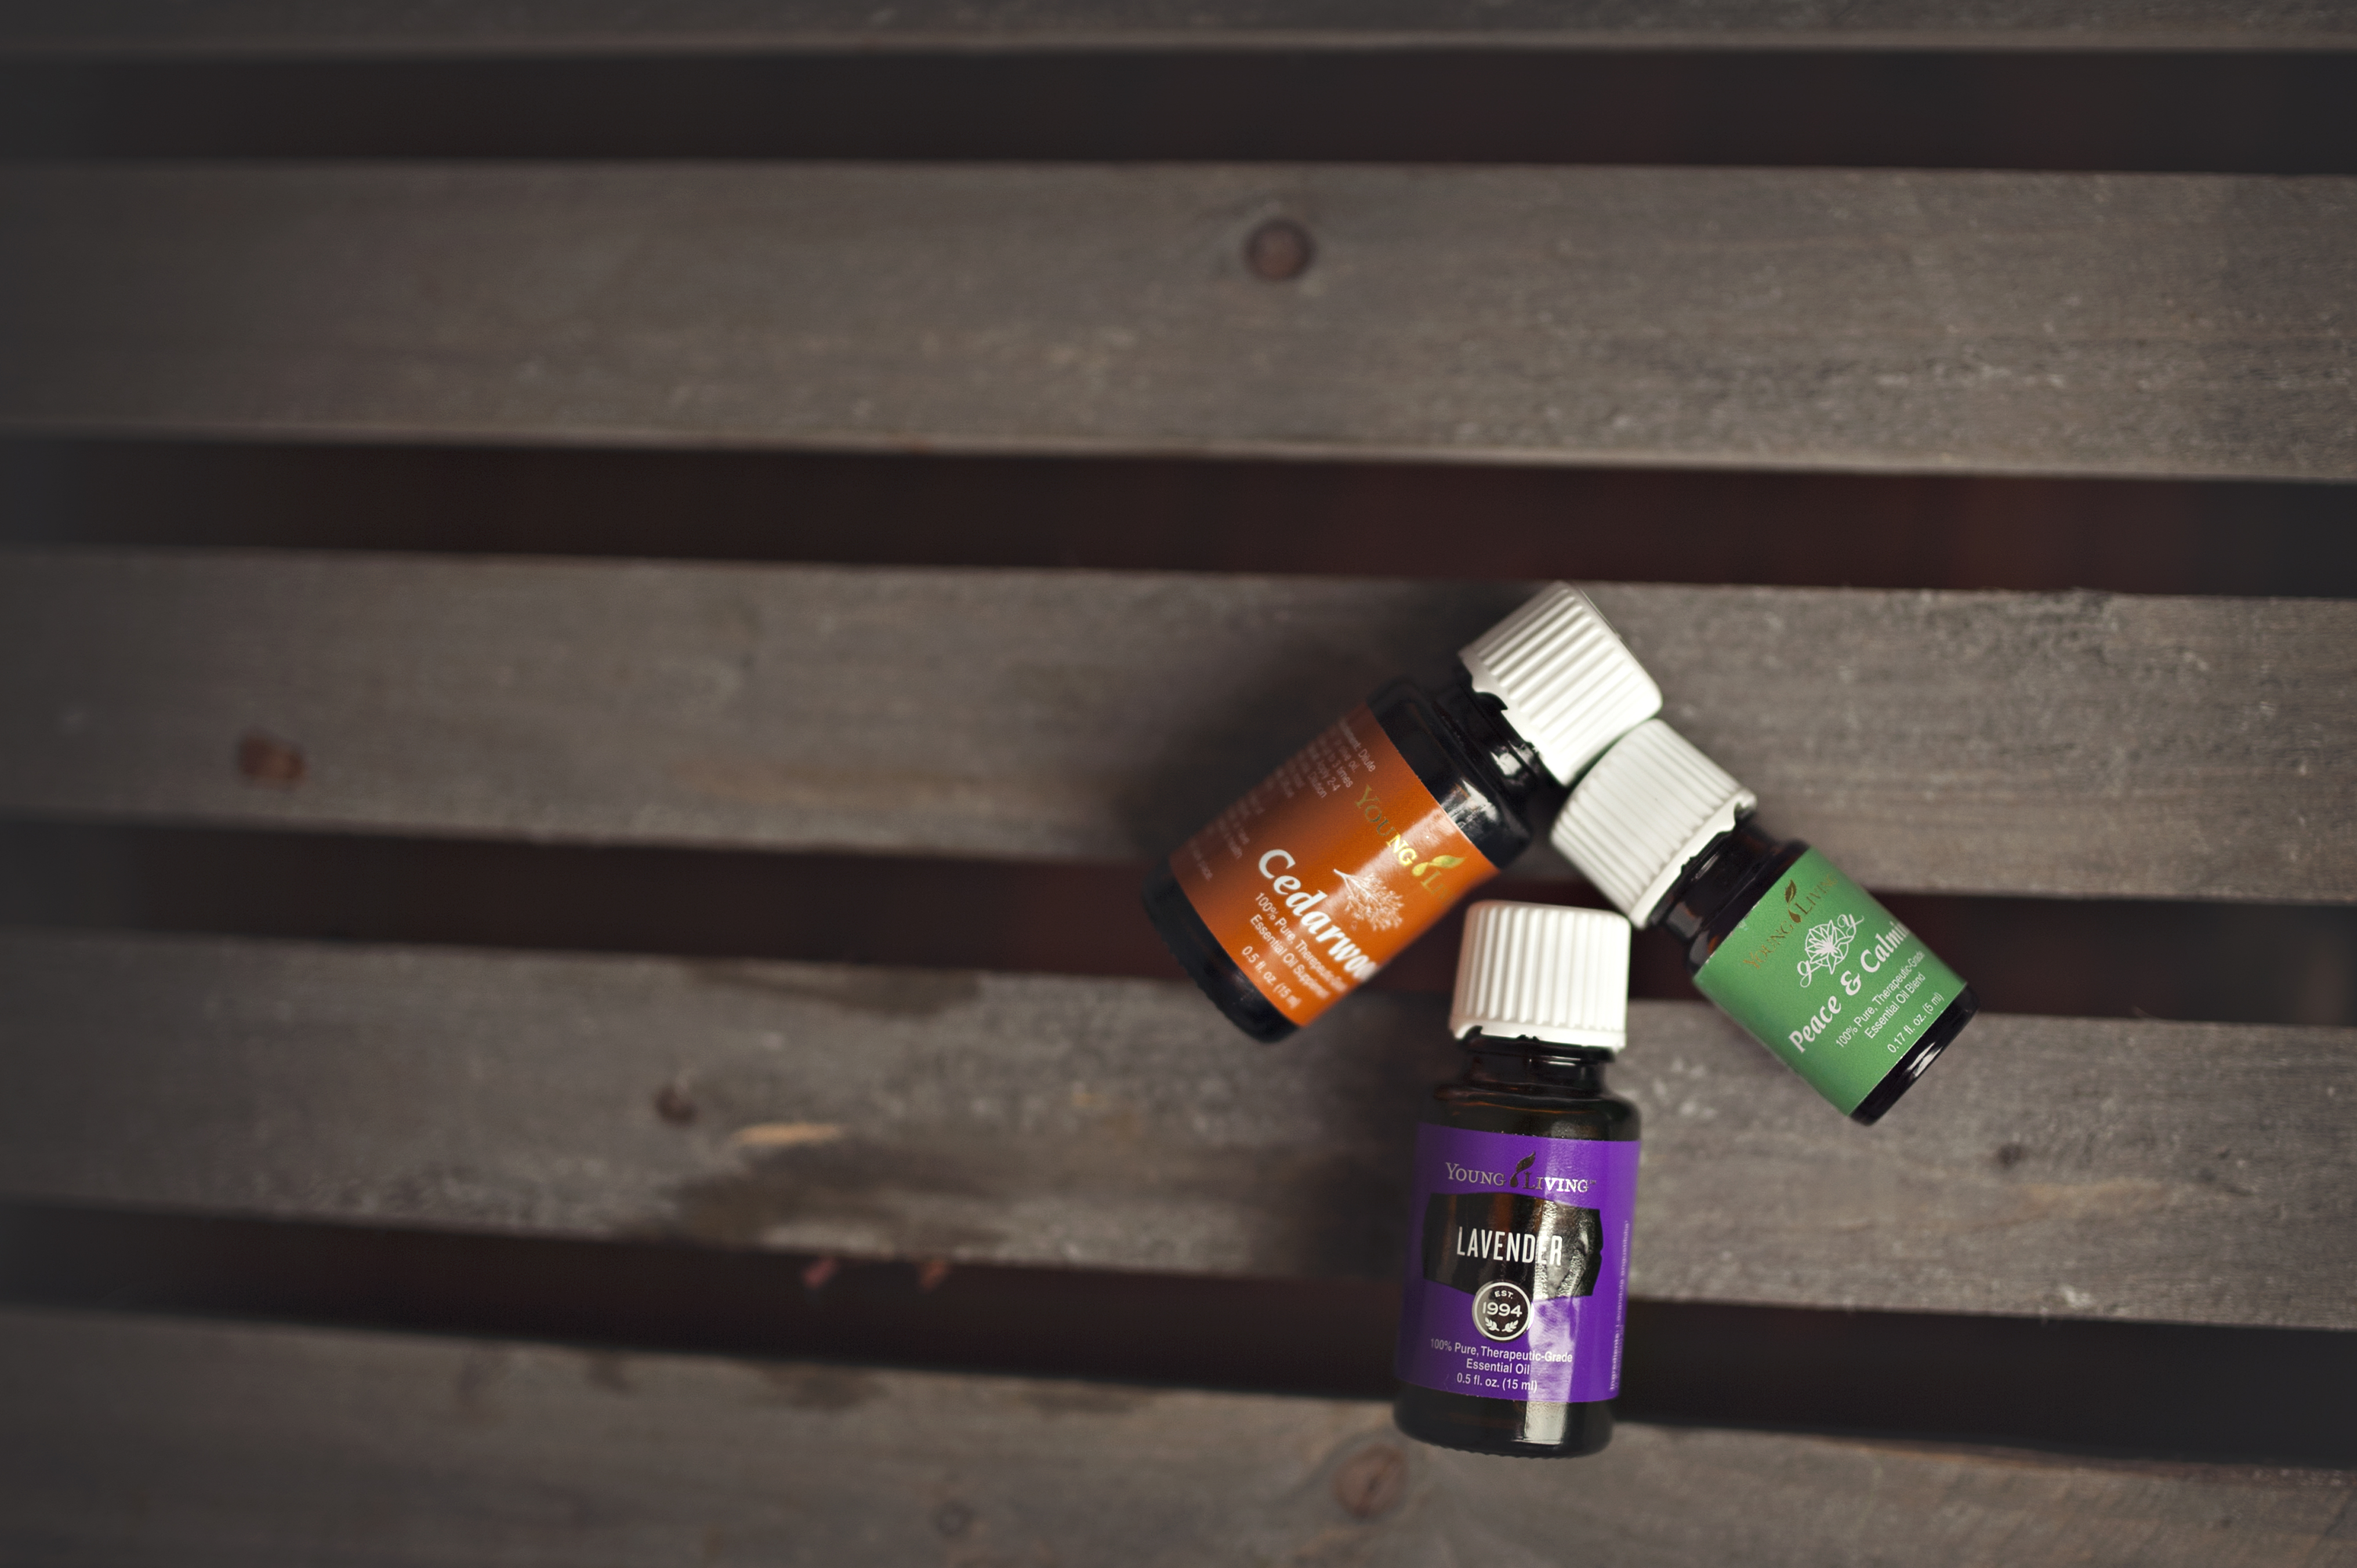
I will also diffuse a combination of sleepy oils – Cedarwood, Lavender, and Peace and Calming as they get their PJs on.  I have diffusers in their rooms and each one will be filled and ready to go!  I also have a linen spray and a roller to put on their feet to encourage a restful night of sleep.

DSC_1226

Immunity Boosting:
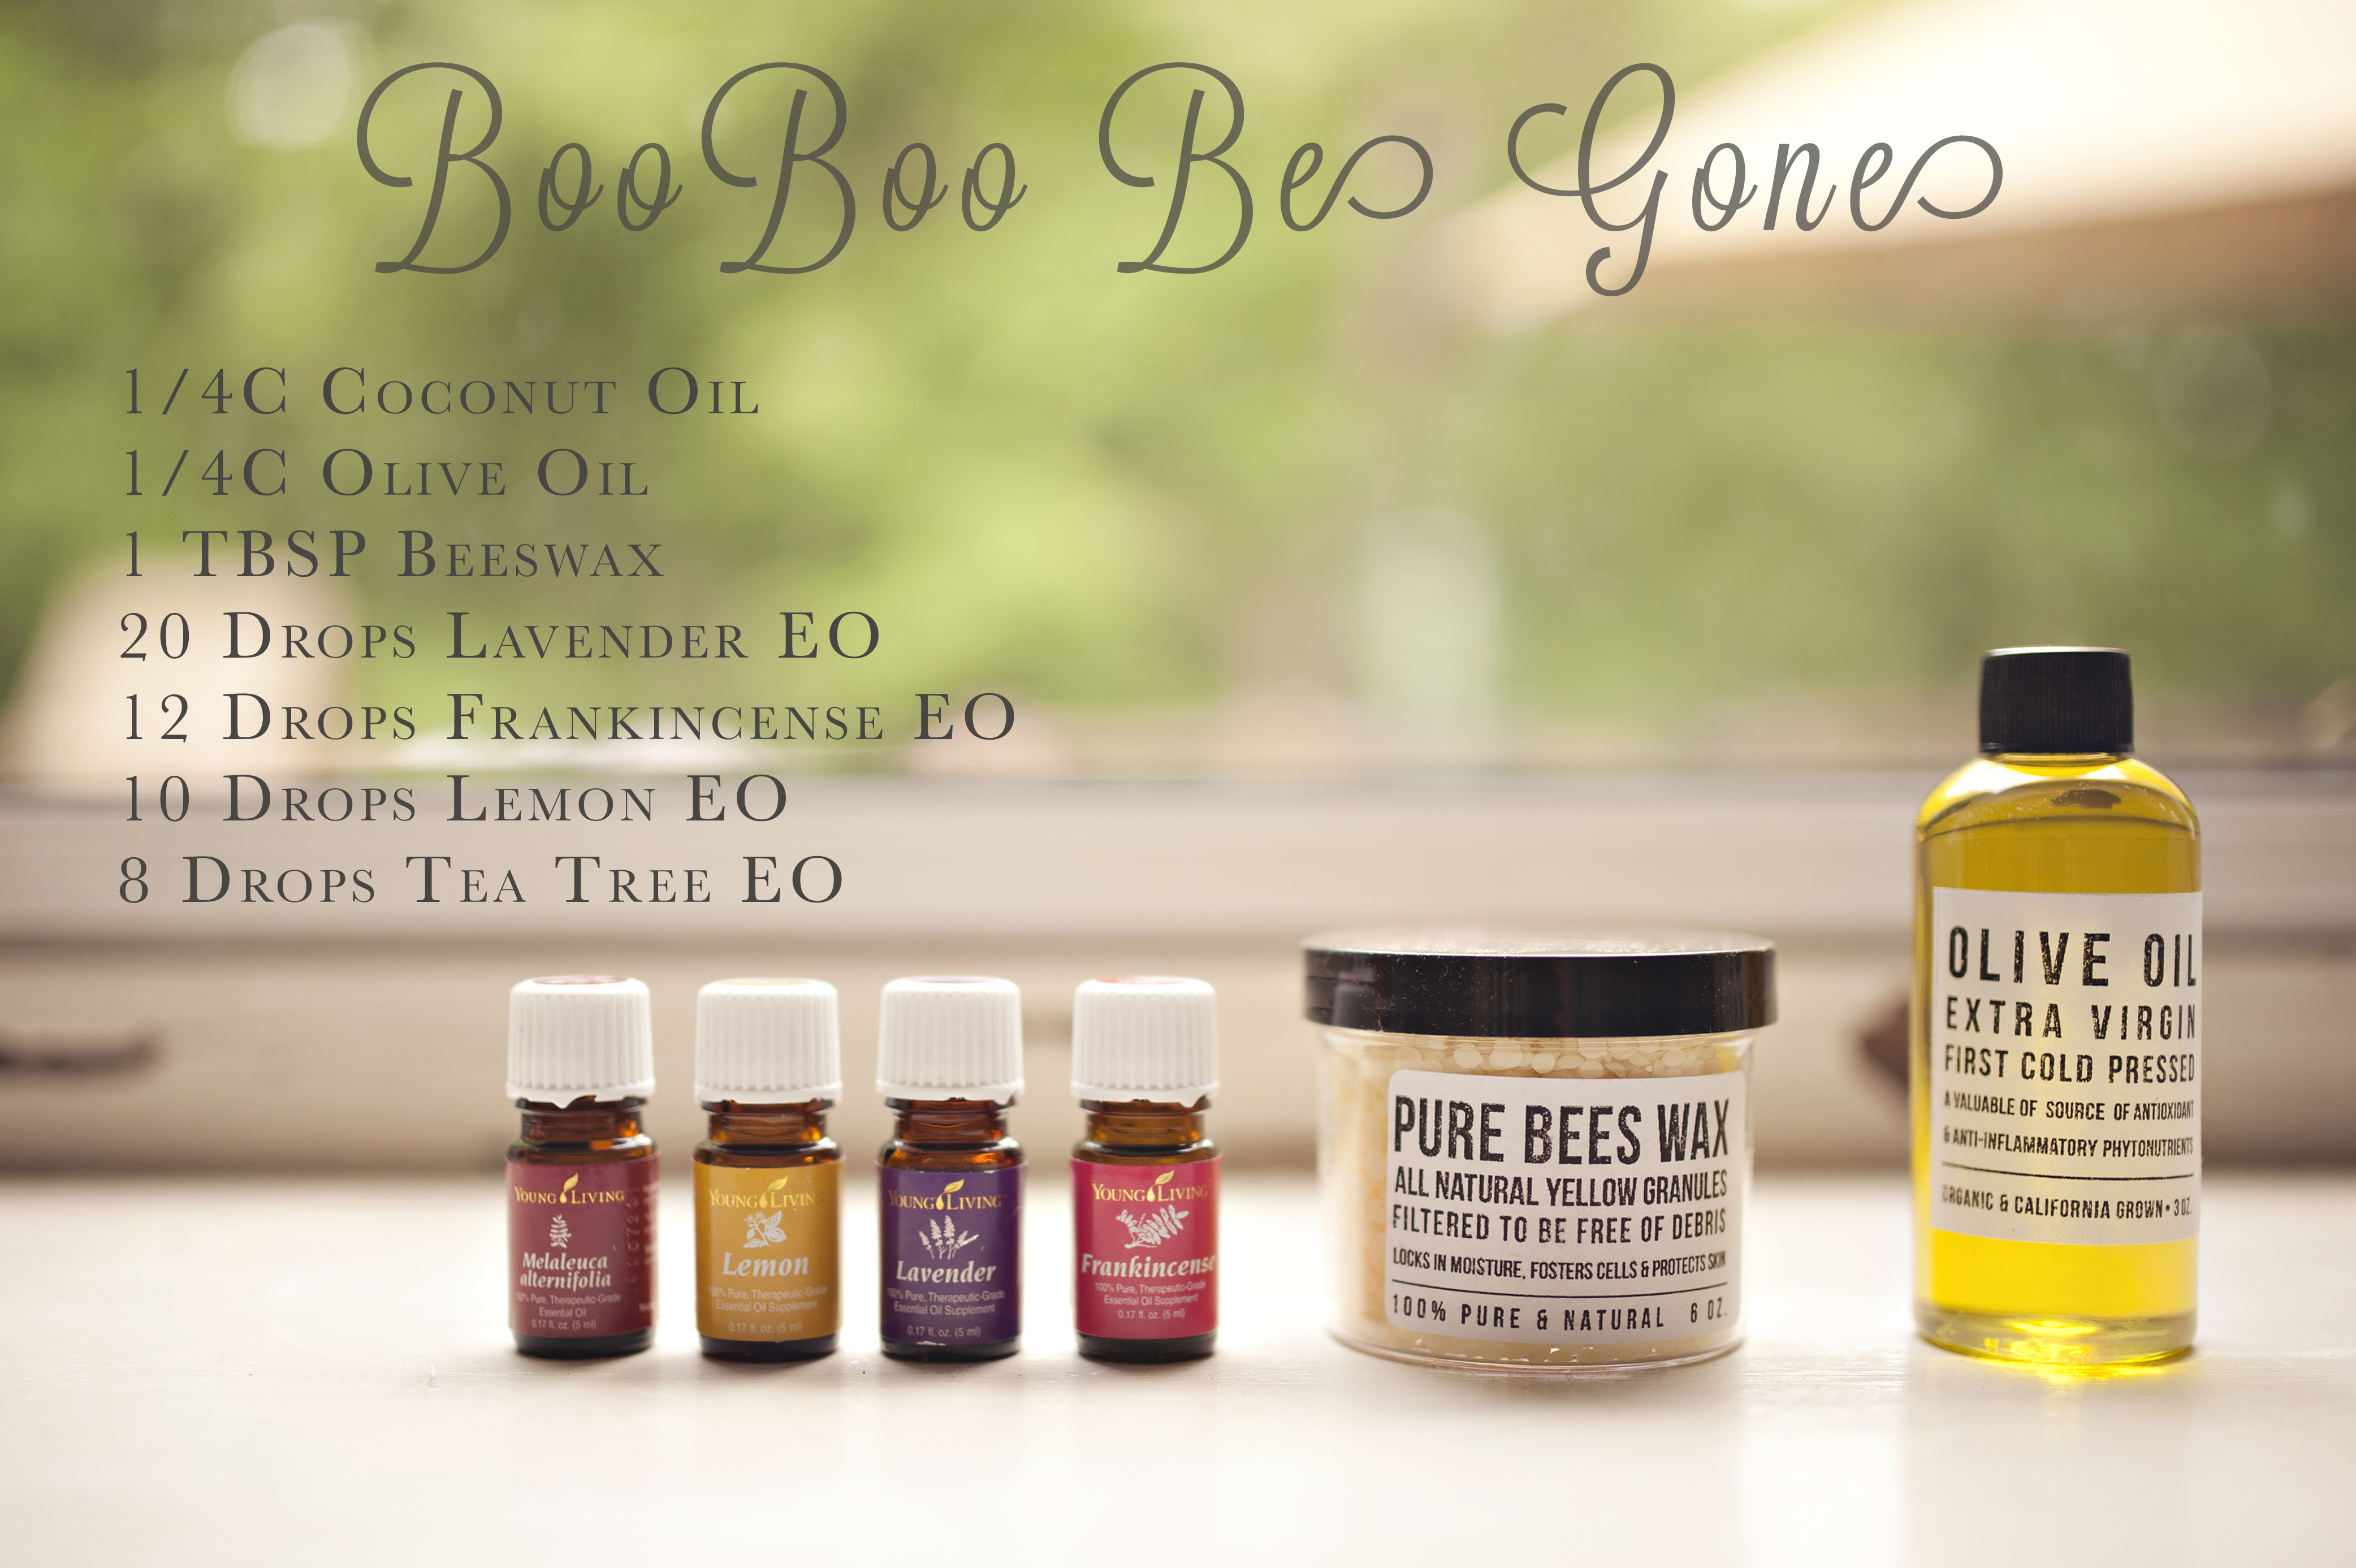
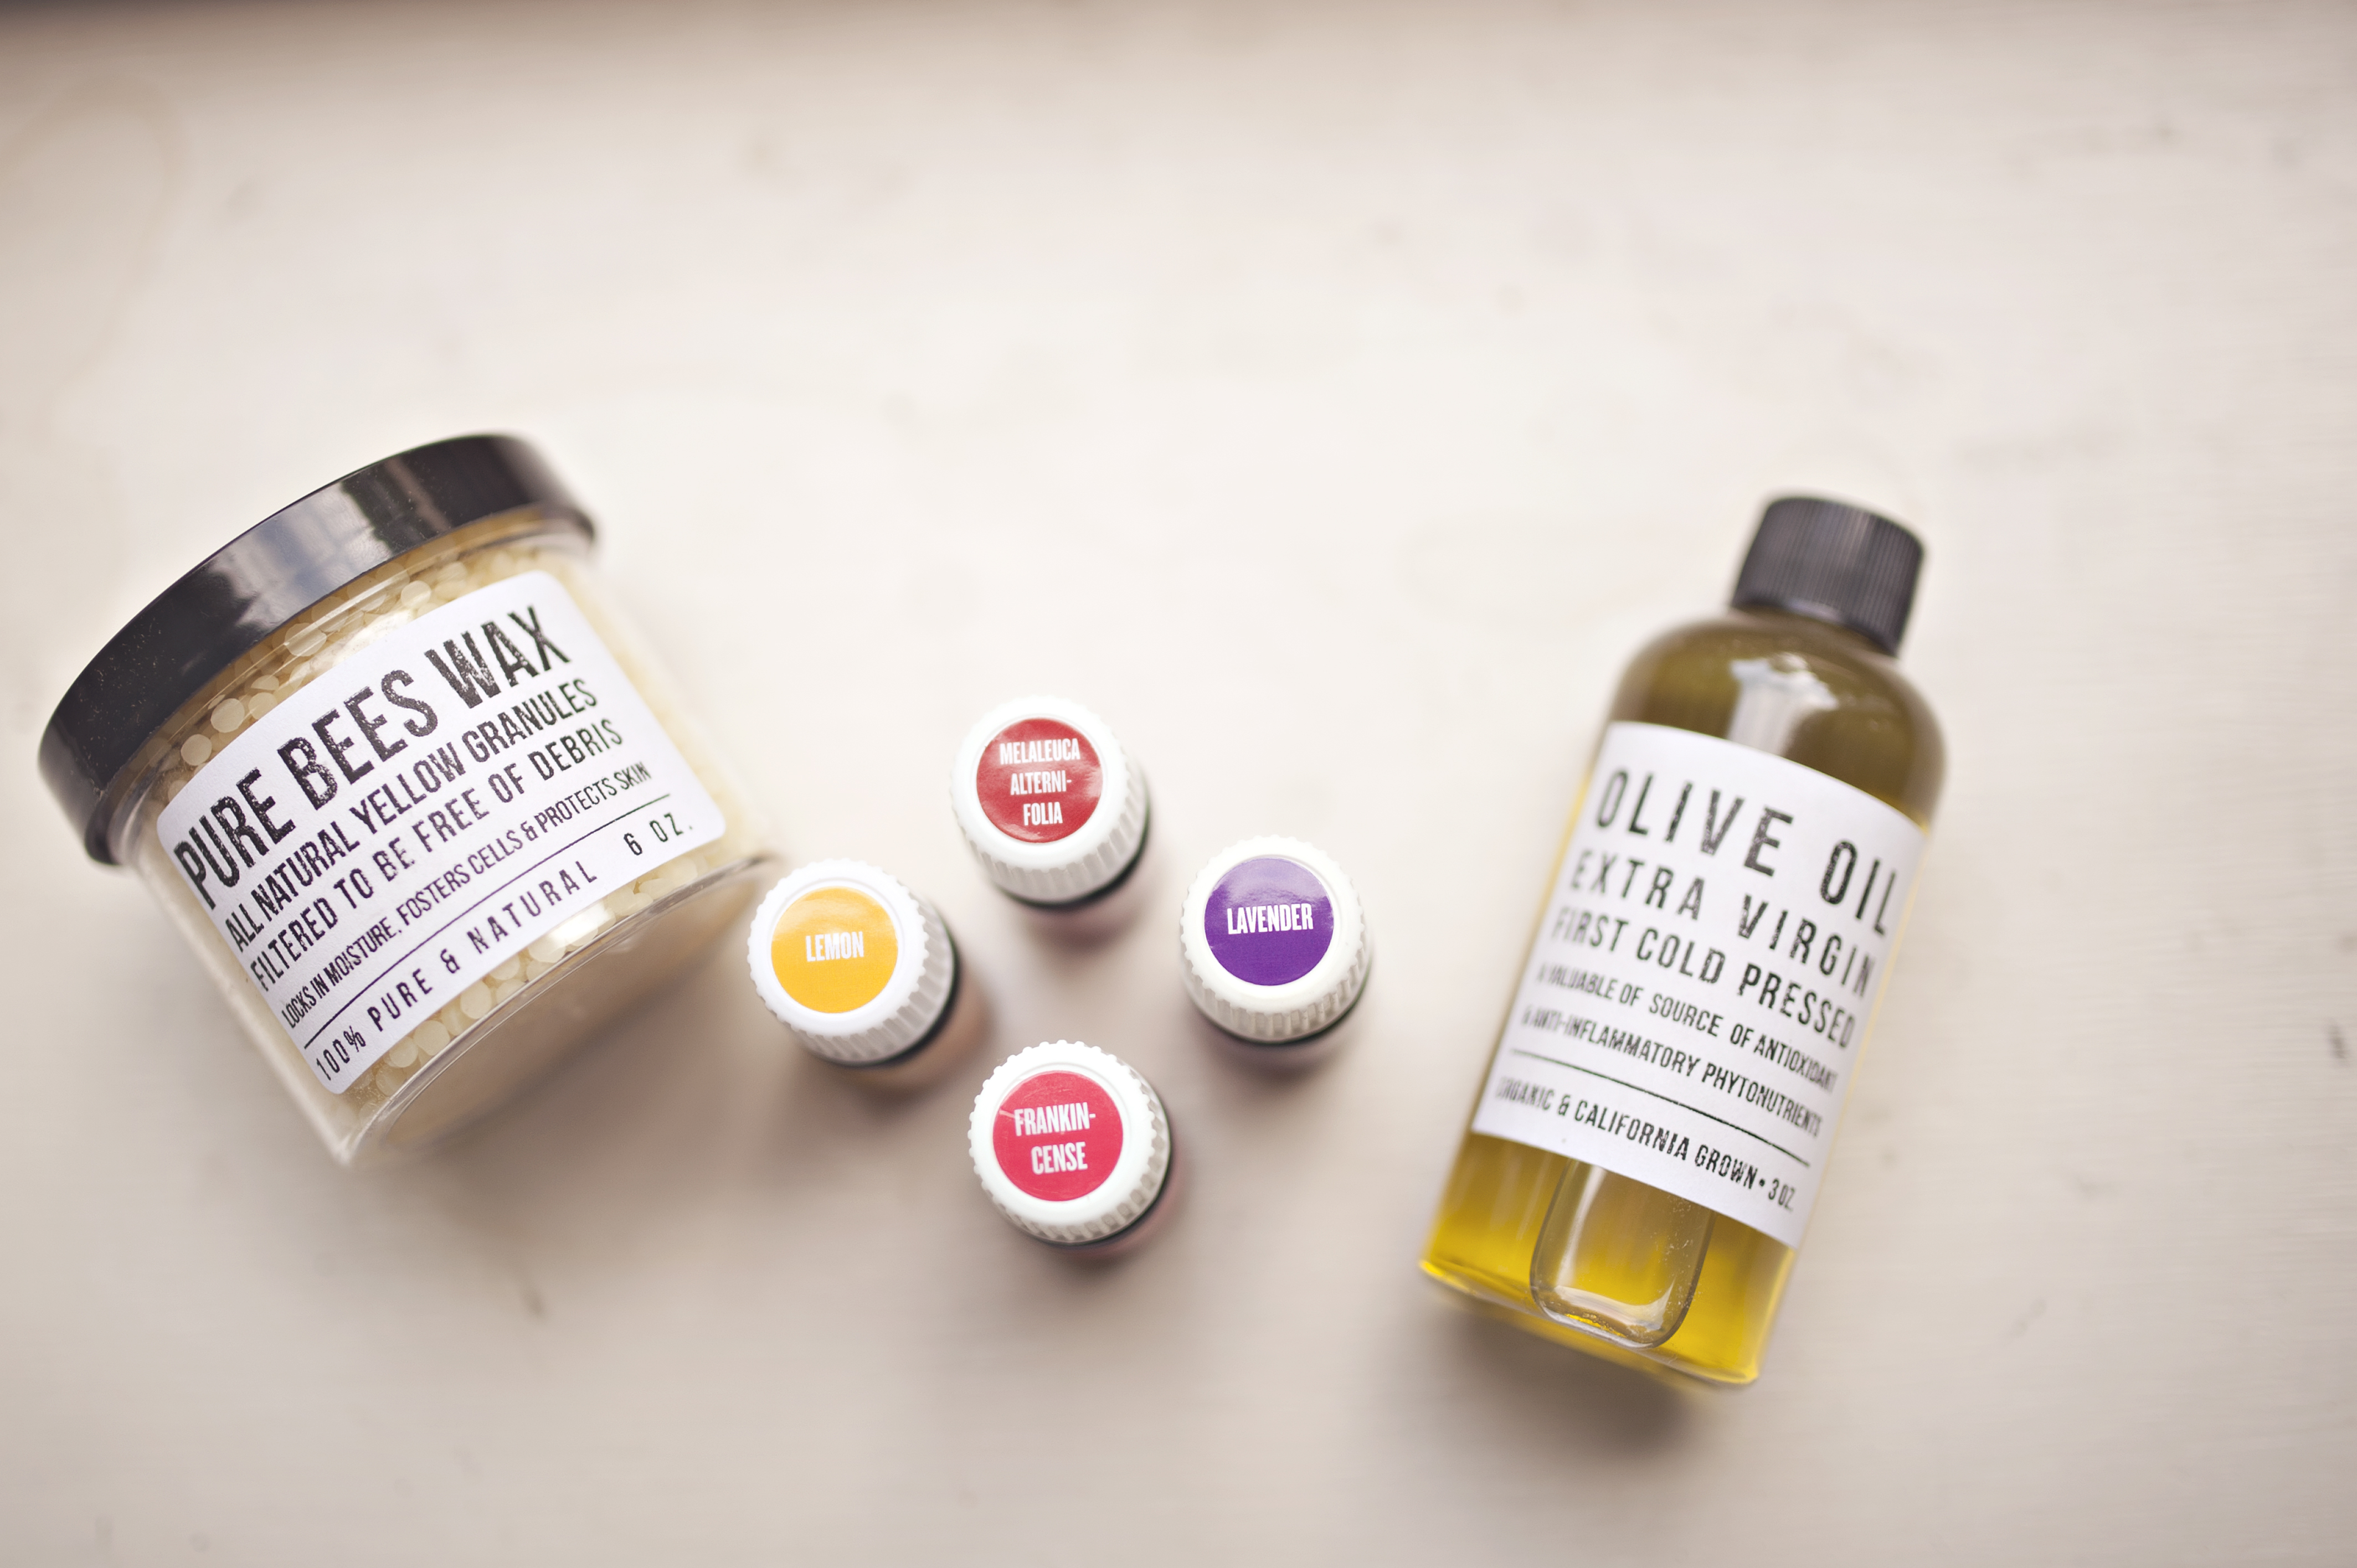
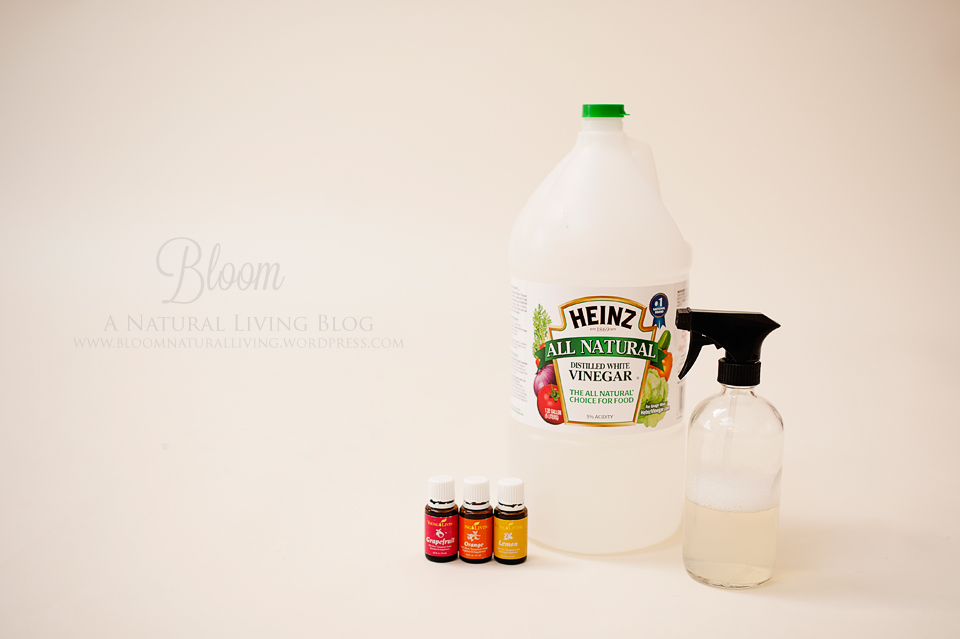
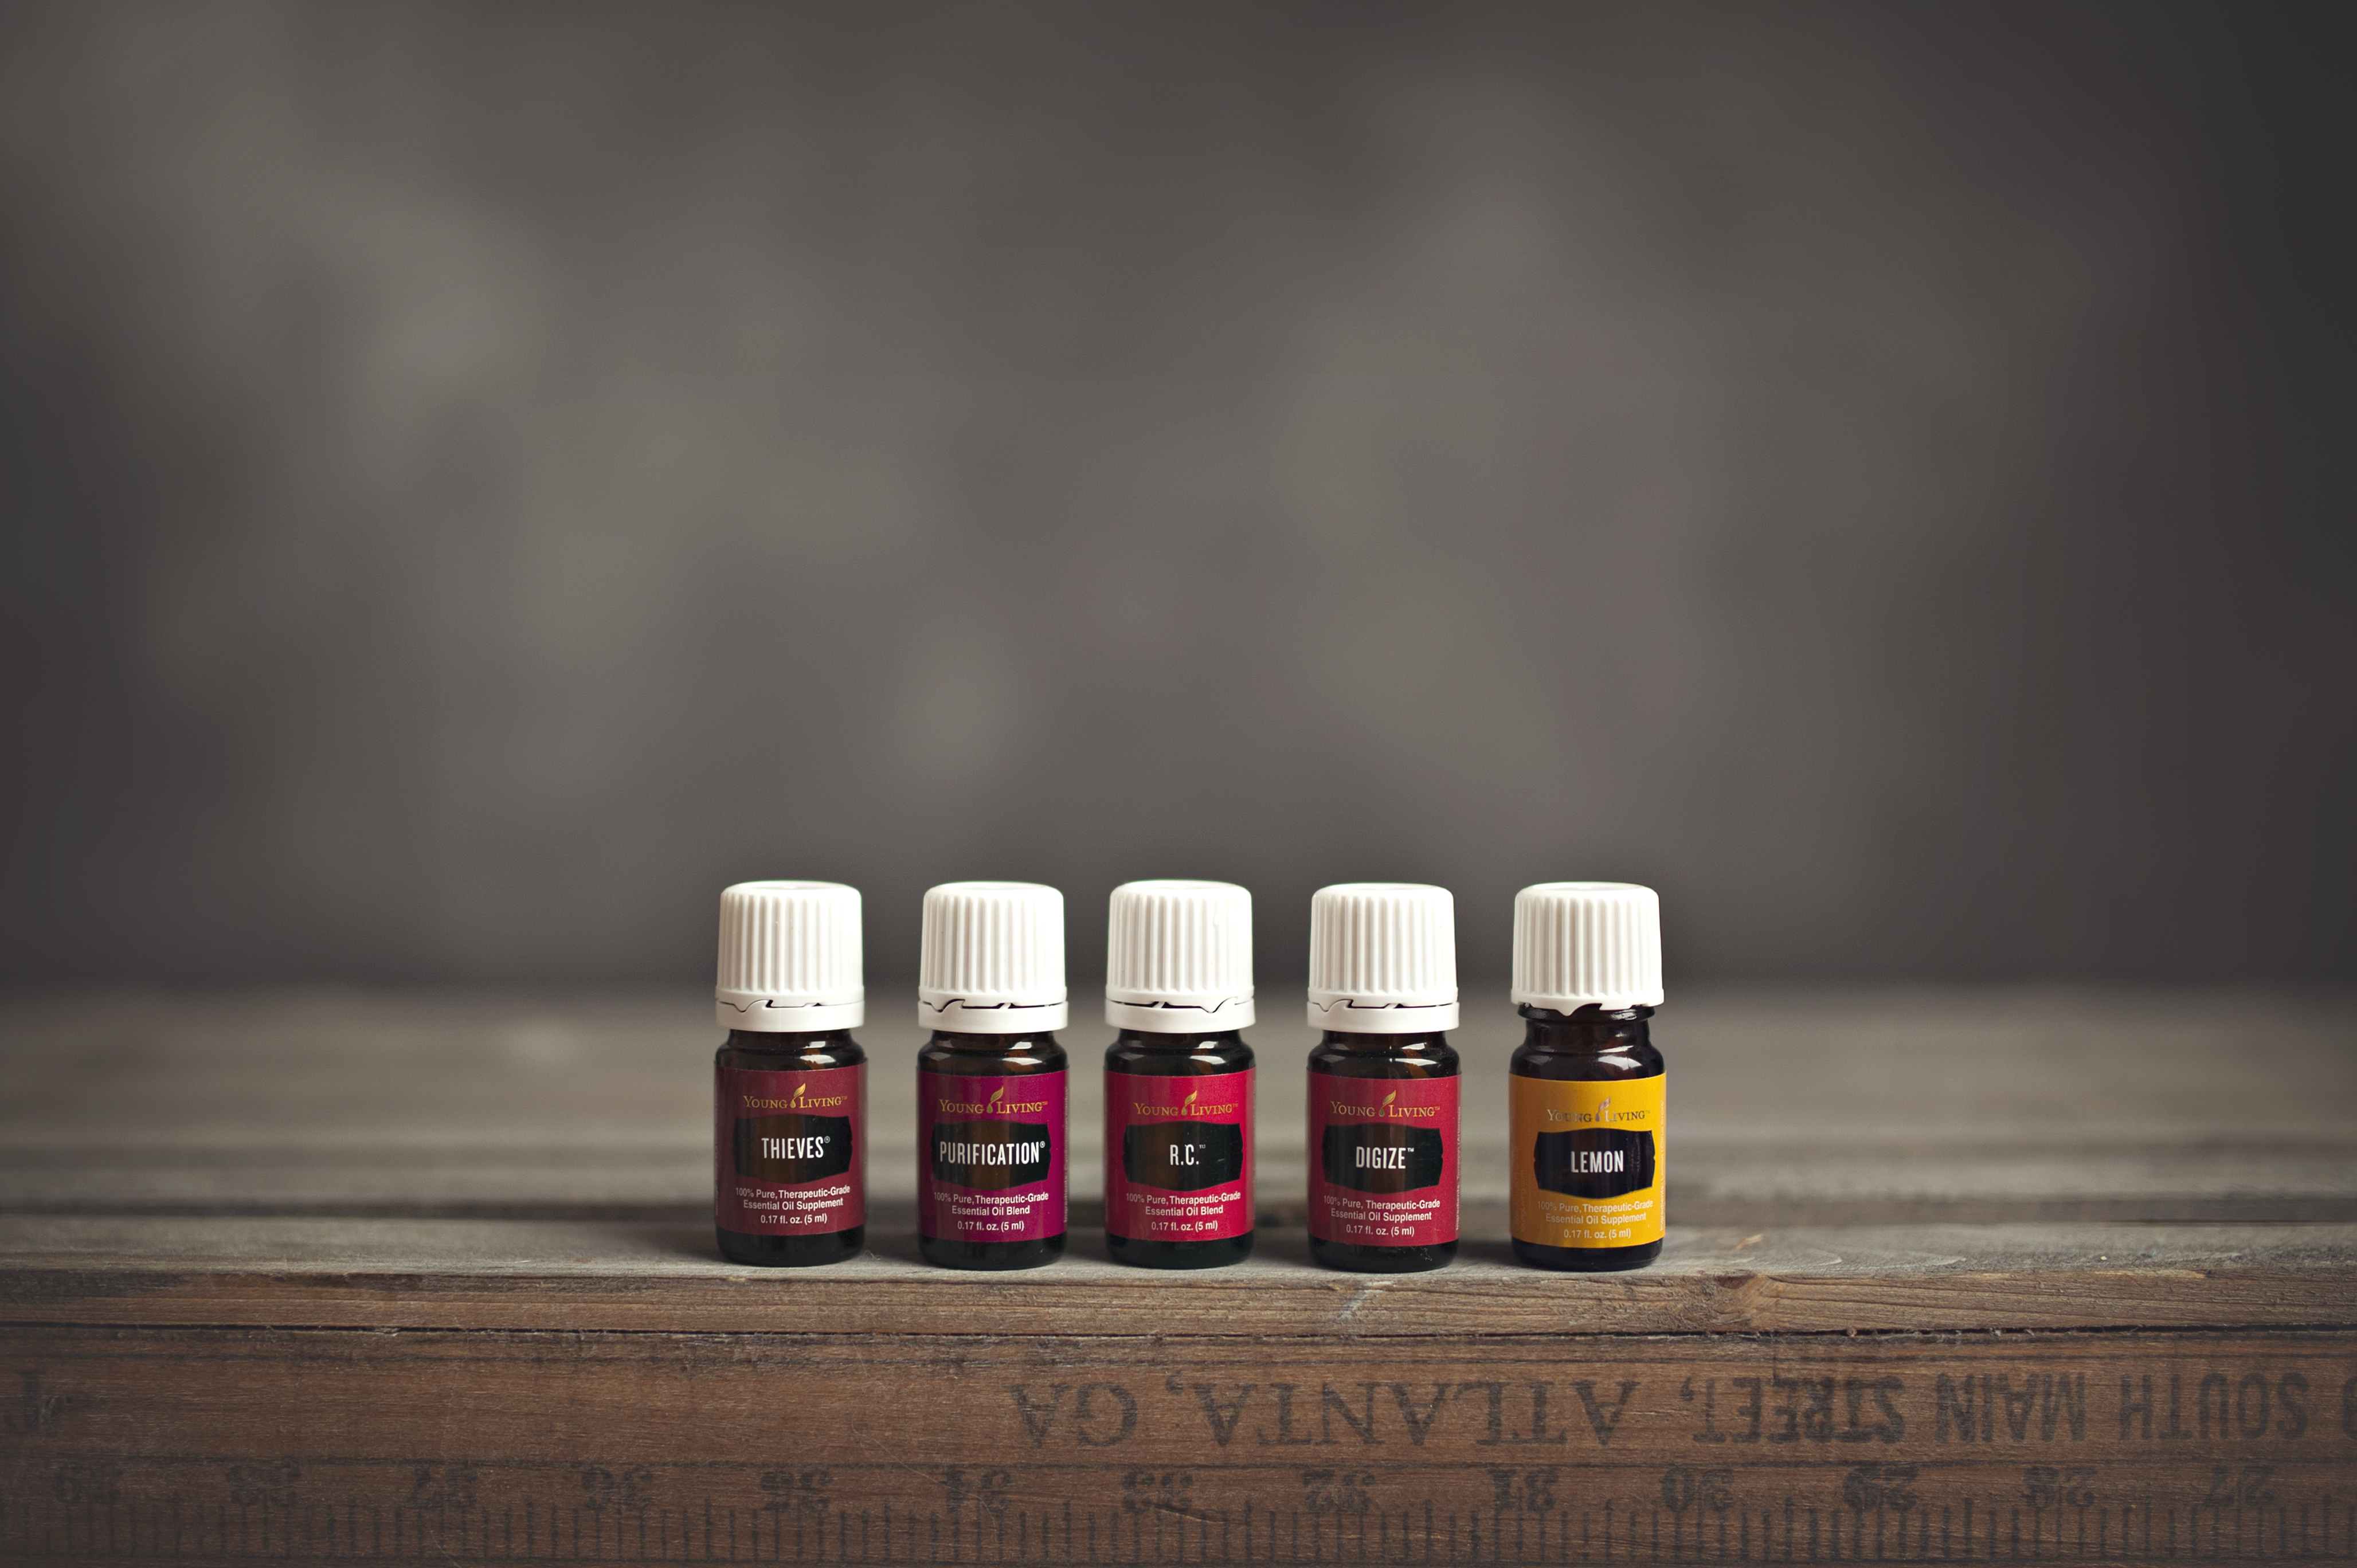
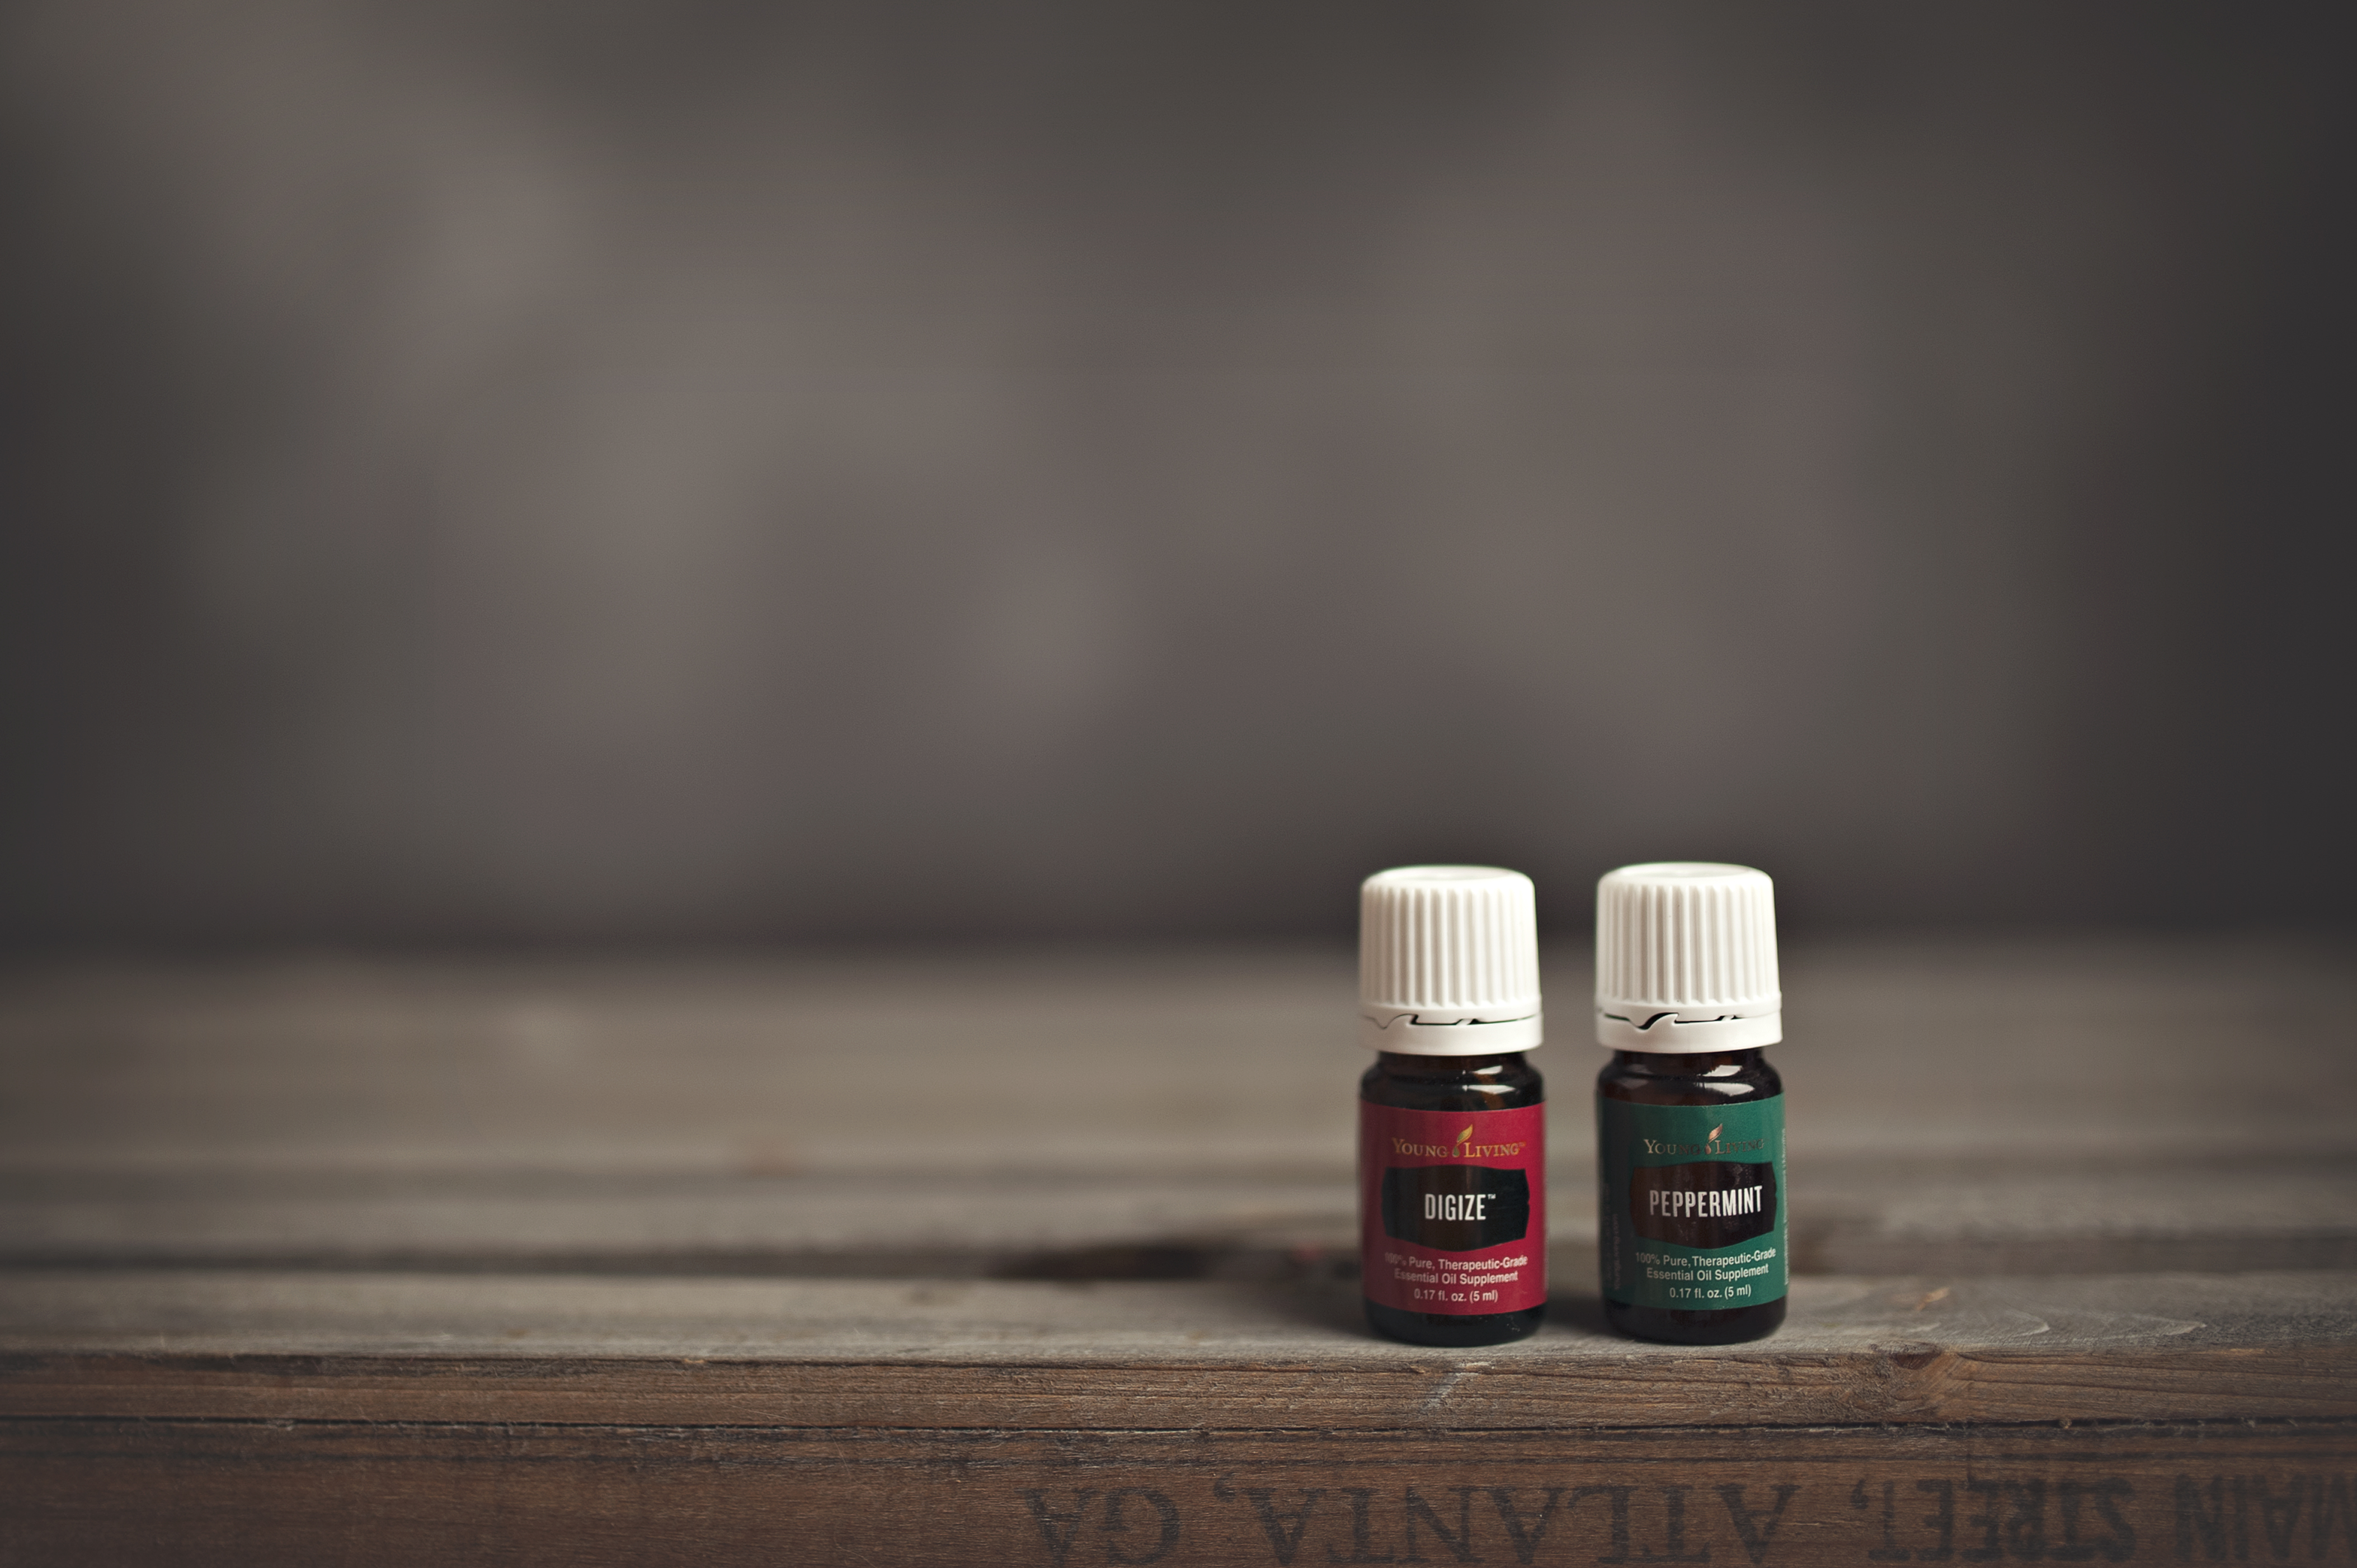
If there is sickness around school, I have my immune system boosters ready to go!  Thieves, lemon, and purification for general immune system support.  I also have Digize and Peppermint for digestive support and RC  for respiratory system support.  Bring it.  We are ready!

DSC_1234
DSC_1236

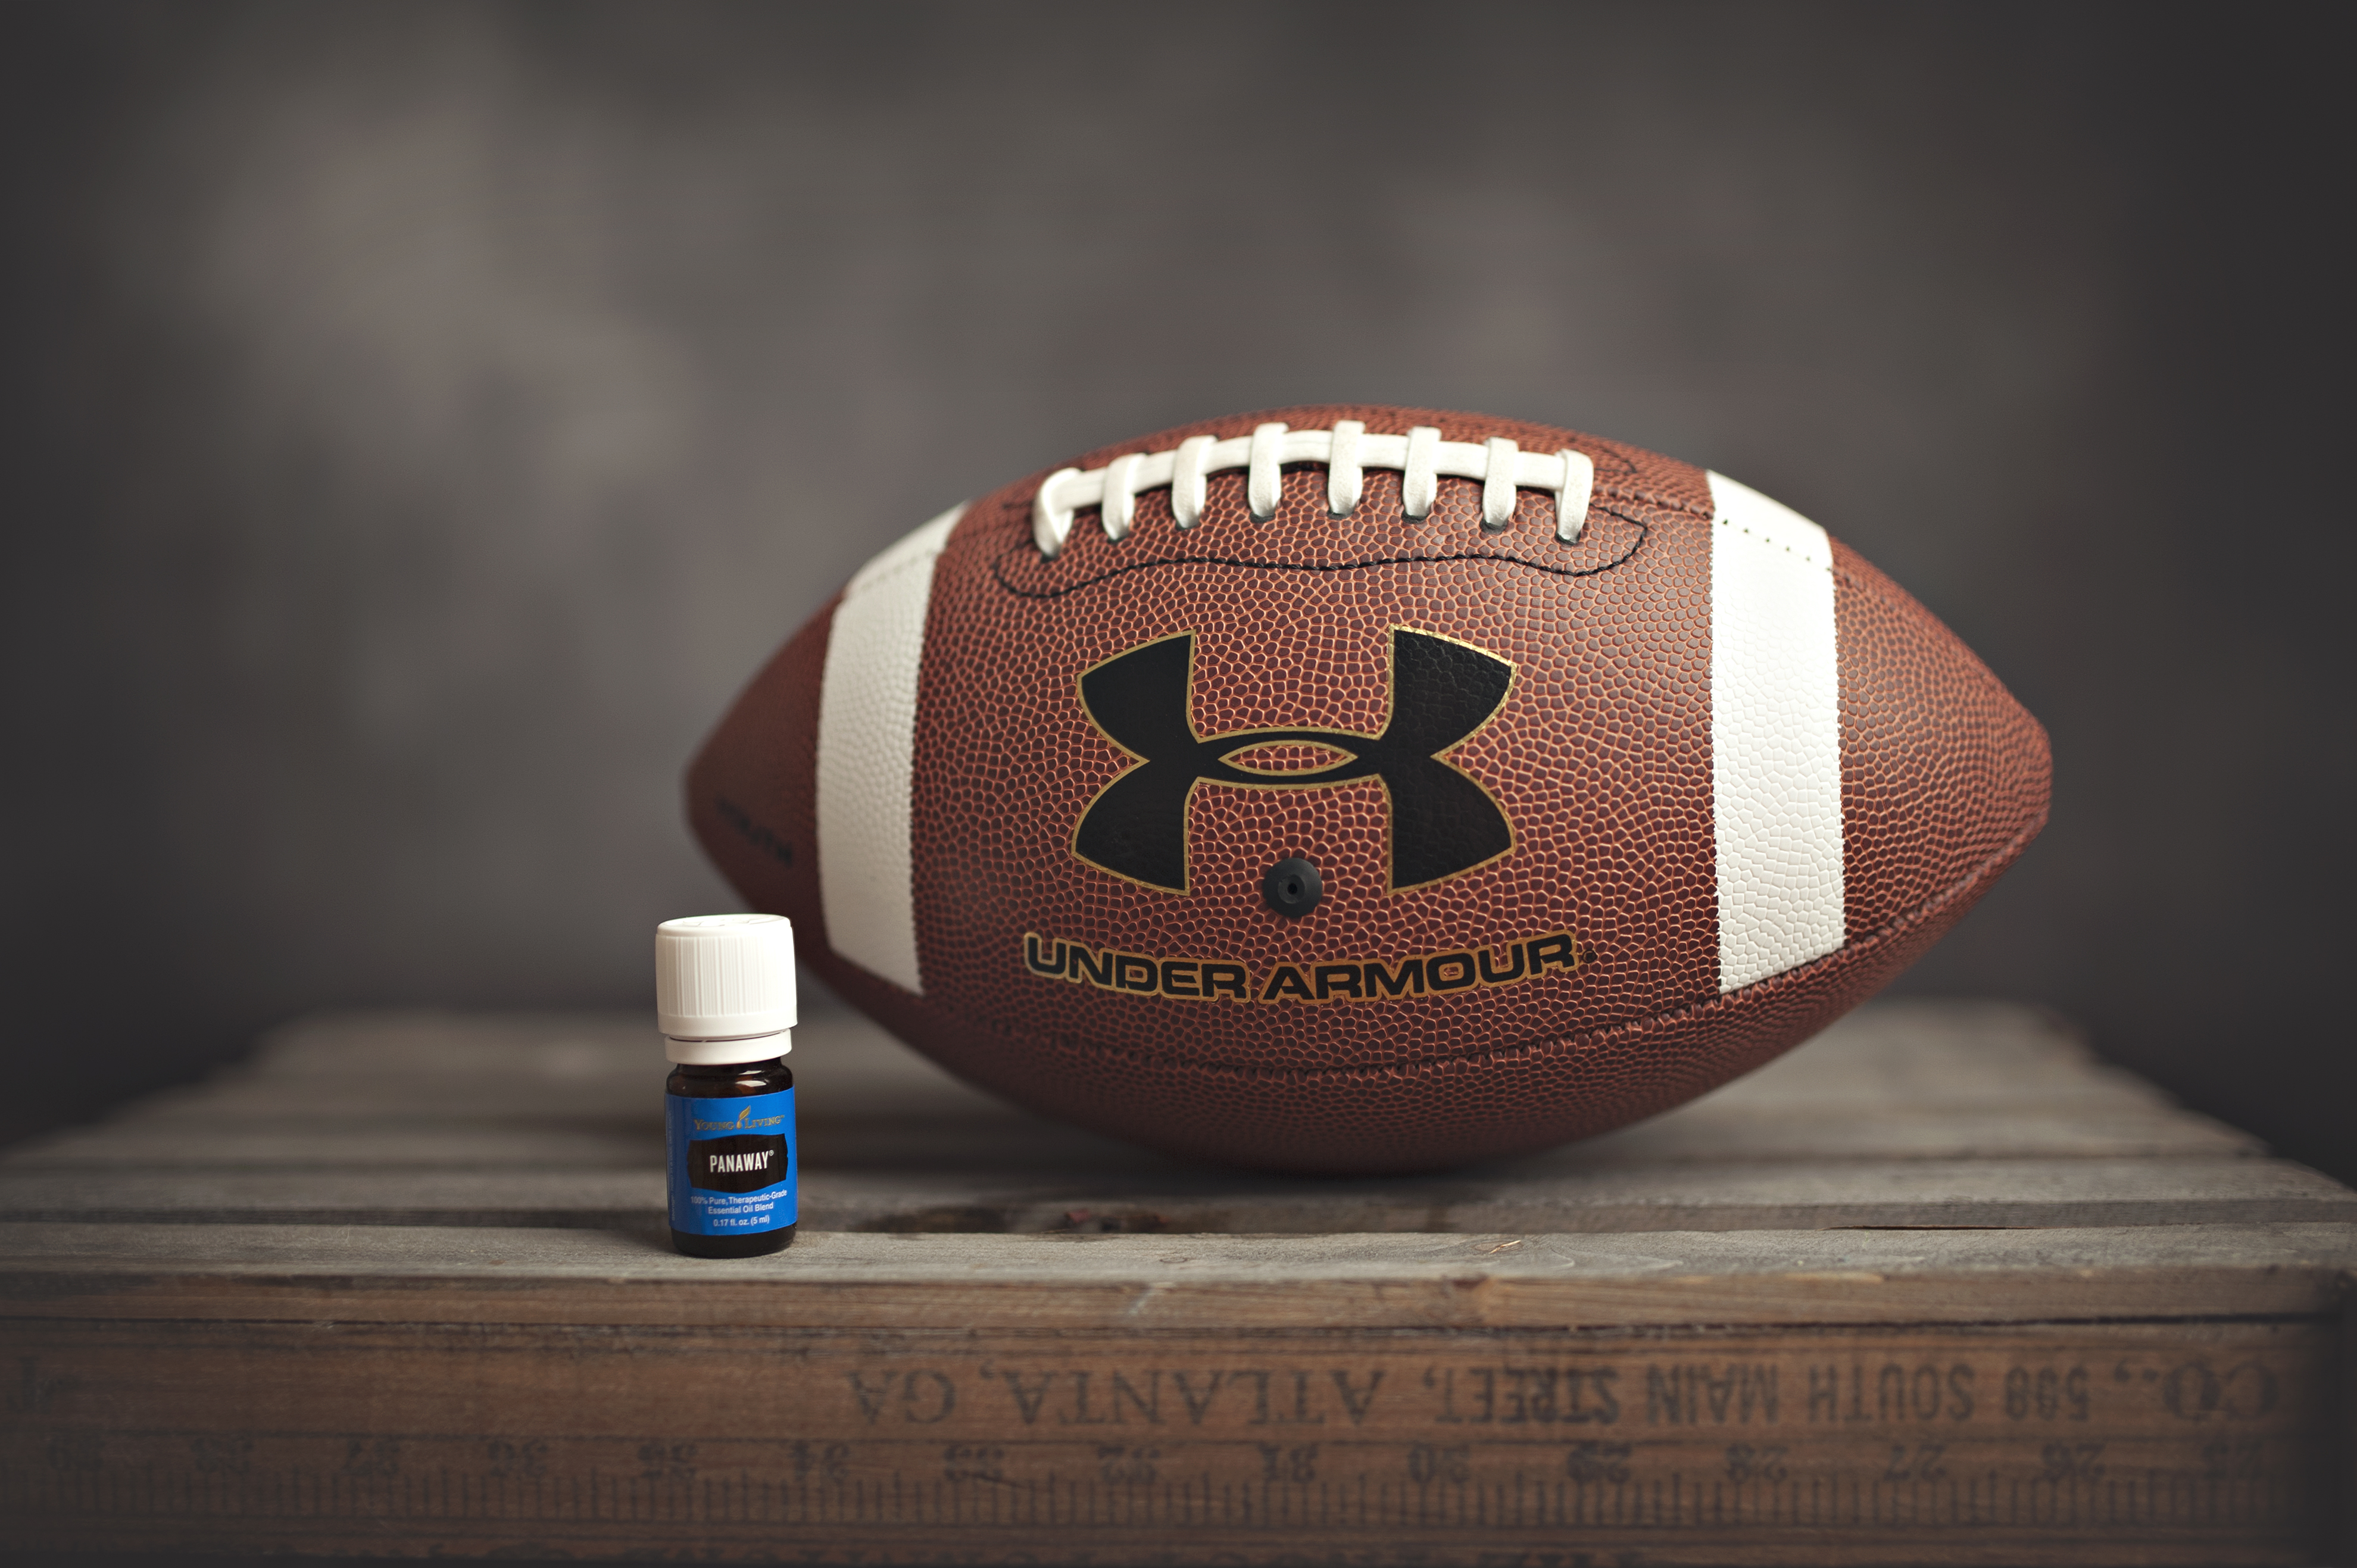
My oldest plays flag football and he gets occasional muscle aches, so I have Panaway ready to go for him in a roller.

DSC_1242

So yeah, that is pretty much my game plan!  I have my oils on order that need a restock and now it is time to go shopping for school supplies, clothing, new shoes, etc…And wine.  Lots of wine.

DSC_1250

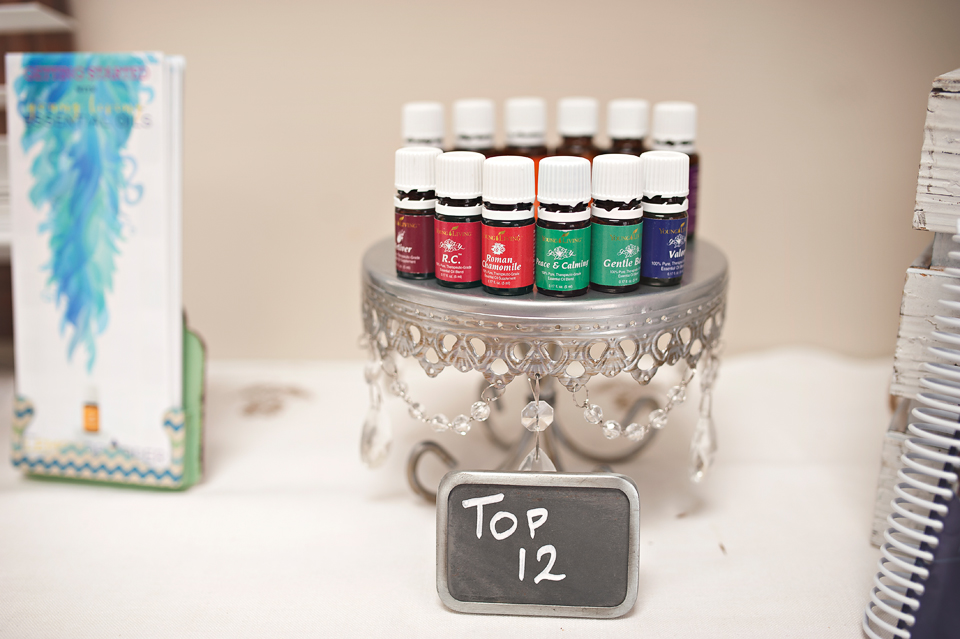
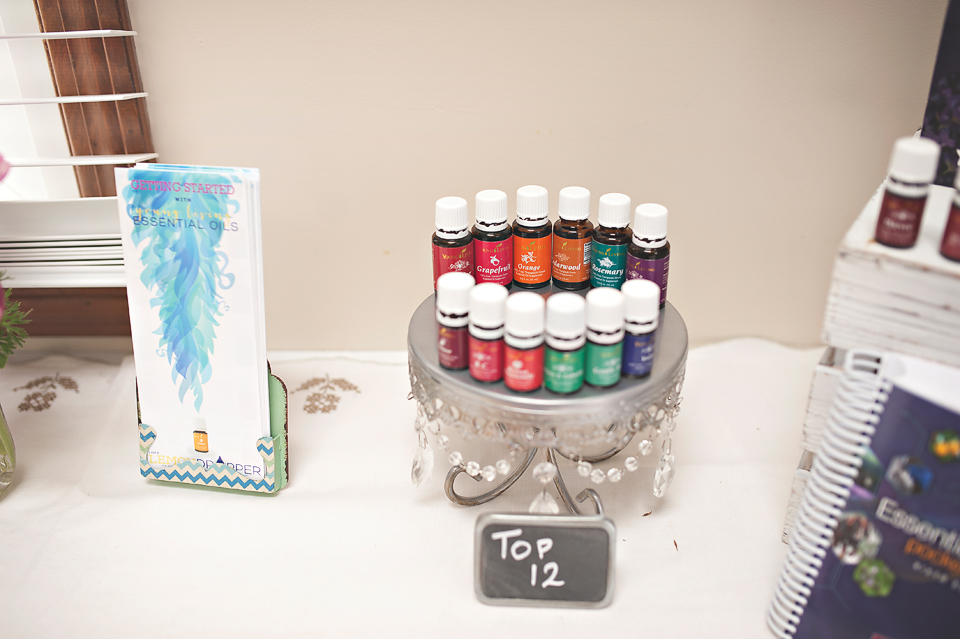
Most of the oils I talk about here are available in the Premium Starter Kit!  Right now it is $10.00 for any new member or 10% off for any existing member (excluding the Aria diffuser and the Ningxia Kits).  This offer is valid until 08/31/2015.  Go and grab one now so that it arrives before school starts!!!

If you want to order your VERY own amazing kit that includes 11 of their most well-loved and most frequently used oils and a diffuser, some awesome samples, and a pretty amazing eHandbook, here is how to do it:

1. Click over to the sign-up page: https://www.youngliving.com/signup/?site=US&sponsorid=1842761&enrollerid=1842761

2. Select “Sign Up As: Young Living Wholesale Member” (this secures you the 24% off discount on all future orders)

3. The “Enroller ID” and “Sponsor ID” boxes should already be filled in for you. If they aren’t, fill in 1842761 in both spots.

4. Fill out your name, billing address, shipping address, and contact info. (The reason you are asked for your SSN is for tax purposes; if you make over $600/year selling Young Living products, you will receive a 1099 form in the mail, as is required by law. Young Living never shares this info with anyone, and you’re not obligated to sell anything if you do not want to. I promise I wouldn’t lead you astray here!)

5. Create your password and pin which you will use to log in to your account and order your oils.

6. Select your enrollment order. This is where you can specify which starter kit you would like. I recommend the Premium Kit with the Aroma Diffuser.

7. It will ask if you want to sign up for the Essential Rewards program. I recommend saying no to this for now.

8. Agree to Terms & Conditions

9. CONFIRM YOUR ORDER. Some folks miss this step and end up not fully checking out. To confirm, the tool will log you in and it will show you your order again and it will make you enter in your payment information again.

10. Wait for the mailman to arrive! This step is will be agonizing.

Oh, and
11. Please friend me on Facebook so that I can add you to some exclusive fun oily Facebook groups! : )

Favorite Things – Essential Oil and Lemondropper Swag

I love accessories, especially when it comes to essential oils (OMG, so many tiny things and who doesn’t love cute tiny things???) and I am super proud to be a member of the Lemondroppers team for Young Living, the most successful and supportive team in Young Living history.  Seriously, these ladies are amazing and they are a fierce tribe of awesome.  I honestly think that these are all super fun things to give to members of your downline or uplines when they reach different ranks!  Or just for yourself, because, darn it, you deserve pretty things.

Here are some recent favorite things I have received!

Essential Oil Travel Bag
I realized how necessary this was when I went on two trips in the past month and put my oils into my super fancy purse and prayed that they didn’t break and leak all over said super fancy purse.  One of my team members recommended these and ohmygoshyouguys.  They are the cutest ever!!

DSC_8640
DSC_8645
Follow them on instagram for cute new pattern announcements and buy from their store right here!
https://www.etsy.com/shop/NTxExcessBaggageCo

Alex and Ani Bracelet
A super amazing and sweet member of my downline sent this to me as a surprise and I cried so many happy tears.  I love it.  I put it on this morning in all of my pj and unwashed hair glory and instantly felt awesome.  So thank you to Jen for this little circle of happy.

It is called Zest for Life and 20% of the purchase price is donated to Alex’s Lemonade Stand.  The accompanying text states:

Tart and vibrant, the lemon has ancient roots and possesses a distinct flavor with a bold, cheerful color.  Its fresh citrus scent is associated with cleansing, symbolic of an opportunity to make a change.  This charm is a reminder that when life hands you lemons, you have the power to take positive action, sweeten the situation, and make lemonade.  The power to create a desirable outcome is always within reach.

I love this and it rings true for our team so much!

DSC_8647
Lemondropper Coffee Mug
In love with this one.  I bought this for myself because, coffee is essential and having awesome mugs to drink it out of just makes it taste that much better!  You can buy this through the lemondropper swag shop along with tons of other goodies.  I bought a cute little tank top too, but see the Alex and Ani post above for reasons you aren’t seeing me wearing that (quick refresher: unwashed hair).

DSC_8654
DSC_8649
So that is it!  I will do a few of these, but I thought these were all super cute and made me happy and I just needed to share and go buy yourself some cute stuff now.

Skincare

DSC_8481

Let’s talk skincare, specifically, let’s talk about how I turned my pretty awful skin into pretty awesome skin within two weeks.  Yup.  2 freaking weeks.

My skin has been a disaster for 10 years.  At least.  I remember crying at my wedding because of breakouts and asking the photographer if he could fix it.  As a photographer myself, I know how irritating this is, but I was devastated.

Hundreds, maybe thousands of dollars were spent on this sad skin of mine.  Add in melasma from three pregnancies, summers spent as a lifeguard, scars from particularly awful breakouts and it is a disaster.  Now, it isn’t perfect now.  I am working on lightening my scars and melasma, but being without a single pimple isn’t something I have been able to say since college.

So what did I do?  It has been a process.  I started doing oil cleansing about a year ago.  Sounds scary and stuff, but it is wonderful.  I ditched the cleansers, toners, spot treatments, serums, day creams, night creams, astringents, masks, and all the stuff I had tried and that had failed me miserably.  Next I made my own toner using honey and peppermint essential oil.  The final step, which I just added two weeks ago was consistently applying rose ointment, frankincense, and tea tree oil after cleansing.  Today I added geranium in to amp it up a bit and hope this helps with the texture and tone of my skin.

DSC_8476

I am thrilled!  I actually leave the house, without makeup (I KNOW.  THE SCARIEST EVER.) and while I don’t look my best, it isn’t horror inducing.  Last month, this wouldn’t have been a consideration.  My husband actually noticed how clear and nice my skin was and wondered if I had makeup on (I didn’t).

So here we go, how I revolutionized my skin using natural non-toxic and chemical-free ingredients that cost a fraction of those products promising (but not delivering) amazing clear skin.

DSC_8451

Oil Cleansing
Yep, cleaning your skin with oil.  Sounds so wrong, but it is oh so right.  The theory behind oil cleansing is that like dissolves like.  So what you are doing is taking the dirty oil that is on your face and replacing it with clean oil.  I don’t know the full science behind it, but just trust me, it is pretty awesome.  No need to use a separate eye makeup remover either.  It is fast and effective and feels lovely.  For a more in-depth look at oil cleansing, google “Crunchy Betty Oil Cleansing Method” which explains it so much better than I can and breaks down which oils and ratios are best for your skin type.

Ingredients:
Castor oil
Jojoba oil
Frankincense essential oil
Lavender essential oil
I use a 4 oz glass container and make a big batch.  For 4 oz, I use 5 drops each of the essential oils.  I chose frankincense and lavender for their great skin properties.
Washcloths.  Lots of them.

Directions:
Fill the 4oz jar 2/3 of the way with castor oil.
Fill it up the rest of the way with jojoba oil.
Add your essential oils.
Shake to combine.

I do this at night when I am not exhausted and lazy.  I turn on my faucet and get the water nice and hot and soak my washcloth.  I then take about a quarter size amount the oil mixture and put it right on my face and rub it around all over for about 2 minutes or so.  Then I grab the nice hottish washcloth and place it over my face for a mini steam session for about 20 seconds and then wipe the oil off.  If I don’t have time, I just wipe off and skip the steam part.  And then I let it dry a bit before moving on to…

DSC_8462

Peppermint, Lavender, and Honey Facial Toner
I love this mixture.  The peppermint is invigorating and the lavender adds some skin rejuvenating properties.  you can add whatever oils you love for your skin though.  Honey is wonderful for your skin and is anti-bacterial as well.  ACV because it is an awesome natural pH balancer.  This is super fast and easy to make.

Ingredients:
4oz glass spray bottle
1 tbs honey
1/3 c warm water
1/4 c ACV
1 c water
5 drops peppermint and 5 drops lavender essential oils

Directions:
Combine heated water and honey.  Add other stuff.  Put in bottles – this makes about 2 1/2 bottles worth.  Shake prior to each use.  I apply with a cotton round because I can’t spray it right on my face.  I don’t know why, but it makes me crazy.  Now you are ready for the final step…

DSC_8468

Rose Ointment with the “Skinny” Oils
I just bought Rose Ointment from Young Living and LOVE it.  So much.  If you don’t have this, that is fine.  You can use hempseed oil or any other oil that your skin loves.  The “Skinny” oils I use are:

Frankincense
Geranium
Tea Tree Oil

I just got geranium so you don’t HAVE to use that, but it is an excellent addition to this regimen.  My skin responded well to just using frankincense and tea tree, but I wanted to add the geranium to see how much better I can get it.  Really, you can’t beat these three oils in terms of revitalizing your skin.

I don’t pre-mix this because it is just so easy to apply.  I take about a dime size amount of rose ointment and add one drop each of frankincense, tea tree, and geranium and then massage into my skin, being careful to avoid my eyes.  I love it.  My skin is so smooth after doing this.

In the mornings, I follow the same regimen except I switch out the oil cleansing and use just plain honey.  Yep.  I rub sticky honey all over my face and love it.  Try it.  Additionally, I try to drink a TON of water to keep my skin nice and hydrated.  I fail miserably many days, but I think if I get better at being consistent, my skin will continue to improve.

DSC_8488

*A note about oils. Buying quality oils MATTERS people. If you are going the non-toxic, chemical-free route, make sure that you are using oils that are of the best purity. We use Young Living and wouldn’t do any other brand because they have a wonderful Seed To Seal promise. Read more about it here: http://www.youngliving.com/en_US/discover/seed-to-seal

Additionally, I send over a fabulous ehandbook from The Happy Oils to help you on your journey and have a huge support team available to assist you in your journey and answer questions!

If you want to order your VERY own amazing kit that includes 11 of their most well-loved and most frequently used oils and a diffuser, and a bunch of other awesome goodies here is how to do it:

1. Click over to the sign-up page: https://www.youngliving.com/signup/?site=US&sponsorid=1842761&enrollerid=1842761

2. Select “Sign Up As: Young Living Wholesale Member” (this secures you the 24% off discount on all future orders)

3. The “Enroller ID” and “Sponsor ID” boxes should already be filled in for you. If they aren’t, fill in 1842761 in both spots.

4. Fill out your name, billing address, shipping address, and contact info. (The reason you are asked for your SSN is for tax purposes; if you make over $600/year selling Young Living products, you will receive a 1099 form in the mail, as is required by law. Young Living never shares this info with anyone, and you’re not obligated to sell anything if you do not want to. I promise I wouldn’t lead you astray here!)

5. Create your password and pin which you will use to log in to your account and order your oils.

6. Select your enrollment order. This is where you can specify which starter kit you would like. I recommend the Premium Kit with the Aroma Diffuser.

7. It will ask if you want to sign up for the Essential Rewards program. I recommend saying no to this for now.

8. Agree to Terms & Conditions

9. CONFIRM YOUR ORDER. Some folks miss this step and end up not fully checking out. To confirm, the tool will log you in and it will show you your order again and it will make you enter in your payment information again.

10. Wait for the mailman to arrive! This step is will be agonizing.

Oh, and
11. Please friend me on Facebook so that I can add you to some fun oily Facebook groups! : )

BooBoo Be Gone!

A Guest Post from Melissa…

DSC_8425text

I so look forward to summer. I can’t wait for lazy days, trips to the beach, bike rides and late nights roasting marshmallows. My family and I love being outdoors, but with that comes something I dread, my littles getting skinned knees, cuts, scrapes,and bruises. Sometimes those come with rights of passage, like learning how to ride a bike, but many times it’s just because they were running and they tripped over their own feet! Those are the times as a mom that I could just put them in a bubble.

I try to be brave for them and tell them it’s going to be ok, while I’m cleaning it out, putting some salve on it, bandaging it then giving them boo boo kisses, but many times I’m holding back the tears too. Sometimes, applying the salve causes even more tears! “It stings mommy, blow on it!” is what I’ve heard using some of the OTC stuff I’ve bought. So when I found a recipe to make my own healing salve I jumped at the opportunity. My littles LOVE oils, like their momma and it’s one more thing that I can make with all the best ingredients and I can ditch the OTC stuff. You can even let them apply it, unlike its store counterpart, and sometimes that can help turn the tears into smiles.

Cheers to a great summer with less tears and better healing booboos!

DSC_8431

Directions:
1/4 cup of coconut oil
1/4 cup of olive oil
1 tbsp beeswax
Put in a measuring cup and place in a pan of boiling water. Stir until melted. Let it sit for 2 minutes and add oils.
20 drops of Lavender Essential Oil
12 drops of Frankincense Essential Oil
10 drops of Lemon Essential Oil
8 drops of Tea Tree Essential Oil
Mix well and pour into a sterilized 4oz. jar!

DSC_8437

*A note about oils. Buying quality oils MATTERS people. If you are going the non-toxic, chemical-free route, make sure that you are using oils that are of the best purity. We use Young Living and wouldn’t do any other brand because they have a wonderful Seed To Seal promise. Read more about it here:

http://www.youngliving.com/en_US/discover/seed-to-seal

Additionally, we send over a fabulous ehandbook from The Happy Oils to help you on your journey and have a huge support team available to assist you in your journey and answer questions!

The best news of all is that ALL 4 of these oils are included in the Premium Starter Kit!!!  Super fun!

If you want to order your VERY own amazing kit that includes 11 of their most well-loved and most frequently used oils and a diffuser, here is how to do it:

Click over to the sign-up page: https://www.youngliving.com/vo/#/signup/start?site=US&sponsorid=2723451&enrollerid=2723451 and grab a Premium starter kit for yourself!

Erin’s Sleepytime Routine

DSC_6507
A Guest Post from Erin…

One size does not always fit all.

My son has never been an excellent sleeper. We have had our share of ups and downs and tried pretty much anything that I found on Google as a trick to get him to sleep (within reason of course). I saw a friend post about how oils had helped her and her daughter sleep and started doing my own research. I looked on Pinterest and at the company websites and reviews for pretty much all of the oil companies and decided on Young Living. The purity of their oils and the Seed to Seal process really made me comfortable knowing that I was using such great quality oils from a company who would never compromise quality.

My original order was the Premium Starter Kit along with Cedarwood, Valor, and Peace and Calming. The minute my order arrived I made the Sleepy time cream, roller bottle, and pillow spray. The first night using a blend of Lavender, Peace and Calming, Valor, and Cedarwood (recipes are posted in an earlier post) my son slept through the night! He slept soundly for about a month and then he got sick. The minute he got sick the oils did not seem to be as effective for sleep as they were. He was still going to bed easier, not having nightmares and sleeping more soundly but he was waking up in the middle of the night and would only go back to sleep if he was in our bed. I kept up with the routine diligently even though he was not sleeping thinking that maybe he would go back to his wonderful new sleep habits once he felt better. One night my husband suggested not using the oils to see how effective they really were. That night it took him over two hours to go to sleep and he woke up about 3 times and had a bad dream; the hubs now knows how well they work because that one night was enough for him to tell me to use my oils the next night!

I spoke with some of the other ladies in my oily group who suggested trying 1 oil at a time to see what worked for him since everyone responds differently to each oil and because you bodies needs can change over time and you may need to change up what you are using. I started with Cedarwood for a couple of nights and he was still waking up. I read though my Essential Oils desk reference and Gentle Babies book and decided to add in Gentle baby and Vetiver to our nighttime routine and he has slept soundly and through the night ever since!

My sleepy time routine is:
1 drop Cedarwood
1 drop gentle babies
2 drops carrier oil
I drop them in my hand, mix them around and rub on both feet.

In the diffuser I do 3 drops cedarwood and 2 drops Vetiver and run it on the 30 second intermittent setting in his room.

He is generally out without 15 minutes and wakes up happy and rested about 10-11 hours later ☺

DSC_6503text
What I have learned is that what works for one person may not work for another, don’t get discouraged. If something works and then all of a sudden stops working, don’t worry, it may be your body telling you that it needs something different. Oils have never let me down and I have always found something that has worked for my family needs. I truly believe it when someone tells me “don’t worry, there is an oil for that” because for my family 100% of the time there is!

So, to get started on your oily journey, I highly recommend the Premium Starter Kit which comes with 11 of the most versatile and used oils and make sure you add on Cedarwood and Vetiver!

Click over to the sign-up page: https://www.youngliving.com/vo/#/signup/start?isoCountryCode=US&sponsorid=2527762&enrollerid=2527762&type=member&isoLanguageCode=EN

Non-toxic Hair Detangling Spray

DSC_5258text

My little girl has a lot of hair and she hates when I brush it.  Apparently, just me though, since others are able to french braid her hair without issues.  I used to make my own using watered down conditioner or buy California baby.  But I was close to running out and didn’t feel like paying a ton of money for either organic conditioner or the commercial spray and did some research and found a few recipes that work.  I tried the easiest one and the one that didn’t require any refrigeration so it is shelf stable.

I added lemon and lavender essential oils to this for fragrance and for their happy and calming properties since she is is spicy thing.  She also has blonde hair and lemon will lighten it up and she smells delish.  Lavender is good for encouraging growth and scalp health.  You can also use chamomile, tea tree, or cedarwood.  But she is a girly little thing and these make us both happy.

Before posting this, I wanted to make sure it worked.  It had to actually detangle her hair, smell good, and not make her look like I just combed oil into her hair.  And it works beautifully!  I was hesitant about the smell of apple cider vinegar because when I initially applied it, she smelled like a salad bar.  But the smell faded quickly and we were left with the lovely lavender and lemon fragrances.  I can’t tell if it helped keep her calm, but because it works so nicely and is chemical free, I felt better.  Also, you all know I am in LOVE with ACV for my hair, so I figured it would be wonderful for hers as well.

Here we go, the ingredients:
4 oz spray bottle
ACV
1/2 tsp jojoba oil
Essential Oils – 20 drops total

Directions:  Fill up the spray bottle about a 1/4 of the way and add your oils – 20 drops total.  So for this one, I did 10 drops lemon and 10 drops lavender.  Shake it up.
Add jojoba oil.  Again, shake
Add water.  Shake.
Shake before using.  Spray and brush through hair.  Feel awesome because YOU made this.

DSC_5261text
To purchase your own fabulous essential oils (lemon and lavender are included in the amazing Premium Starter kit, which is basically like the holy grail of oil collections and great for beginners or people like me who are obsessed and need ALL THE OILS) follow this link!

DIY Deodorant

DSC_5246

I bought the ingredients (really just the arrowroot powder) about 8 months ago to make this and just procrastinated about doing it for fear that it would just be a disaster.  But, I work from home, so I figured the only one who would have to suffer if this didn’t work would be my husband, who also works from home.  So, off we go.  Into a world with a non-toxic and aluminum free deodorant that works.  It actually does an amazing job and smells divine.  Plus, it is easy to apply and your body will thank you for this lovely chemical free option.

DSC_5239text

Ingredients:
1/4c arrowroot powder
1/4c baking soda
5 TBS coconut oil (I used liquid, but I am sure that the solid version would work as well)
5 drops of any lovely essential oil combination you can dream up.  I used lavender and lime for this one because, SPRING.  Lemon and lavender, tea tree and lavender, and if you feel like being awesome and your husband is on board, whip up one made from cedarwood and lemon for the man in your life.

Directions:
Combine it all in a bowl and stir.  Add to glass storage container and apply.  That is all!

*A note about oils.  Buying quality oils MATTERS people.  If you are going the non-toxic, chemical-free route, make sure that you are using oils that are of the best purity.  We use Young Living and wouldn’t do any other brand because they have a wonderful Seed To Seal promise.  Read more about it here:  http://www.youngliving.com/en_US/discover/seed-to-seal

Additionally, I send over a fabulous ehandbook from The Happy Oils to help you on your journey and have a huge support team available to assist you in your journey and answer questions!

If you want to order your VERY own amazing kit that includes 11 of their most well-loved and most frequently used oils and a diffuser, here is how to do it:

1. Click over to the sign-up page: https://www.youngliving.com/signup/?site=US&sponsorid=1842761&enrollerid=1842761

2. Select “Sign Up As: Young Living Wholesale Member” (this secures you the 24% off discount on all future orders)

3. The “Enroller ID” and “Sponsor ID” boxes should already be filled in for you. If they aren’t, fill in 1842761 in both spots.

4. Fill out your name, billing address, shipping address, and contact info. (The reason you are asked for your SSN is for tax purposes; if you make over $600/year selling Young Living products, you will receive a 1099 form in the mail, as is required by law. Young Living never shares this info with anyone, and you’re not obligated to sell anything if you do not want to. I promise I wouldn’t lead you astray here!)

5. Create your password and pin which you will use to log in to your account and order your oils.

6. Select your enrollment order. This is where you can specify which starter kit you would like. I recommend the Premium Kit with the Aroma Diffuser.

7. It will ask if you want to sign up for the Essential Rewards program. I recommend saying no to this for now.

8. Agree to Terms & Conditions

9. CONFIRM YOUR ORDER. Some folks miss this step and end up not fully checking out. To confirm, the tool will log you in and it will show you your order again and it will make you enter in your payment information again.

10. Wait for the mailman to arrive! This step is will be agonizing.

Oh, and
11. Please friend me on Facebook so that I can add you to some fun oily Facebook groups! : )

Lavender Ginger Detox Bath

DSC_4985

I love a good detox bath.  On days when the kids are all at their various schools and I allow myself some downtime, my first order of business is a nice detox bath.  I try to do this once a week, but no more than three times a week.  I use a few ingredients that are known for their ability to pull out toxins, heat the body, and enable me to relax.
I also incorporate dry brushing into the routine to help stimulate the lymphatic system.  Dry brushing is so beneficial and I try to do it as often as I remember.  I use this dry brush and adore it.

I also make an Epsom salt blend to make it easier and allow the essential oils to disburse evenly in the water.  I prefer lavender essential oil to promote relaxation since I struggle with this so often.

Epsom Salt Blend:
1 cup of Epsom salts
A pinch of lavender flowers
5 drops of lavender essential oil (I buy mine from Young Living and will include instructions on how to buy them if you want to love your oils as much as I do)
Combine and store in a glass jar.  You can make as much of this as you want just so you have it on hand.

I also add pure ginger tea bags to the bath to help heat the body, which also assists in flushing toxins.  I love these, but you can also use fresh ginger if you have some on hand.

DSC_4994text

Here is my detox bath routine:

1.  Fill up the bathtub as HOT as you can stand it.  You want to sweat.  While the bathtub is filling, I do the dry brush thing.

2.  Add baking soda, your Epsom salt blend, and the ginger tea bag or fresh ginger to the bath and swirl to mix it all in there.

3.  Get into the bath.  Make sure you have a big bottle of water and drink that while you are bathing and after to flush toxins.  Sit there for 20 minutes.   I have a playlist on my phone that acts as my timer.

4.  Get out and dry off.  Some people get dizzy when they get out, so just be careful and move slowly.

5.  I cozy up in my robe afterwards and then lay in my bed under the blankets for another 20 minutes.  I also make sure to drink a ton of water while I am doing this.

6.  Try not to eat a ton prior to or after the bath.

Boom.  Detox bath done and your body is happier for it!

How to purchase Young Living Oils:

1. Click over to the sign-up page: https://www.youngliving.com/signup/?site=US&sponsorid=1842761&enrollerid=1842761

2. Select “Sign Up As: Young Living Wholesale Member” (this secures you the 24% off discount on all future orders)

3. The “Enroller ID” and “Sponsor ID” boxes should already be filled in for you. If they aren’t, fill in 1842761 in both spots.

4. Fill out your name, billing address, shipping address, and contact info. (The reason you are asked for your SSN is for tax purposes; if you make over $600/year selling Young Living products, you will receive a 1099 form in the mail, as is required by law. Young Living never shares this info with anyone, and you’re not obligated to sell anything if you do not want to. I promise I wouldn’t lead you astray here!)

5. Create your password and pin which you will use to log in to your account and order your oils.

6. Select your enrollment order. This is where you can specify which starter kit you would like. I recommend the Premium Kit with the Aroma Diffuser.

7. It will ask if you want to sign up for the Essential Rewards program. I recommend saying no to this for now.

8. Agree to Terms & Conditions

9. CONFIRM YOUR ORDER. Some folks miss this step and end up not fully checking out. To confirm, the tool will log you in and it will show you your order again and it will make you enter in your payment information again.

10. Wait for the mailman to arrive! This step is will be agonizing.

Essential Oils and Arbonne | A Match in Natural Living Heaven!

2015Mar28_0007 copy2015Mar28_0001 copy

Yesterday I hosted an essential oils event and was so blessed to have Lindsey with Arbonne as a presenter.  We had a wonderful time and I learned so much from her!  Arbonne’s products are all natural and she talked with us primarily about clean and healthy eating.  Everything Arbonne stands for totally works for our lifestyle – I cannot wait to get my products in and get started!  Plus, she shared some delicious samples with us – most impressive were these glorious protein bars.  YUM.  SO much yum!  I have always wanted to try Arbonne and have heard so many amazing things about their products, so I was super excited to learn and purchase some great items!

  1. 2015Mar28_0006 copy
    Lindsey was kind enough to share her recipe with us for these crazy good treats!

    2 cups organic peanut butter or almond butter
    1 3/4 cups raw honey or brown rice syrup
    2 1/4 cups Arbonne protein powder (9 scoops)
    3 cups rolled oats

    – Mix nut butter and honey/brown rice syrup in microwaveable bowl
    – Heat for 90 seconds – Mix well
    – Add protein powder and mix well
    – Add oatmeal and mix gently
    – Spread in 9 x 13″ pan (wet your fingers first)
    – Refrigerate for 1 hour and cut into 48 squares
    – For firm bars, store in fridge
    – For gooey bars, store room temp

    To order some amazing nontoxic and healthy items – Arbonne carries so many wonderful products – including delicious protein powders, cleanses, skin care, sunscreen, and baby products, you can reach out to Lindsey and she will get you started:

    http://www.arbonne.com/pws/lindseygolembeski/tabs/home.aspx

    I also discussed some uses of Young Living essential oils and talked about safety and my favorite oils outside of the starter kit.  I tried really hard to narrow them all down, but I couldn’t so I ended up selecting 12.  Sorrynotsorry. We had a great time with lots of snacks and wine and super fun ladies.

    My top 12 oils outside of the starter kit are:
    Vetiver
    RC
    Roman Chamomile
    Peace and Calming
    Gentle Babies
    Valor
    Digize
    Grapefruit
    Orange
    Cedarwood
    Release

    Here are some pictures of the event!

    2015Mar28_0005 copy
    2015Mar28_0008 copy  2015Mar28_0012 copy 2015Mar28_0016 copy 2015Mar28_0018 copy 2015Mar28_0017 copy

    1. Click over to the sign-up page: https://www.youngliving.com/signup/?site=US&sponsorid=1842761&enrollerid=1842761

    2. Select “Sign Up As: Young Living Wholesale Member” (this secures you the 24% off discount on all future orders)

    3. The “Enroller ID” and “Sponsor ID” boxes should already be filled in for you. If they aren’t, fill in 1842761 in both spots.

    4. Fill out your name, billing address, shipping address, and contact info. (The reason you are asked for your SSN is for tax purposes; if you make over $600/year selling Young Living products, you will receive a 1099 form in the mail, as is required by law. Young Living never shares this info with anyone, and you’re not obligated to sell anything if you do not want to. I promise I wouldn’t lead you astray here!)

    5. Create your password and pin which you will use to log in to your account and order your oils.

    6. Select your enrollment order. This is where you can specify which starter kit you would like. I recommend the Premium Kit with the Aroma Diffuser.

    7. It will ask if you want to sign up for the Essential Rewards program. I recommend saying no to this for now.

    8. Agree to Terms & Conditions

    9. CONFIRM YOUR ORDER. Some folks miss this step and end up not fully checking out. To confirm, the tool will log you in and it will show you your order again and it will make you enter in your payment information again.

    10. Wait for the mailman to arrive! This step is will be agonizing.

    Oh, and

    11. Please friend me on Facebook so that I can add you to some fun oily Facebook groups! : )

Spring Cleaning | Kitchen

DSC_4917 copy
I have a love/hate relationship with cleaning.  I hate the idea of doing it and procrastinate until there is no other option left.  Usually it is when I am all caught up on my Facebook, Instagram, and Pinterest feeds and there are a million things on the counter.  And when the kids are home it is nearly impossible and redundant.  I realized that in the past, part of it had to do with all of the chemicals in the products.  I HATED washing my floors and seeing my babies walk or crawl over them and then eat the random food items off of the floors.  Sometimes, I would have preferred my floors stay dirty versus washing them with chemical laden products.

There had to be a better way.  So I researched and found out there are all kinds of different natural products that work just as well, if not better, and gave me peace of mind about my kiddos touching them.  All of them are chemical free, which means that they can actually HELP me clean.  Not that that ever happens, but a girl can dream.  And, I sometimes look forward to cleaning because then I get to use my products and when they work as well as these do, I feel like a magical cleaning fairy.
DSC_4923 copy
Supplies:
Baking soda
Vinegar
Olive Oil
Liquid Castille Soap
16oz glass bottles
Essential Oils

Here we go.  A nice full list of recipes that will enable you to clean your entire kitchen top to bottom and not fill it with toxic chemicals and will make everything sparkle, if only for 5 minutes until your kids spill random stuff on your floor or open your refrigerator or pour themselves a bowl of cereal.  But, for those 5 minutes, you will be at peace.  Pour yourself a glass of wine and enjoy it.

DSC_4925 copy

All Purpose Cleaner
I make this one using either citrus essential oils or thieves essential oil, depending on my mood and the level of cleanliness my kitchen has achieved.  If super crazy dirty because the kids have been home for more than three consecutive days and all that I have managed is to make sure everyone survived, I bust out the thieves.  If I have somehow turned into supermom and was able to clean on a daily basis, I use my citrus.  I have blogged about this cleaner in the past, but I thought I would give the info out again because I like when things are all in one place.  This will clean pretty much everything.  Countertops, floors, appliances, tile, glass.  I haven’t met a surface that I haven’t been able to successfully clean with this.

DSC_4926 copy

Ingredients:
16oz Glass spray bottle (like this)
White Vinegar
Water
10 drops each of your chosen oils (I love orange, grapefruit, and lemon together or thieves and lemon)

Directions:
Fill bottle 2/3 of the way with water.
Top off with vinegar.
Add 10 drops each of your oils.
Shake and spray.

DSC_4927 copy
Cooktop Cleaner
I need to discuss this because I have anger issues with my stove manufacturer.  When we got our lovely sparkly new stove, the only instructions on how to clean it told us to use this chemical laden cooktop cleaner.  And included a TINY sample of it.  And that stuff did NOT work well.  So we tried other “cooktop cleaners” and none of them worked well.  This one.  This homemade one.  Works so well.  And I am so angry because, hey oven manufacturer – in the cleaning instructions, just say use baking soda and vinegar. Stop pushing your toxic chemical crappy product on us.  Ugh.  Anyway, this homemade version – it rocks.

Ingredients:
Baking soda
White vinegar
Glass spray bottle
Grapefruit (or any citrus) essential oil

Directions:
In the glass spray bottle, combine about 1/2c of vinegar and 5 drops of grapefruit essential oil.
Take baking soda and sprinkle it all over the cooktop.
Spray that down with your vinegar mixture and watch it bubble up, because science is fun.
Wait 20 minutes.  You can check your Facebook if you want and catch up on all the stuff you missed by being productive.
Take paper towels and start to wipe it up.  Concentrate on scrubbing the crusty parts.  If you need to, add more spray and really scrub.  This may take some elbow grease.  Think of it as exercise.
Wipe up and as it dries you should see a film covering the cooktop, which is good.  Wipe that off.
If film still remains, spray down with your all purpose spray and watch it sparkle.

*I store my baking soda for this in a shaker jar and have a separate glass spray bottle with the vinegar mixture ready to go

DSC_4928 copy
Stainless Steel Cleaner
I posted a picture of this on my Instagram and so many were amazed (@lauraelysephotography is my name if you feel like seeing natural living, my photography, and my kids – I just combo everything, filter out the stuff you don’t want to see).  This is crazy easy.  And it sounds crazy.  But oil dissolves oil, so trust me on this.  I promise it is awesome.
Ingredients:
All purpose spray
Microfiber cloth
Olive oil

Directions:
Spray the surfaces down and wipe off crusty parts.
Take olive oil and pour a bit on the cloth.
Wipe with the grain of the stainless steel.
Buff off if you have time or if it looks oily.
Stand back and call your spouse over to admire the awesomeness that is your appliances.

Sink cleaner
So easy.  You just need water and baking soda.  I am not even going to give you an ingredients list for this one.  Take water and spray your sink down.  Take baking soda and sprinkle it all over the water.  Grab some paper towels and scrub away.  Rinse.  I always dry it off afterwards because it feels satisfying.

DSC_4929 copy
Garbage Disposal Cleaner

Another two ingredients one.  Grab some ice and put in the your disposal and then add 2 drops of grapefruit essential oil.  Alternatively, you can also add some citrus peels. Grind everything up.  Enjoy the happy fragrance.

DSC_4936 copy
Floor Cleaner

Ok, so you can do this a few ways.  I recently purchased some thieves concentrate cleaner and adore it to pieces.  But if you don’t have that, it is ok.  You can still have the most amazing clean floor without chemicals.

Ingredients:
1 gallon of hot water
3/4 cup vinegar
1 tbs castille soap
15 drops total of essential oils (so if you are using lemon and orange, do 7 drops lemon and 8 drops orange)

Directions:
Put all ingredients in a bucket and mop.  So simple.  Maybe mix them a bit prior to use….yeah, definitely stir them up.

DSC_4934 copy
Alternatively, you can use thieves cleaner, which can be purchased from Young Living and that is amazing.  Thieves for all of the cleaning is amazing.

I haven’t yet attempted dish soap or hand soap or dishwasher detergent, but I have plans to do so very soon!

DSC_4920 copy
A note about the essential oils I use:  I only use Young Living because they work the best for our family and they are so super pure that I feel very comfortable using them.  So comfortable that I can recommend them to everyone!  If you are interested in purchasing these oils and joining me in some amazing groups with fabulous resources, here is how you would do that:

1. Click over to the sign-up page: https://www.youngliving.com/signup/?site=US&sponsorid=1842761&enrollerid=1842761

2. Select “Sign Up As: Young Living Wholesale Member” (this secures you the 24% off discount on all future orders)

3. The “Enroller ID” and “Sponsor ID” boxes should already be filled in for you. If they aren’t, fill in 1842761 in both spots.

4. Fill out your name, billing address, shipping address, and contact info. (The reason you are asked for your SSN is for tax purposes; if you make over $600/year selling Young Living products, you will receive a 1099 form in the mail, as is required by law. Young Living never shares this info with anyone, and you’re not obligated to sell anything if you do not want to. I promise I wouldn’t lead you astray here!)

5. Create your password and pin which you will use to log in to your account and order your oils.

6. Select your enrollment order. This is where you can specify which starter kit you would like. I recommend the Premium Kit with the Aroma Diffuser.

7. It will ask if you want to sign up for the Essential Rewards program. I recommend saying no to this for now.

8. Agree to Terms & Conditions

9. CONFIRM YOUR ORDER. Some folks miss this step and end up not fully checking out. To confirm, the tool will log you in and it will show you your order again and it will make you enter in your payment information again.

10. Wait for the mailman to arrive! This step is will be agonizing.

Oh, and

11. Please friend me on Facebook so that I can add you to some fun oily Facebook groups! : )