Let’s talk skincare, specifically, let’s talk about how I turned my pretty awful skin into pretty awesome skin within two weeks. Yup. 2 freaking weeks.
My skin has been a disaster for 10 years. At least. I remember crying at my wedding because of breakouts and asking the photographer if he could fix it. As a photographer myself, I know how irritating this is, but I was devastated.
Hundreds, maybe thousands of dollars were spent on this sad skin of mine. Add in melasma from three pregnancies, summers spent as a lifeguard, scars from particularly awful breakouts and it is a disaster. Now, it isn’t perfect now. I am working on lightening my scars and melasma, but being without a single pimple isn’t something I have been able to say since college.
So what did I do? It has been a process. I started doing oil cleansing about a year ago. Sounds scary and stuff, but it is wonderful. I ditched the cleansers, toners, spot treatments, serums, day creams, night creams, astringents, masks, and all the stuff I had tried and that had failed me miserably. Next I made my own toner using honey and peppermint essential oil. The final step, which I just added two weeks ago was consistently applying rose ointment, frankincense, and tea tree oil after cleansing. Today I added geranium in to amp it up a bit and hope this helps with the texture and tone of my skin.

I am thrilled! I actually leave the house, without makeup (I KNOW. THE SCARIEST EVER.) and while I don’t look my best, it isn’t horror inducing. Last month, this wouldn’t have been a consideration. My husband actually noticed how clear and nice my skin was and wondered if I had makeup on (I didn’t).
So here we go, how I revolutionized my skin using natural non-toxic and chemical-free ingredients that cost a fraction of those products promising (but not delivering) amazing clear skin.

Oil Cleansing
Yep, cleaning your skin with oil. Sounds so wrong, but it is oh so right. The theory behind oil cleansing is that like dissolves like. So what you are doing is taking the dirty oil that is on your face and replacing it with clean oil. I don’t know the full science behind it, but just trust me, it is pretty awesome. No need to use a separate eye makeup remover either. It is fast and effective and feels lovely. For a more in-depth look at oil cleansing, google “Crunchy Betty Oil Cleansing Method” which explains it so much better than I can and breaks down which oils and ratios are best for your skin type.
Ingredients:
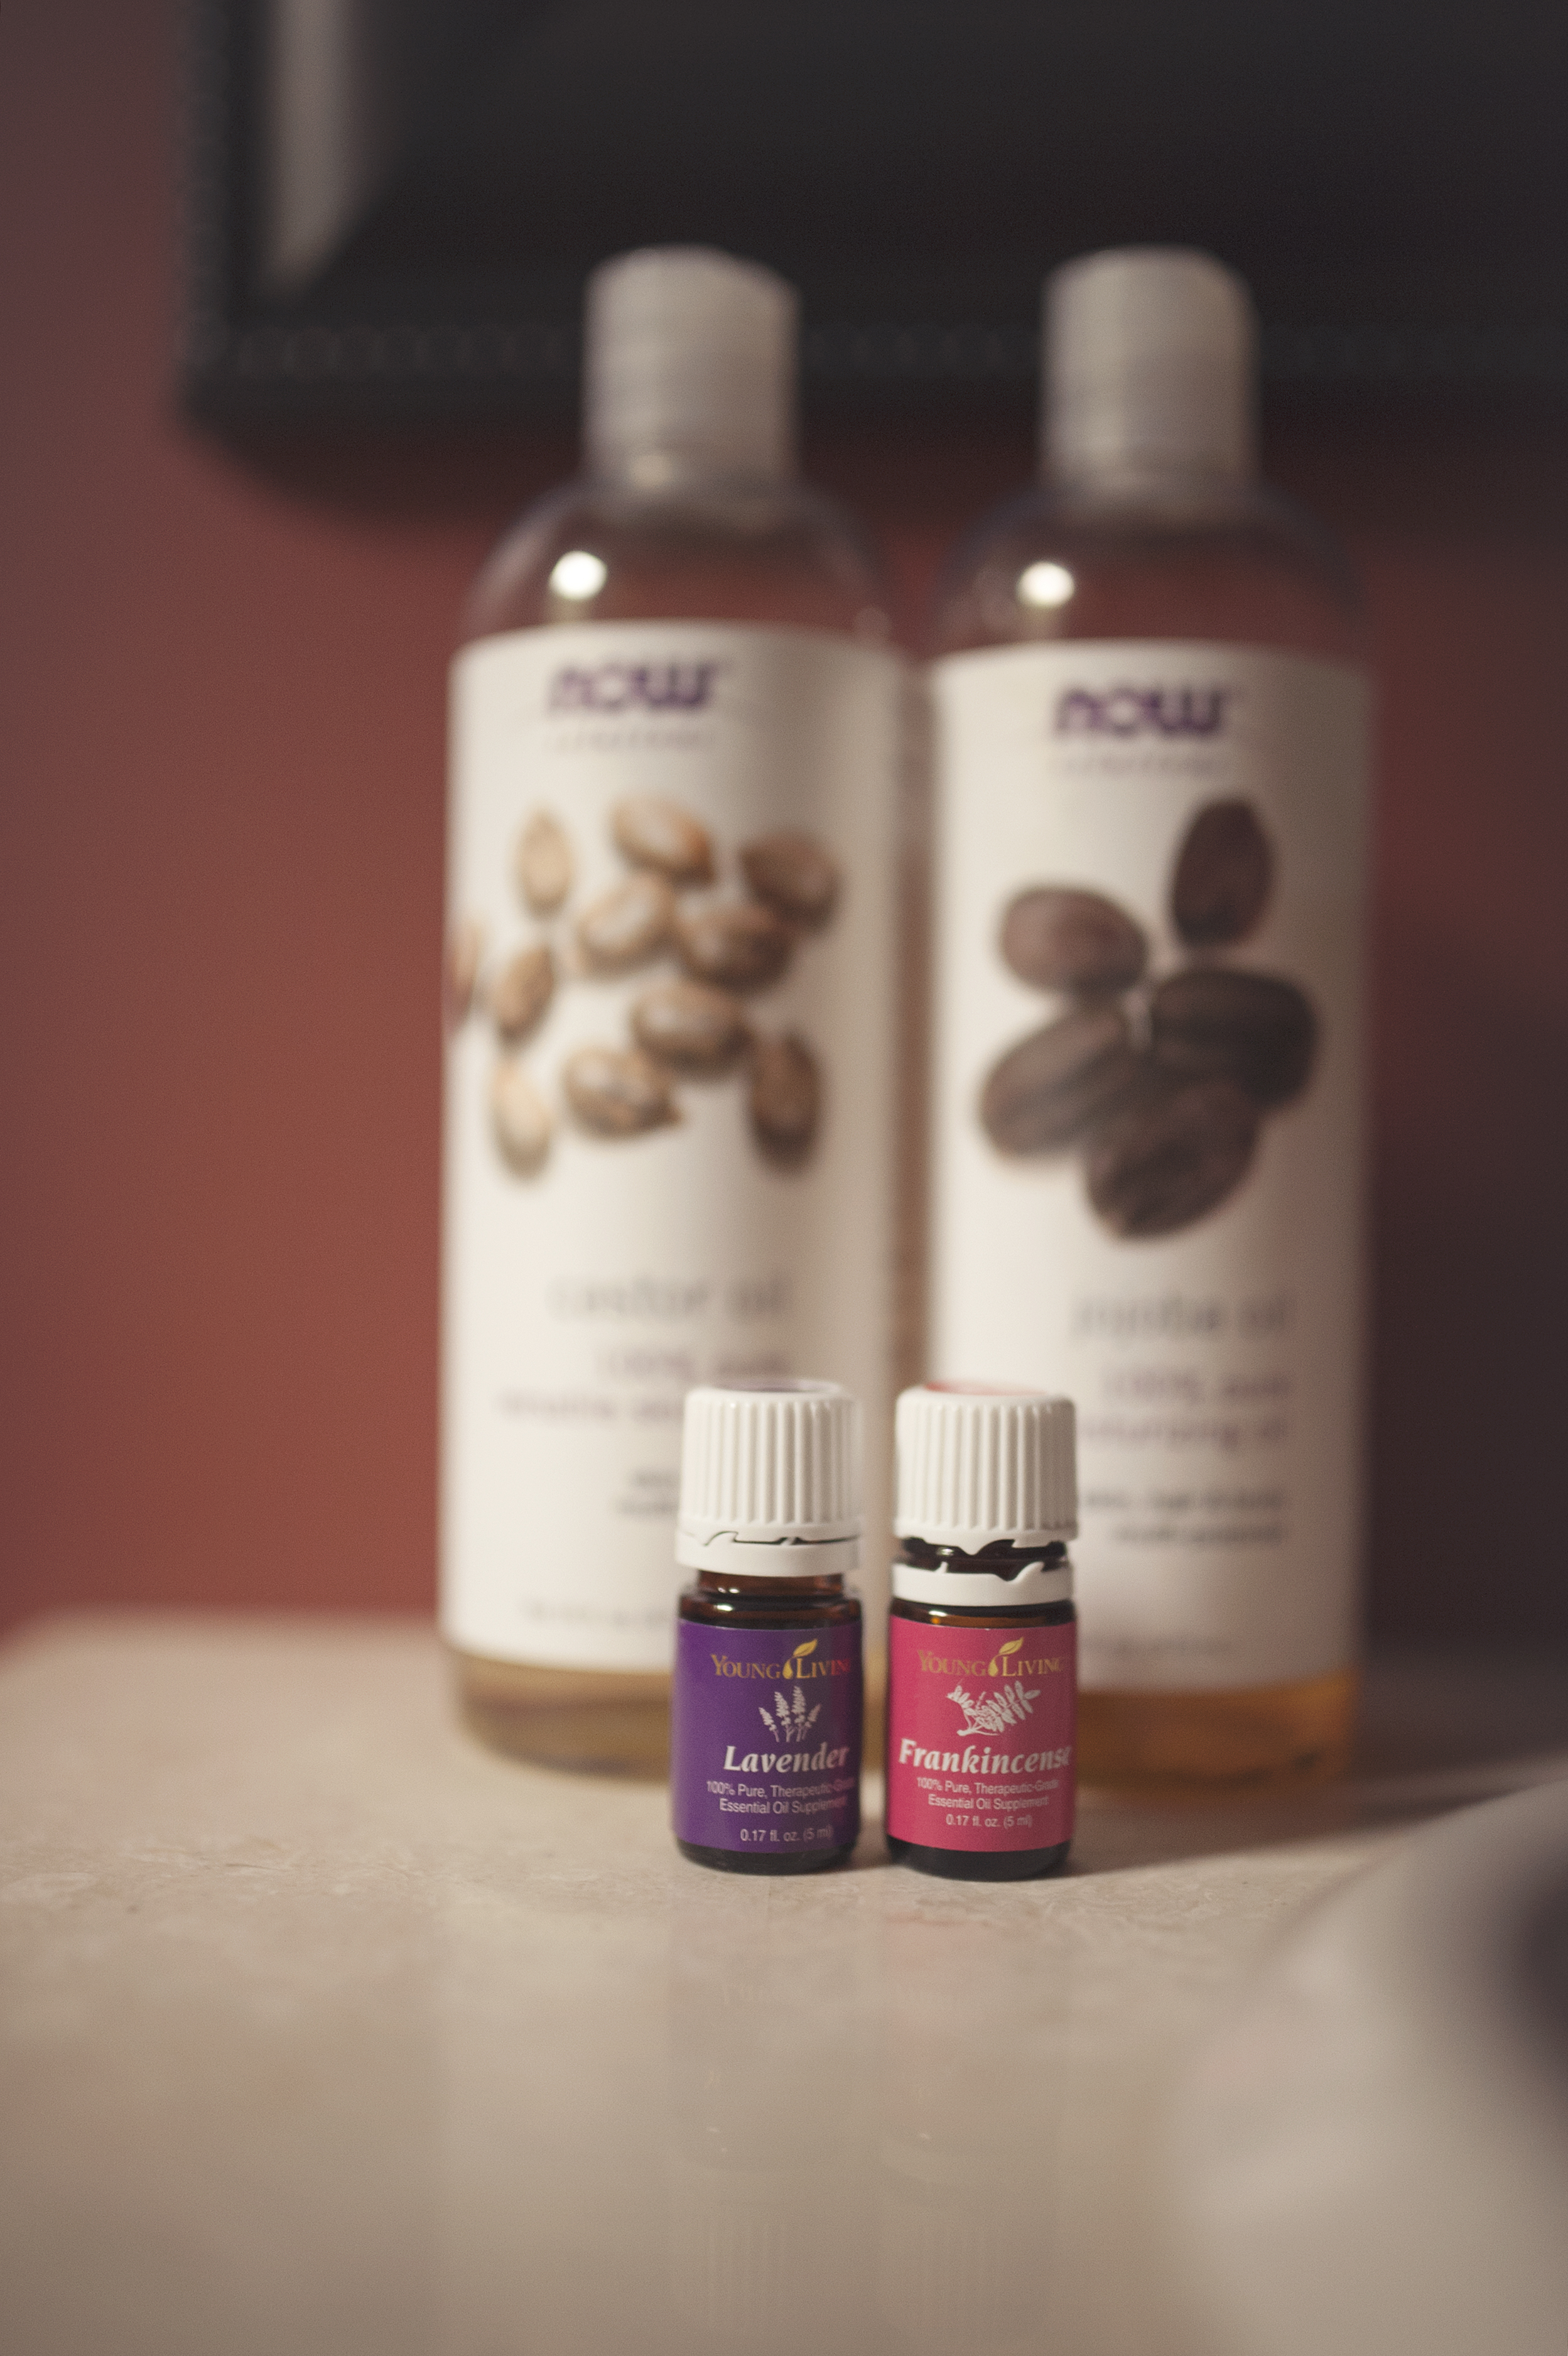
Castor oil
Jojoba oil
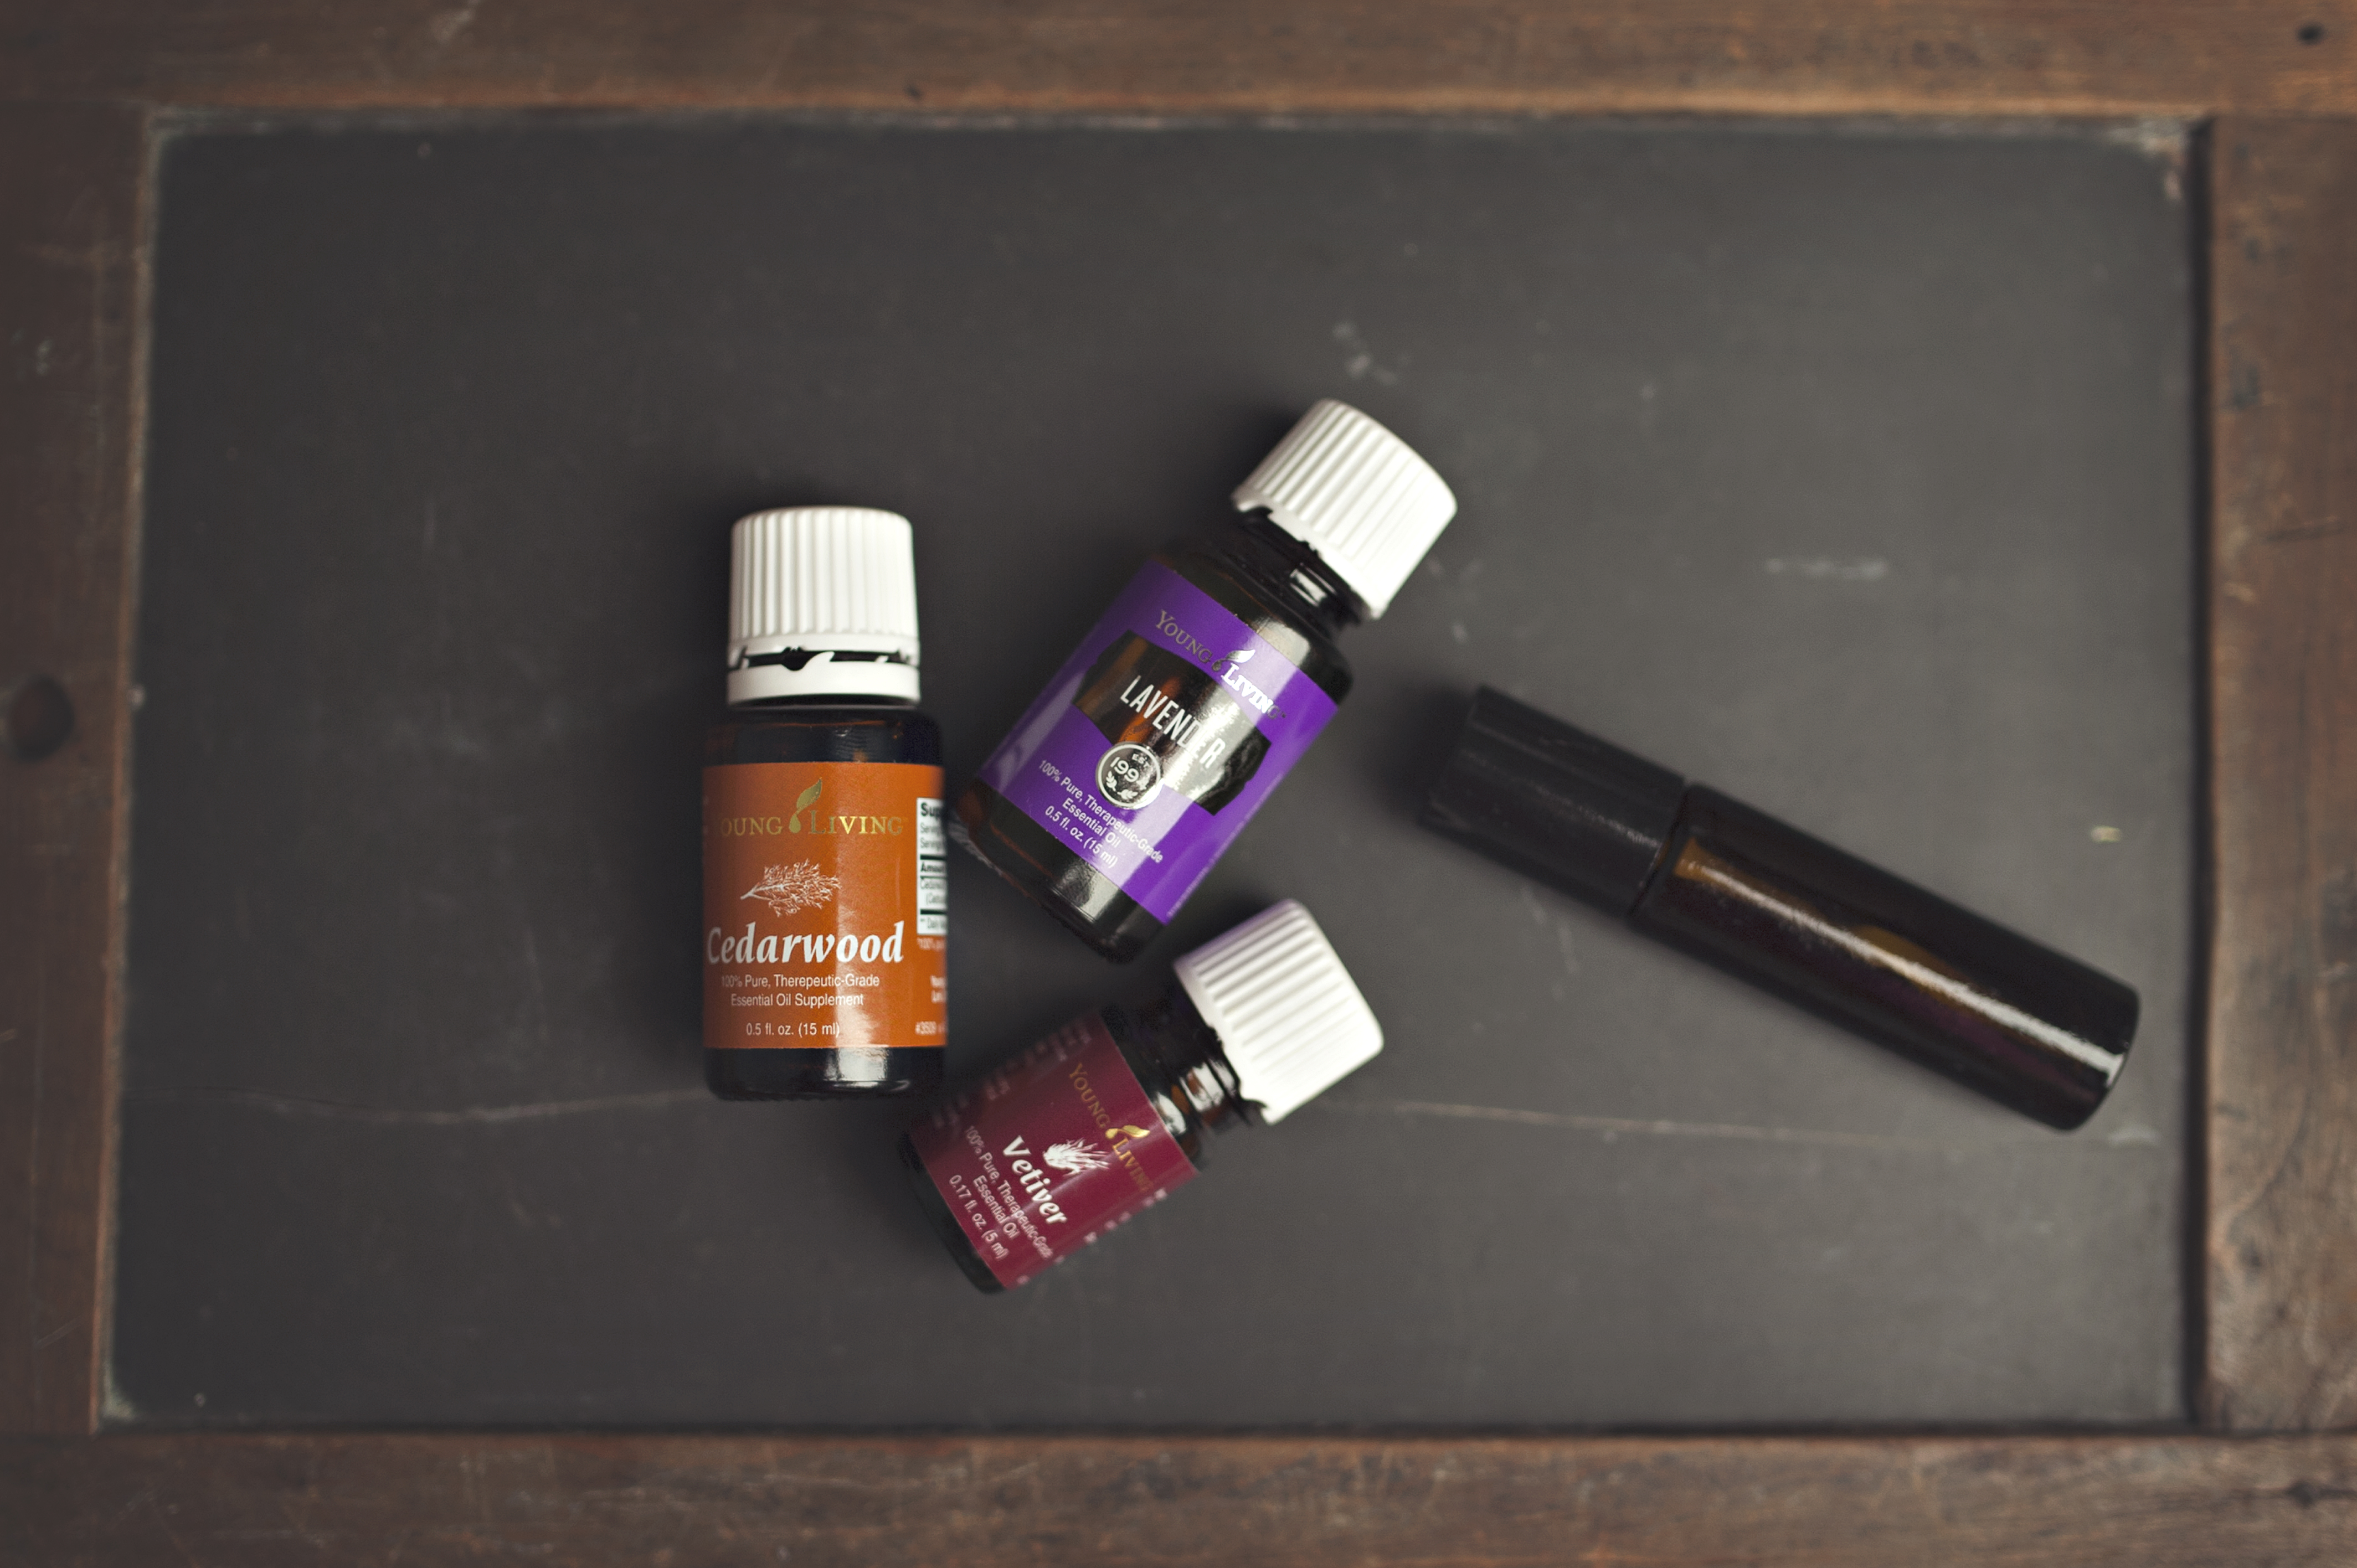
Frankincense essential oil
Lavender essential oil
I use a 4 oz glass container and make a big batch. For 4 oz, I use 5 drops each of the essential oils. I chose frankincense and lavender for their great skin properties.
Washcloths. Lots of them.
Directions:
Fill the 4oz jar 2/3 of the way with castor oil.
Fill it up the rest of the way with jojoba oil.
Add your essential oils.
Shake to combine.
I do this at night when I am not exhausted and lazy. I turn on my faucet and get the water nice and hot and soak my washcloth. I then take about a quarter size amount the oil mixture and put it right on my face and rub it around all over for about 2 minutes or so. Then I grab the nice hottish washcloth and place it over my face for a mini steam session for about 20 seconds and then wipe the oil off. If I don’t have time, I just wipe off and skip the steam part. And then I let it dry a bit before moving on to…

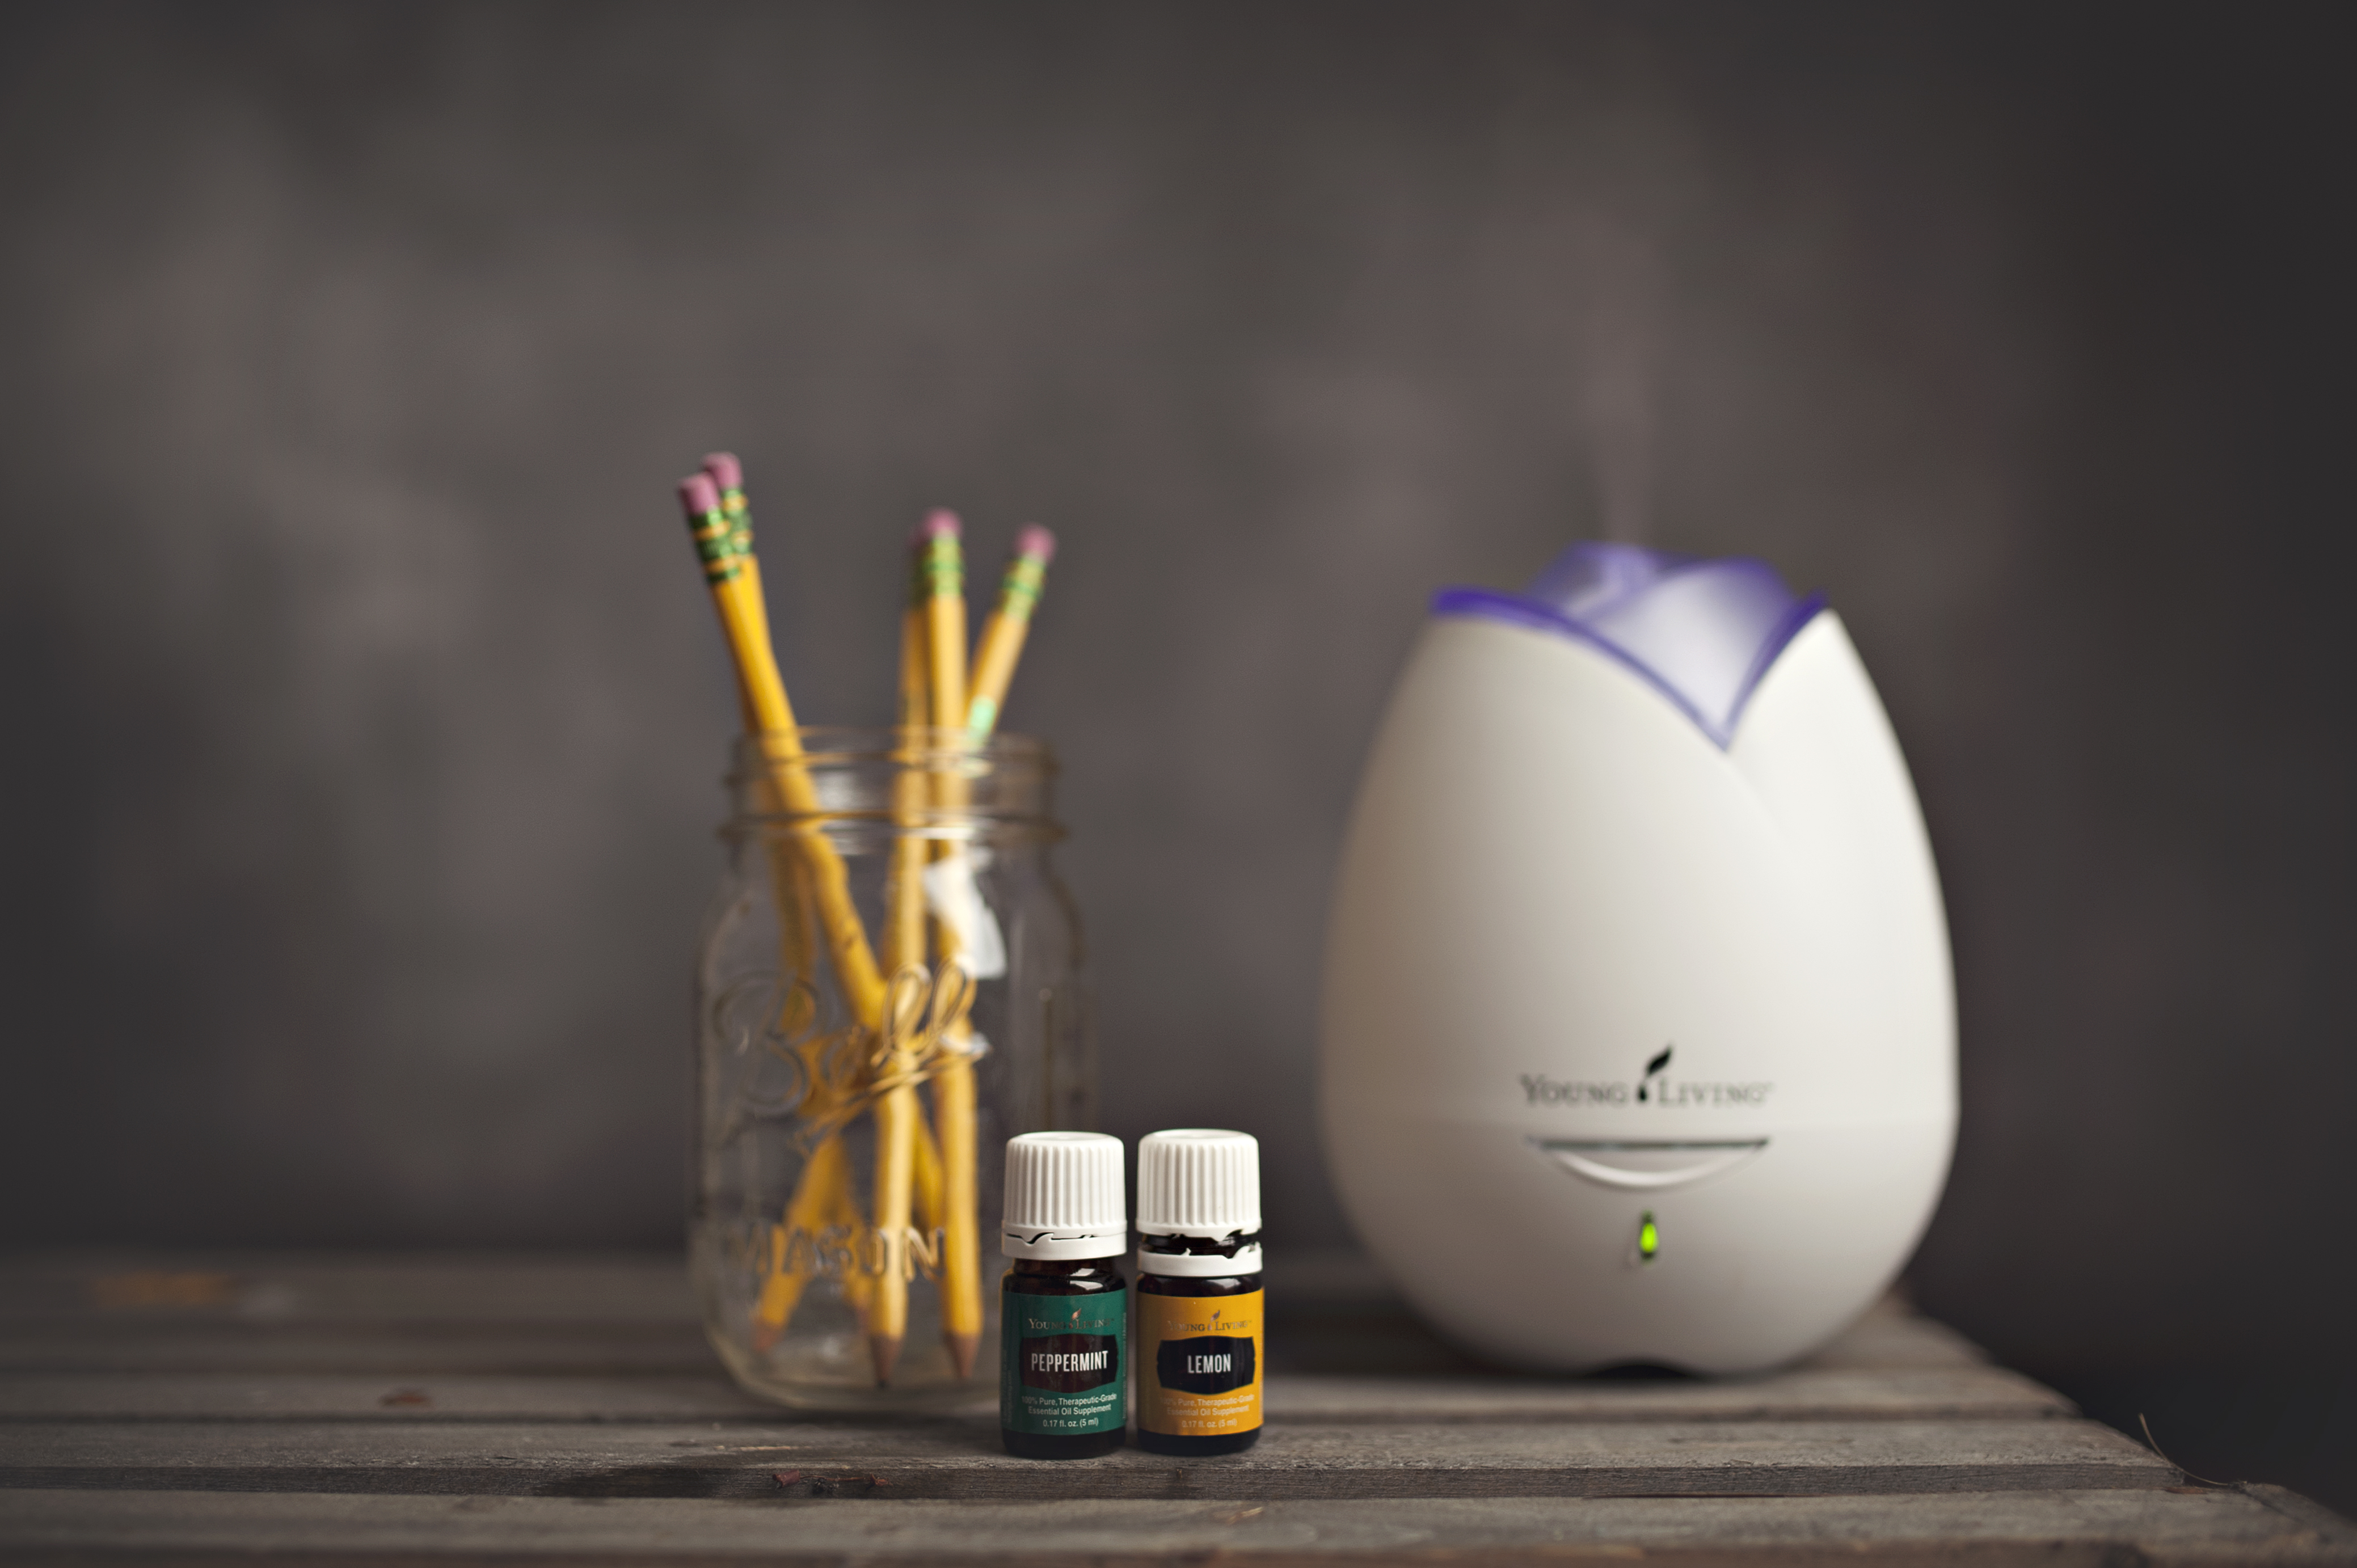
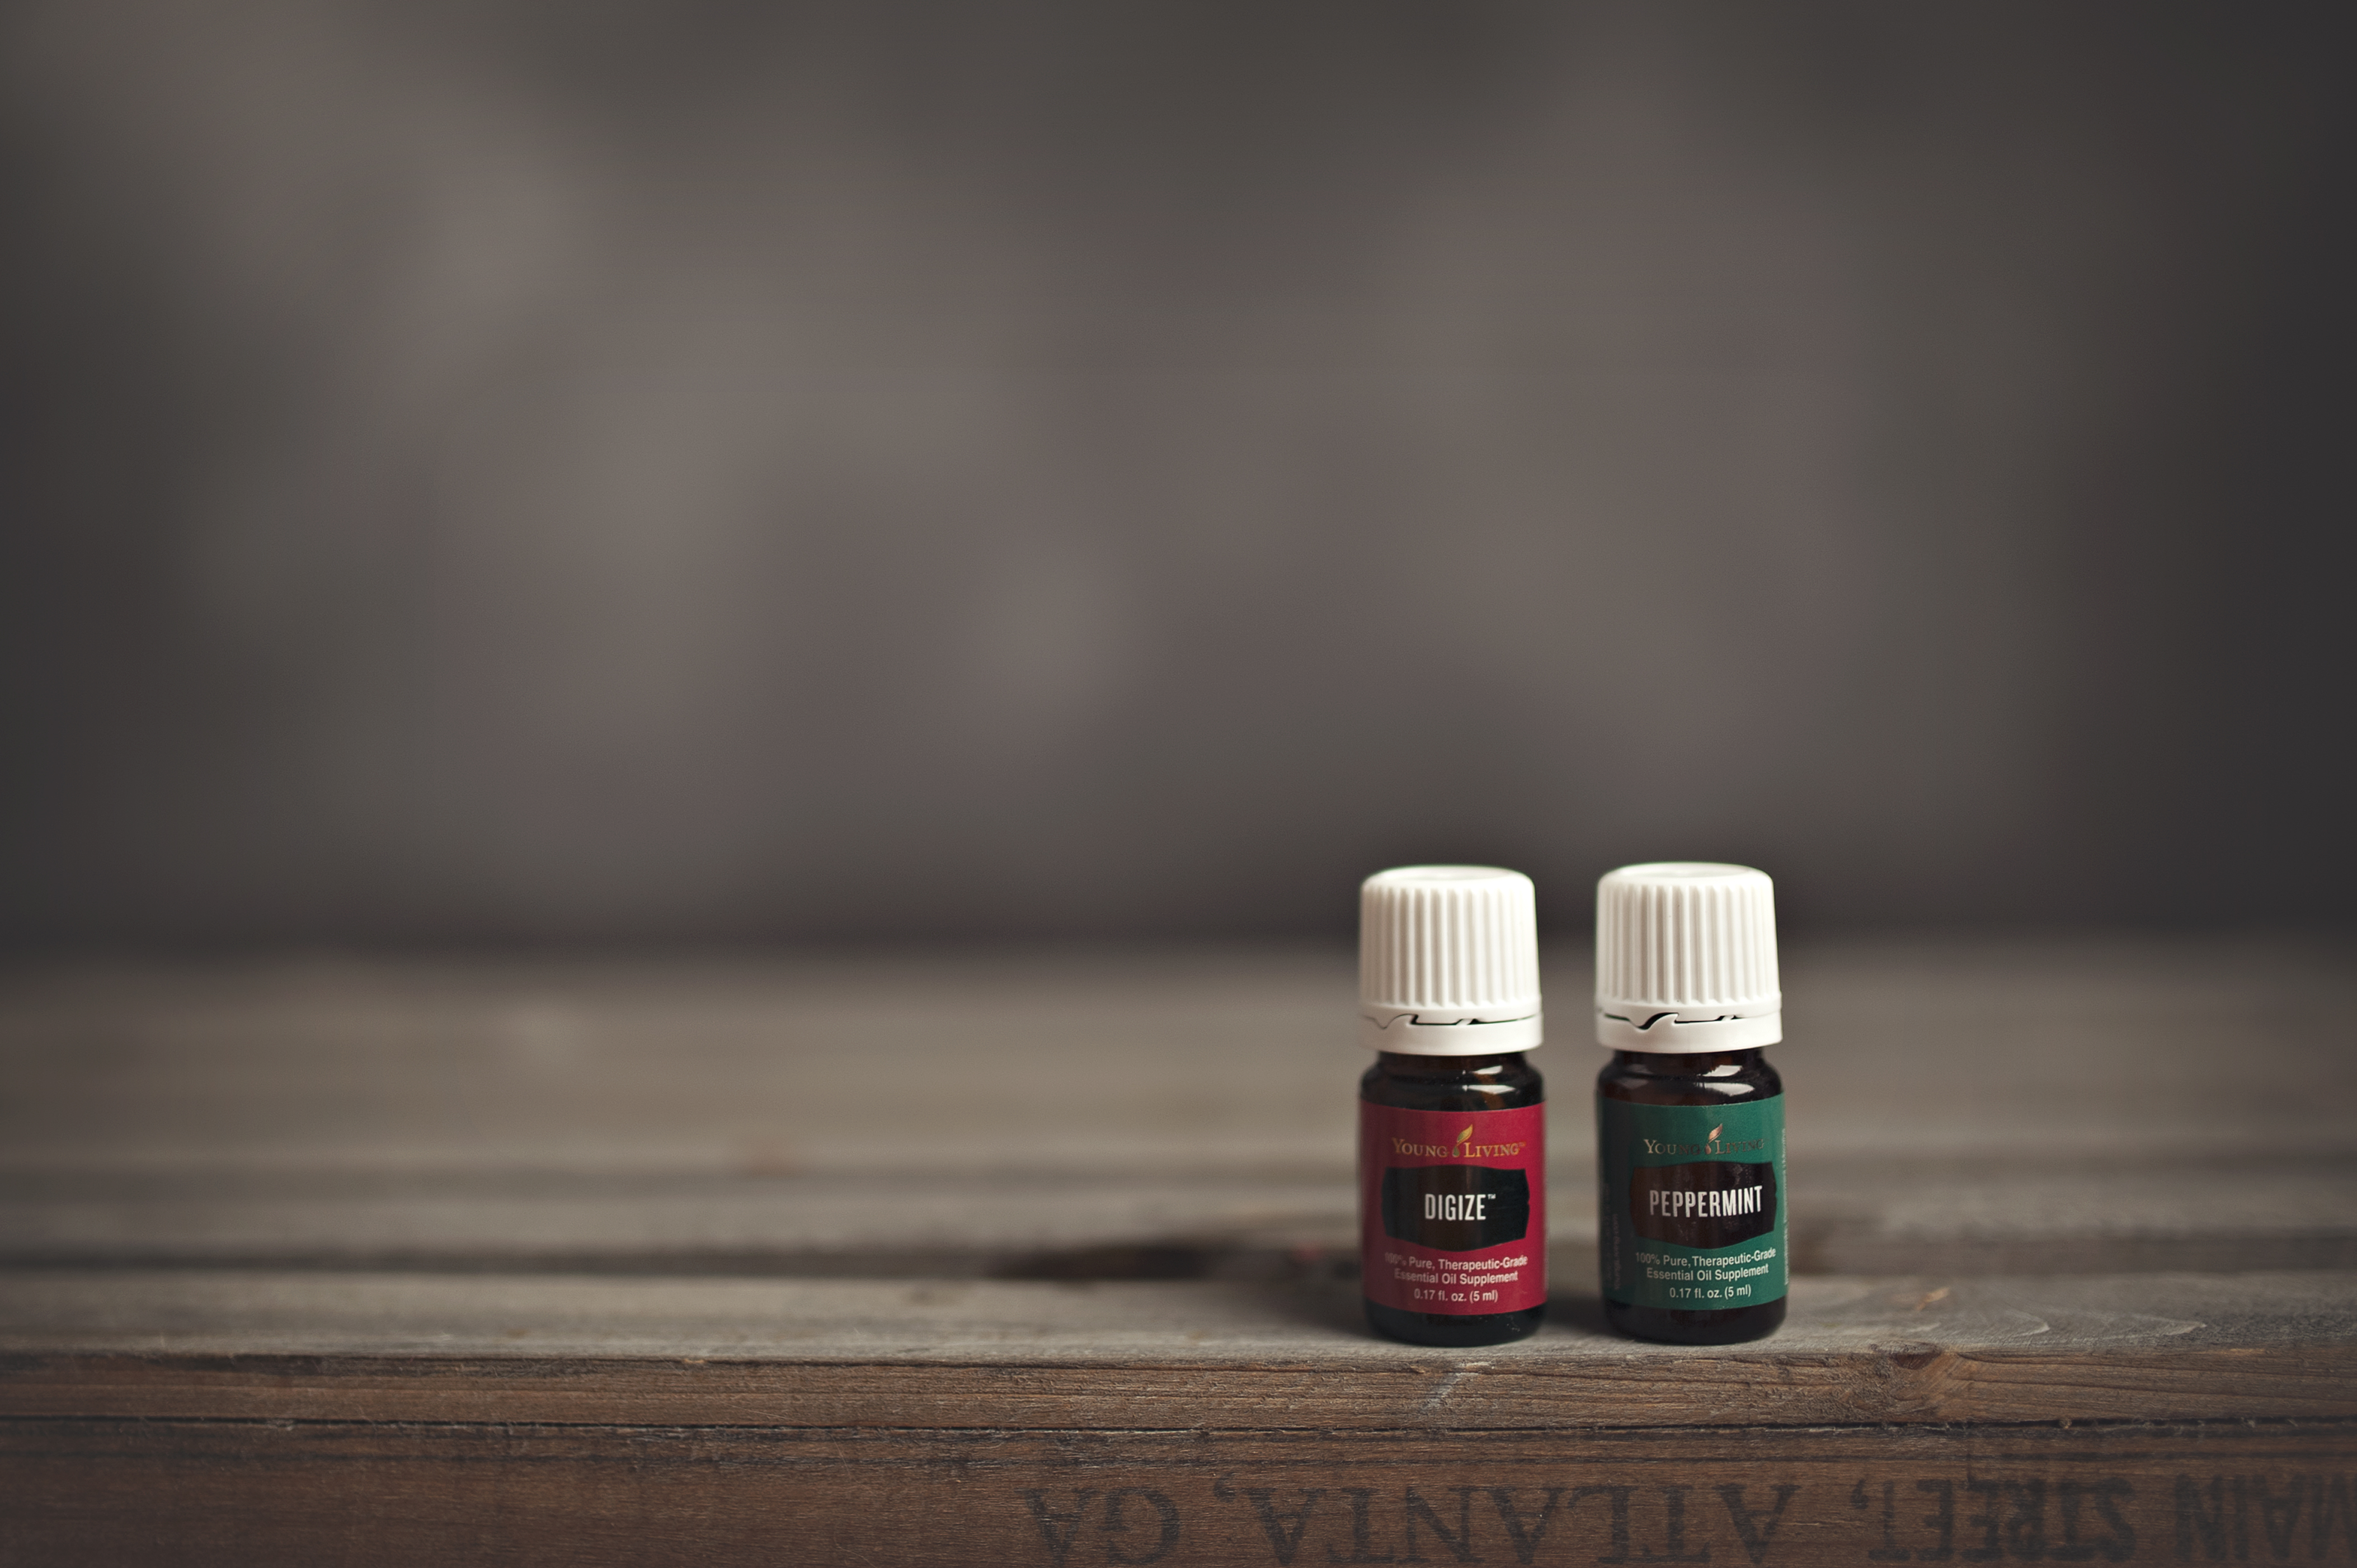
Peppermint, Lavender, and Honey Facial Toner
I love this mixture. The peppermint is invigorating and the lavender adds some skin rejuvenating properties. you can add whatever oils you love for your skin though. Honey is wonderful for your skin and is anti-bacterial as well. ACV because it is an awesome natural pH balancer. This is super fast and easy to make.
Ingredients:
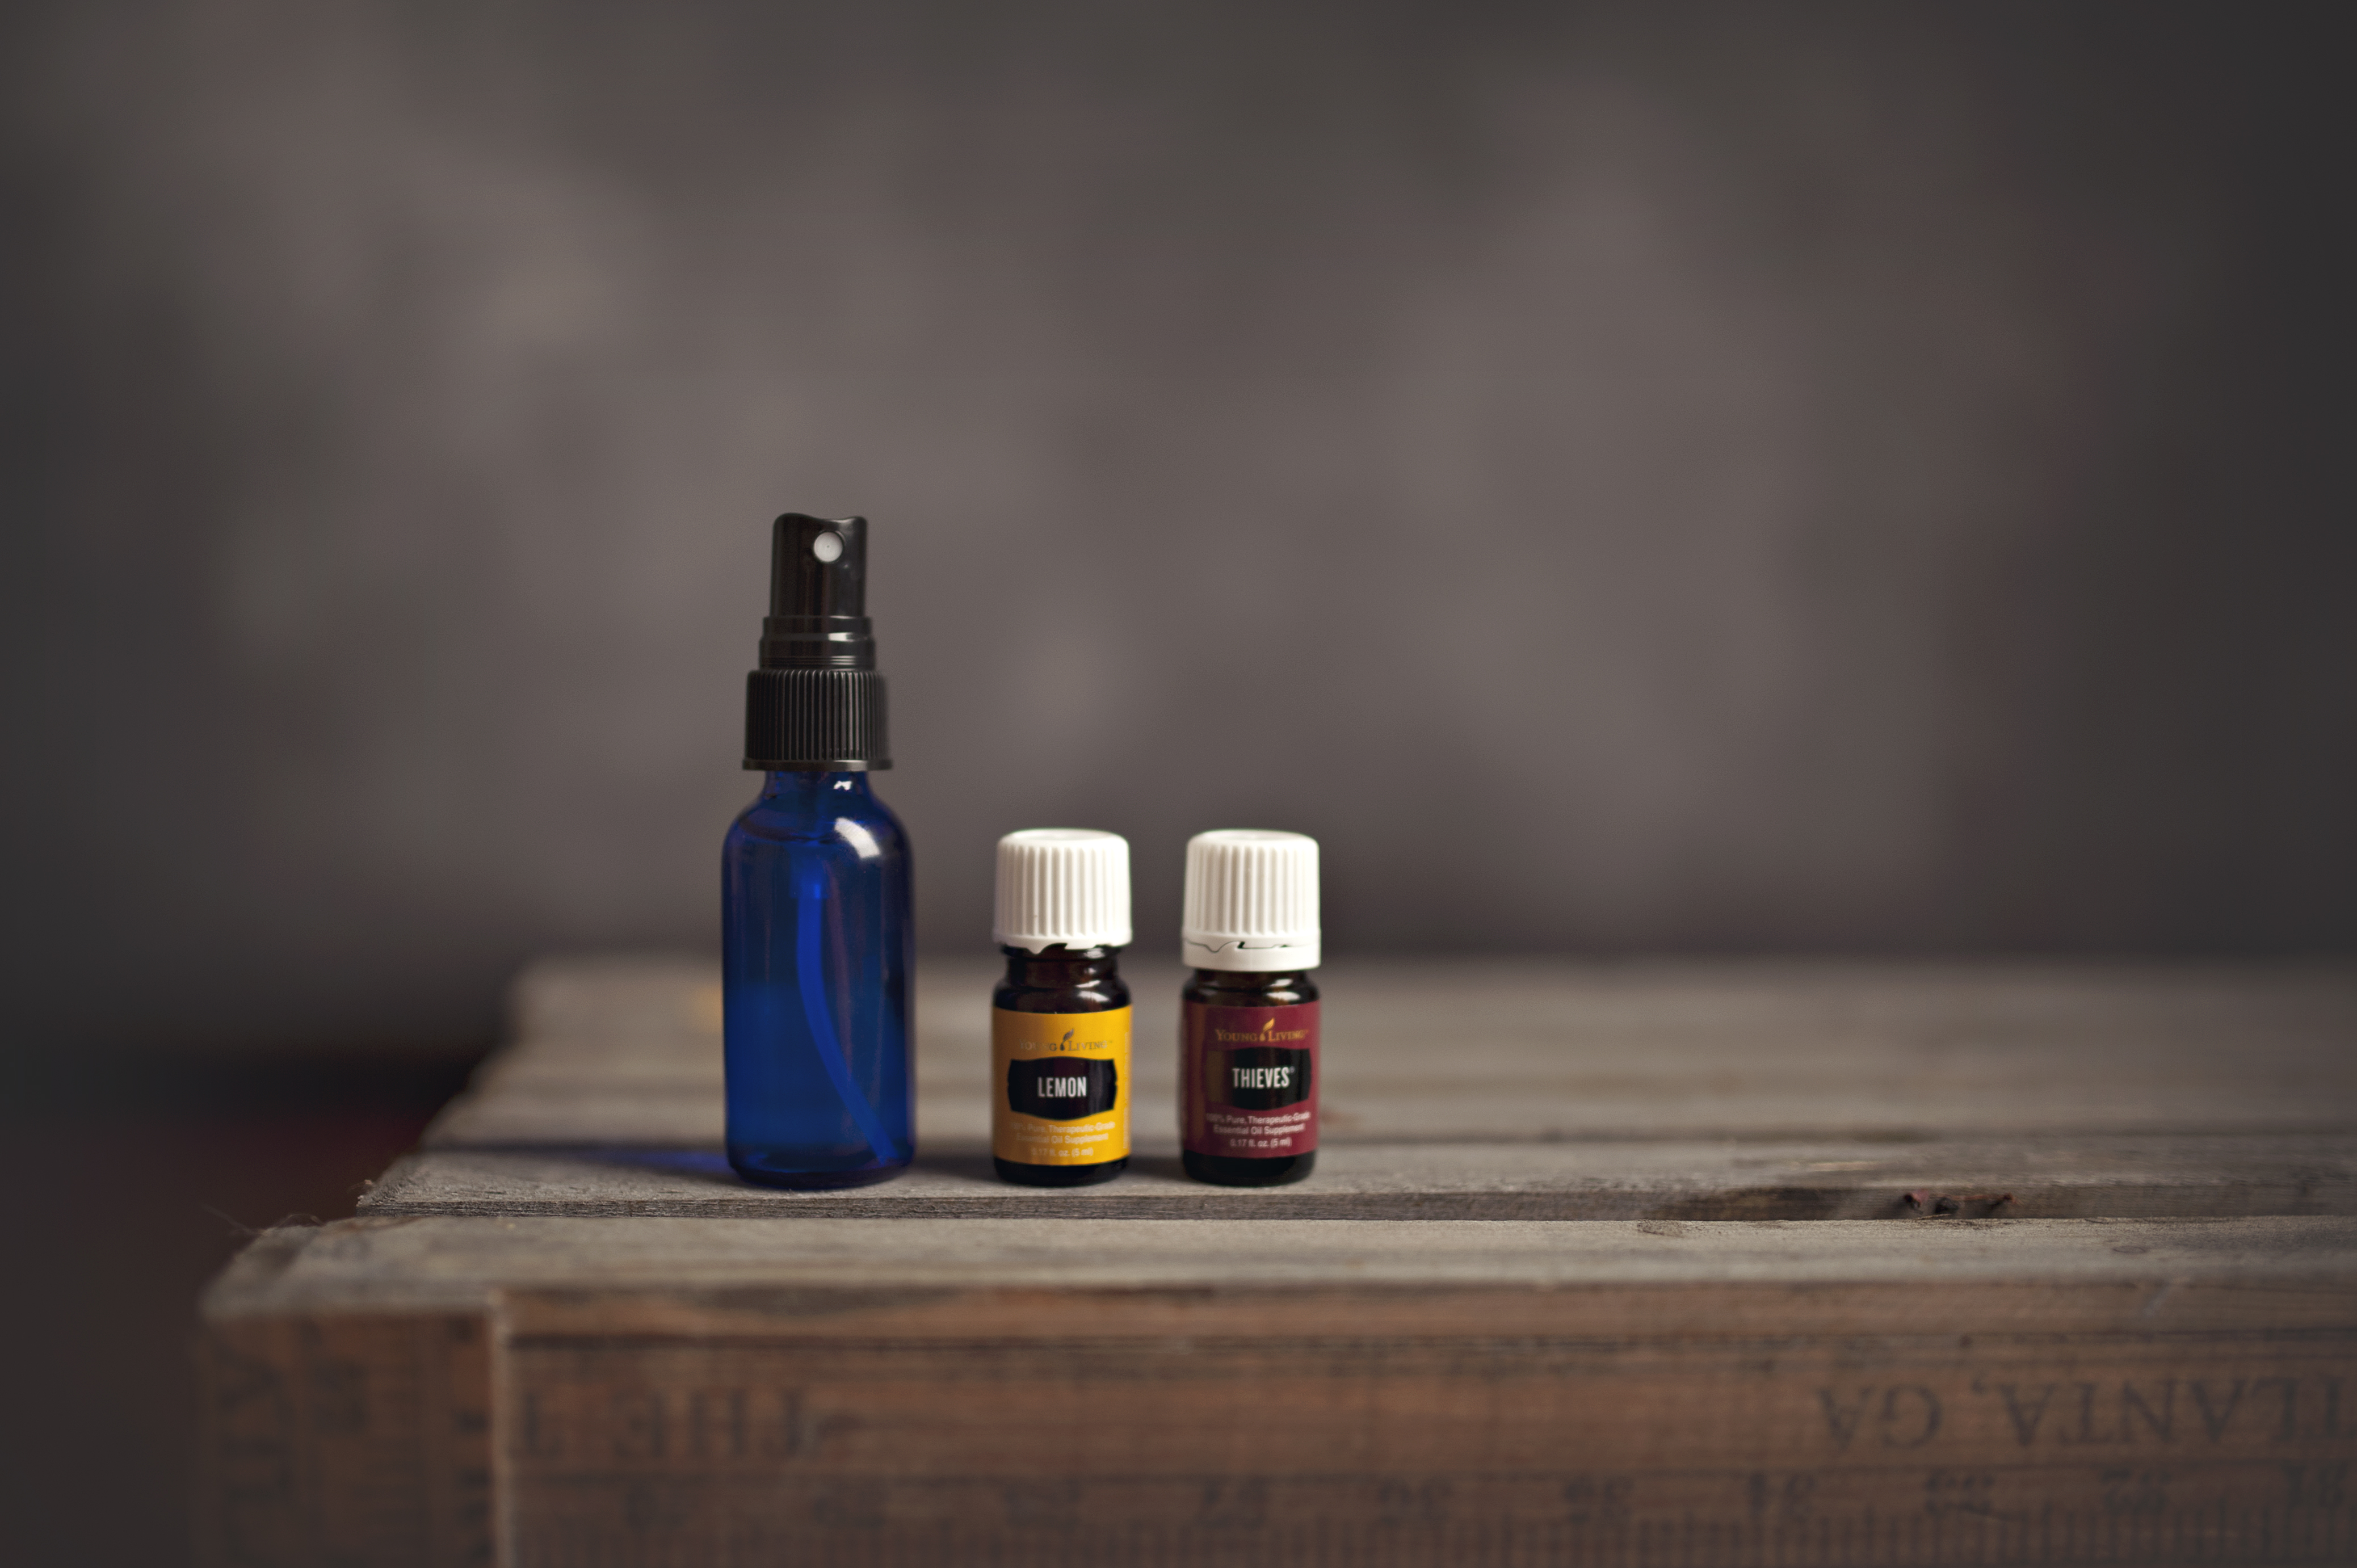
4oz glass spray bottle
1 tbs honey
1/3 c warm water
1/4 c ACV
1 c water
5 drops peppermint and 5 drops lavender essential oils
Directions:
Combine heated water and honey. Add other stuff. Put in bottles – this makes about 2 1/2 bottles worth. Shake prior to each use. I apply with a cotton round because I can’t spray it right on my face. I don’t know why, but it makes me crazy. Now you are ready for the final step…

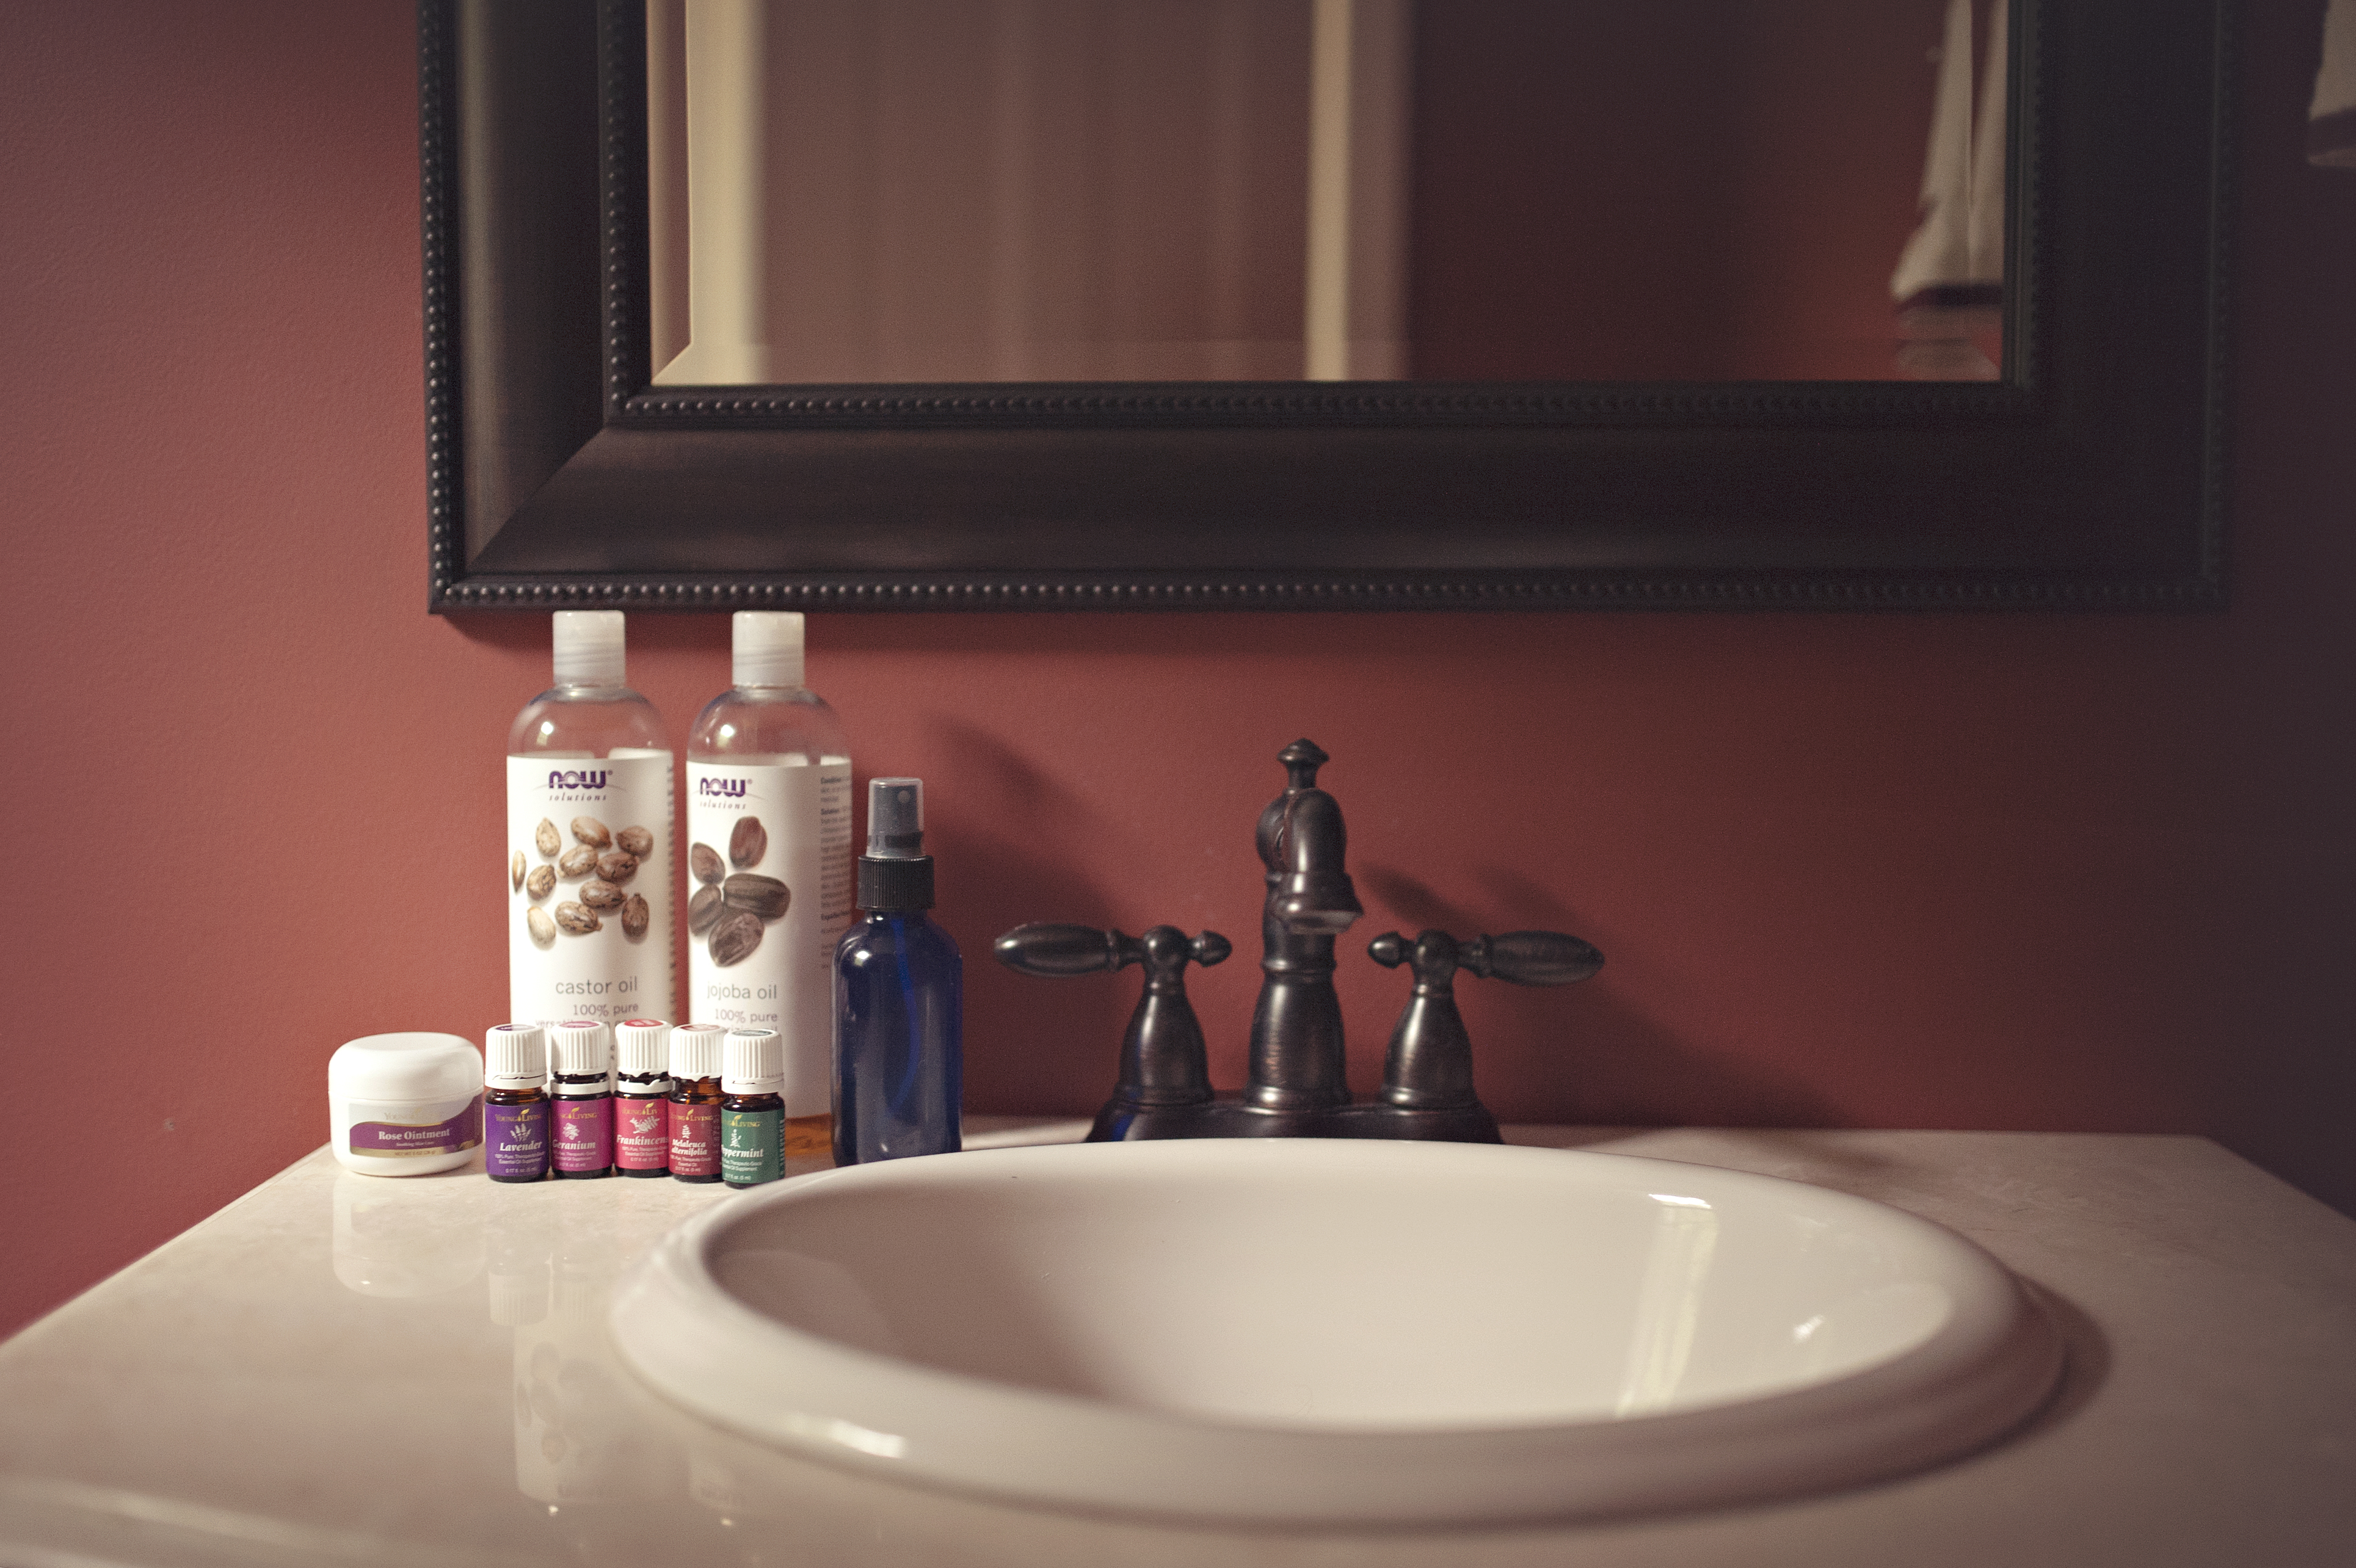
Rose Ointment with the “Skinny” Oils
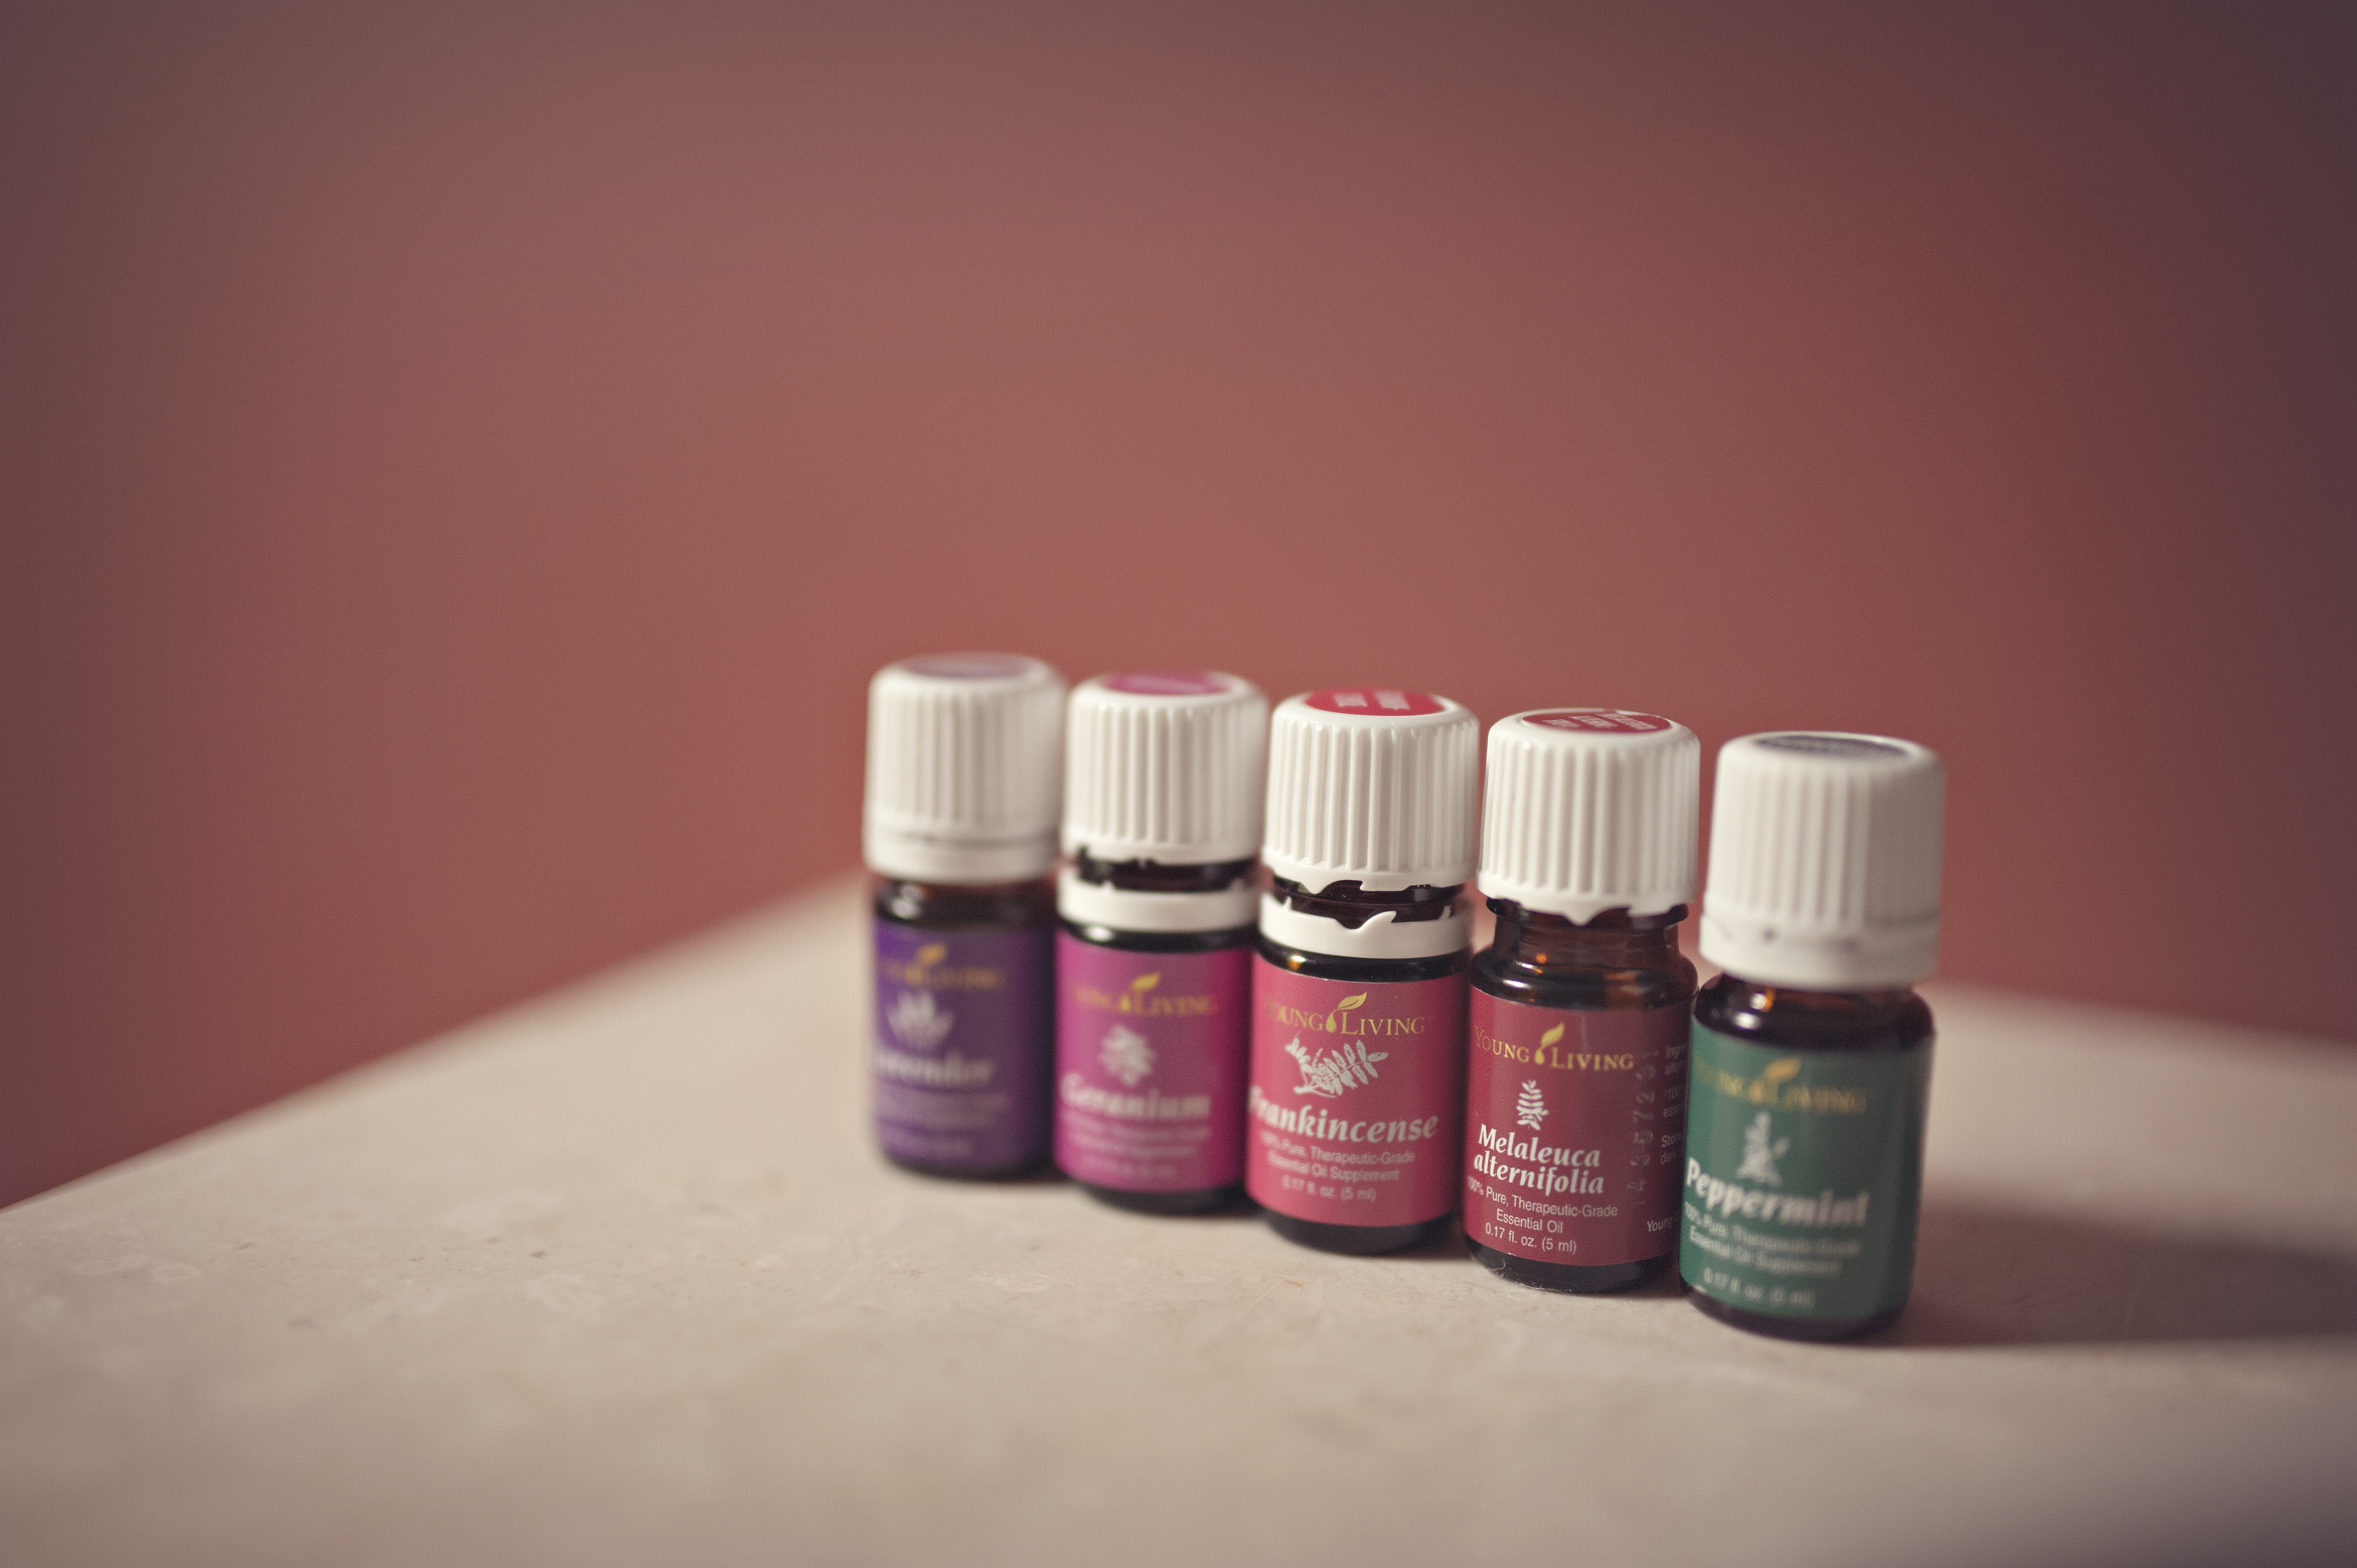
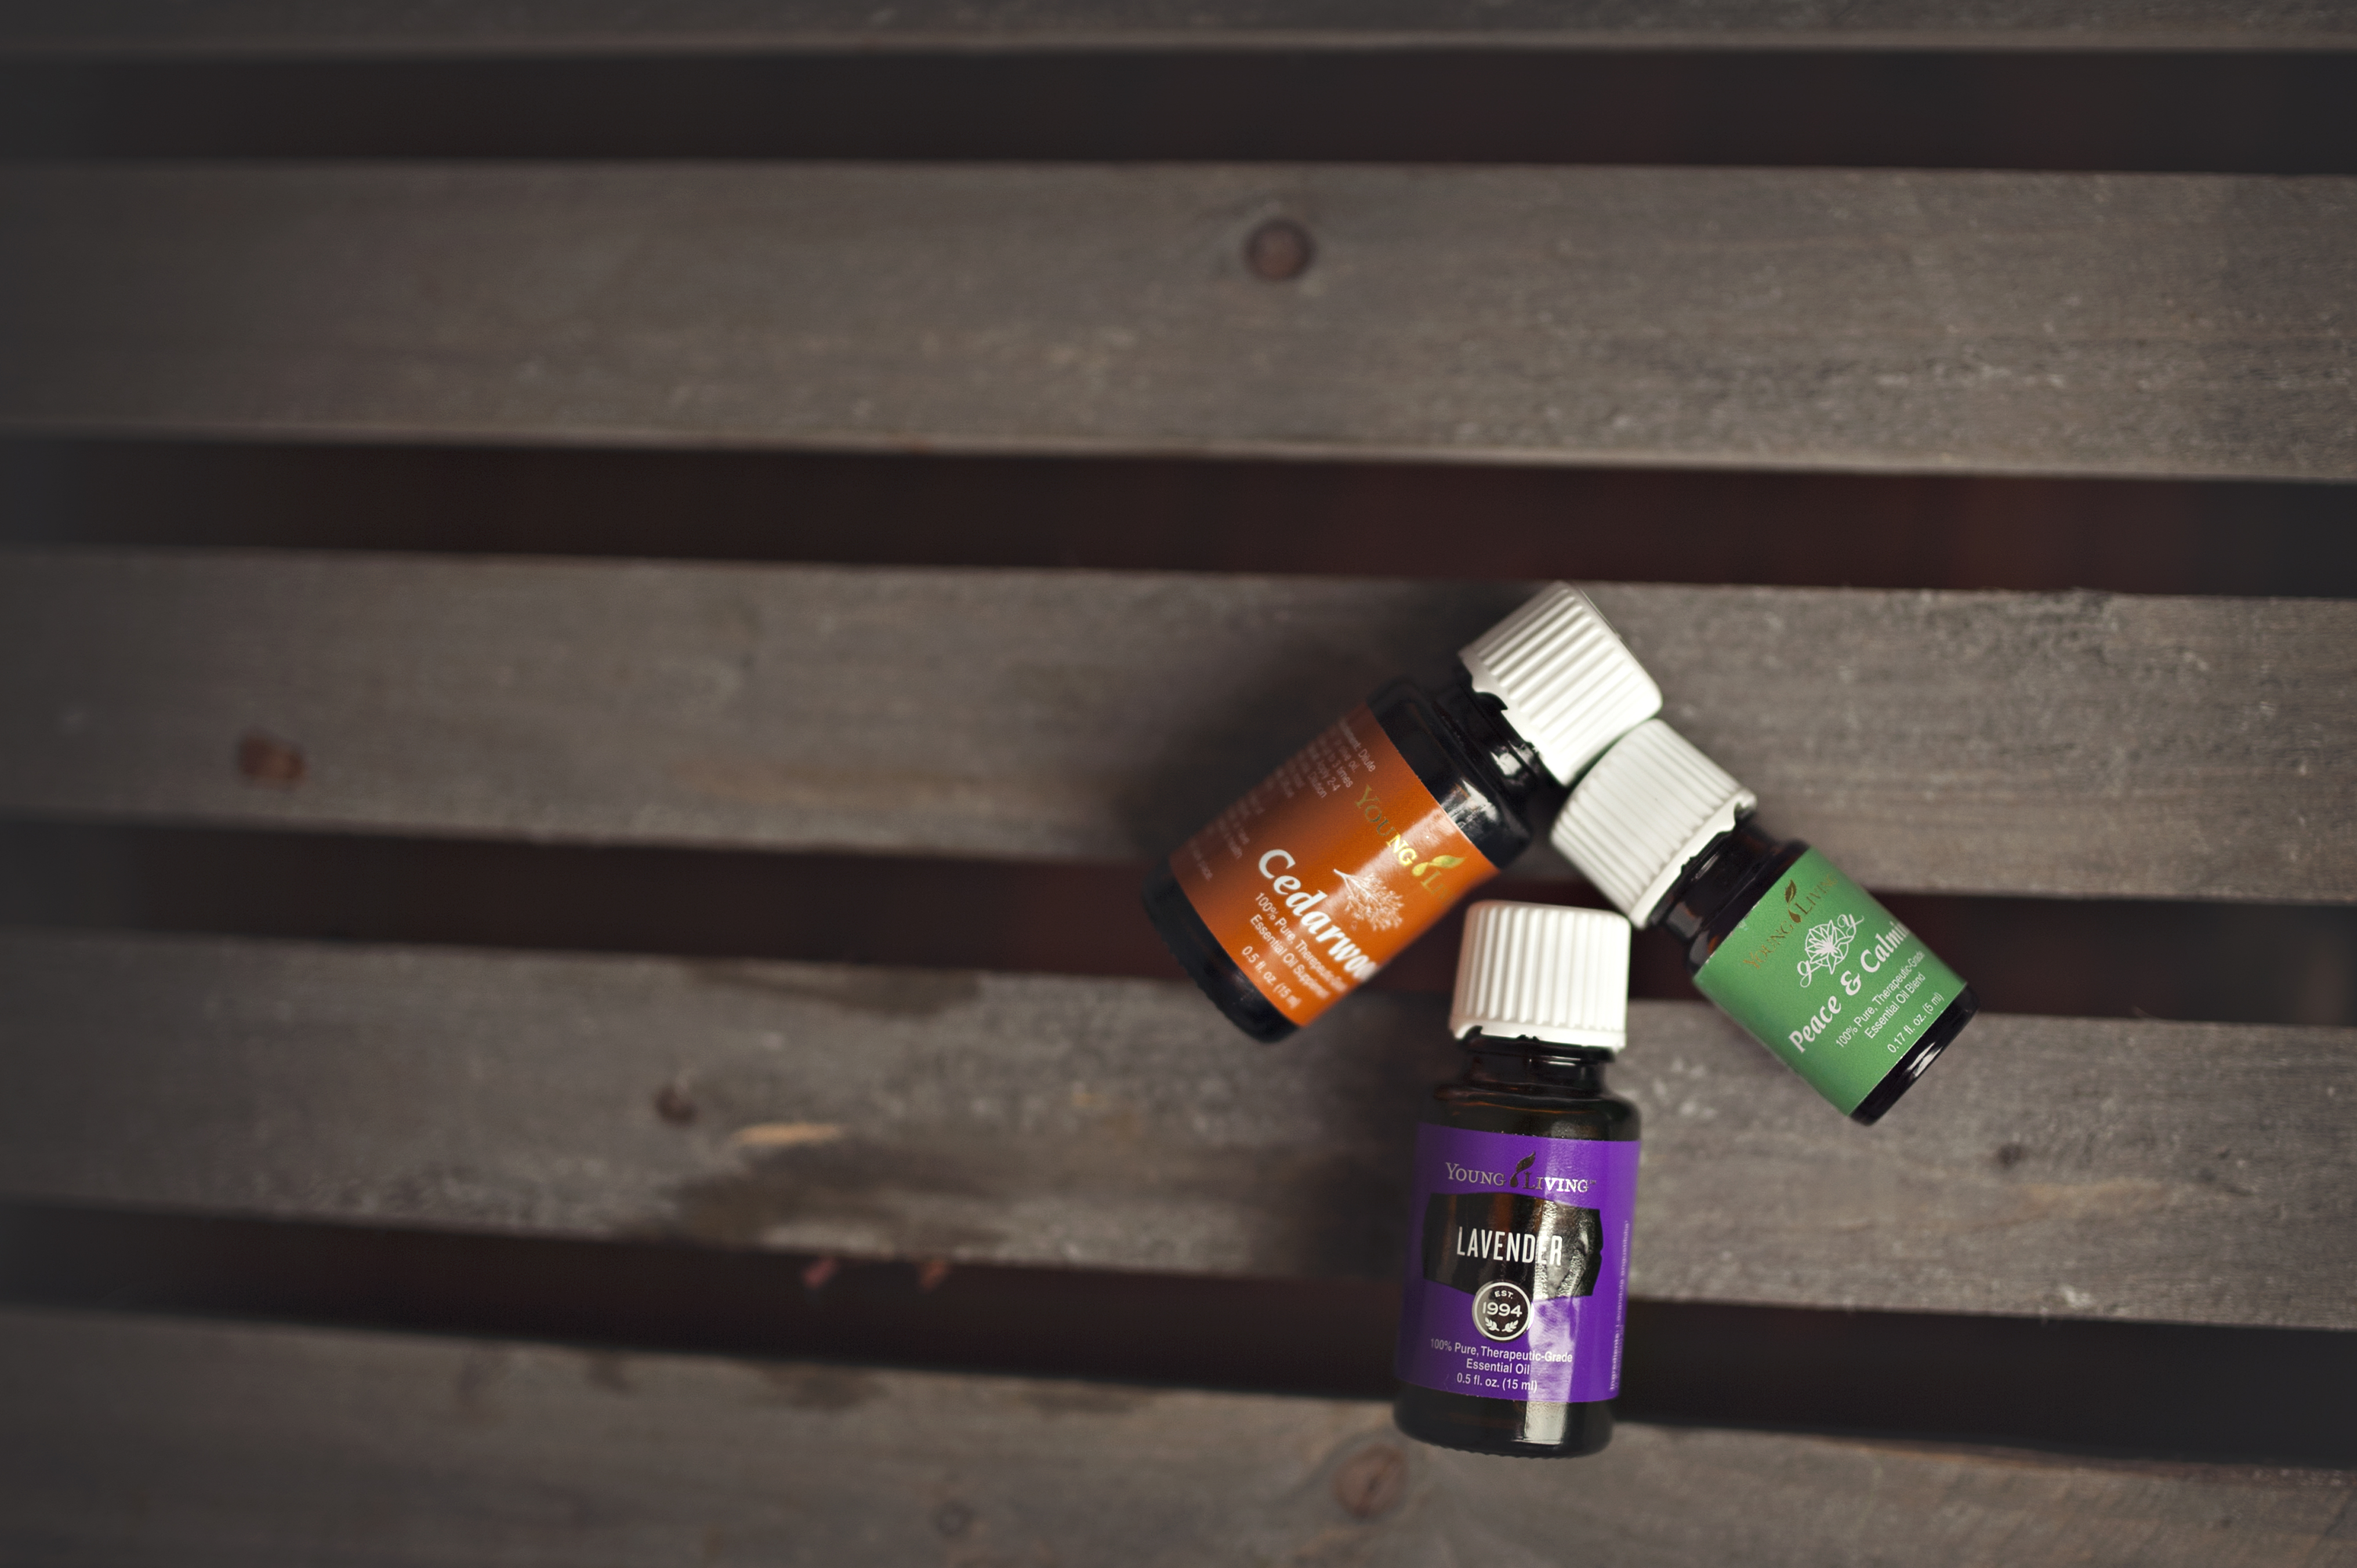
I just bought Rose Ointment from Young Living and LOVE it. So much. If you don’t have this, that is fine. You can use hempseed oil or any other oil that your skin loves. The “Skinny” oils I use are:
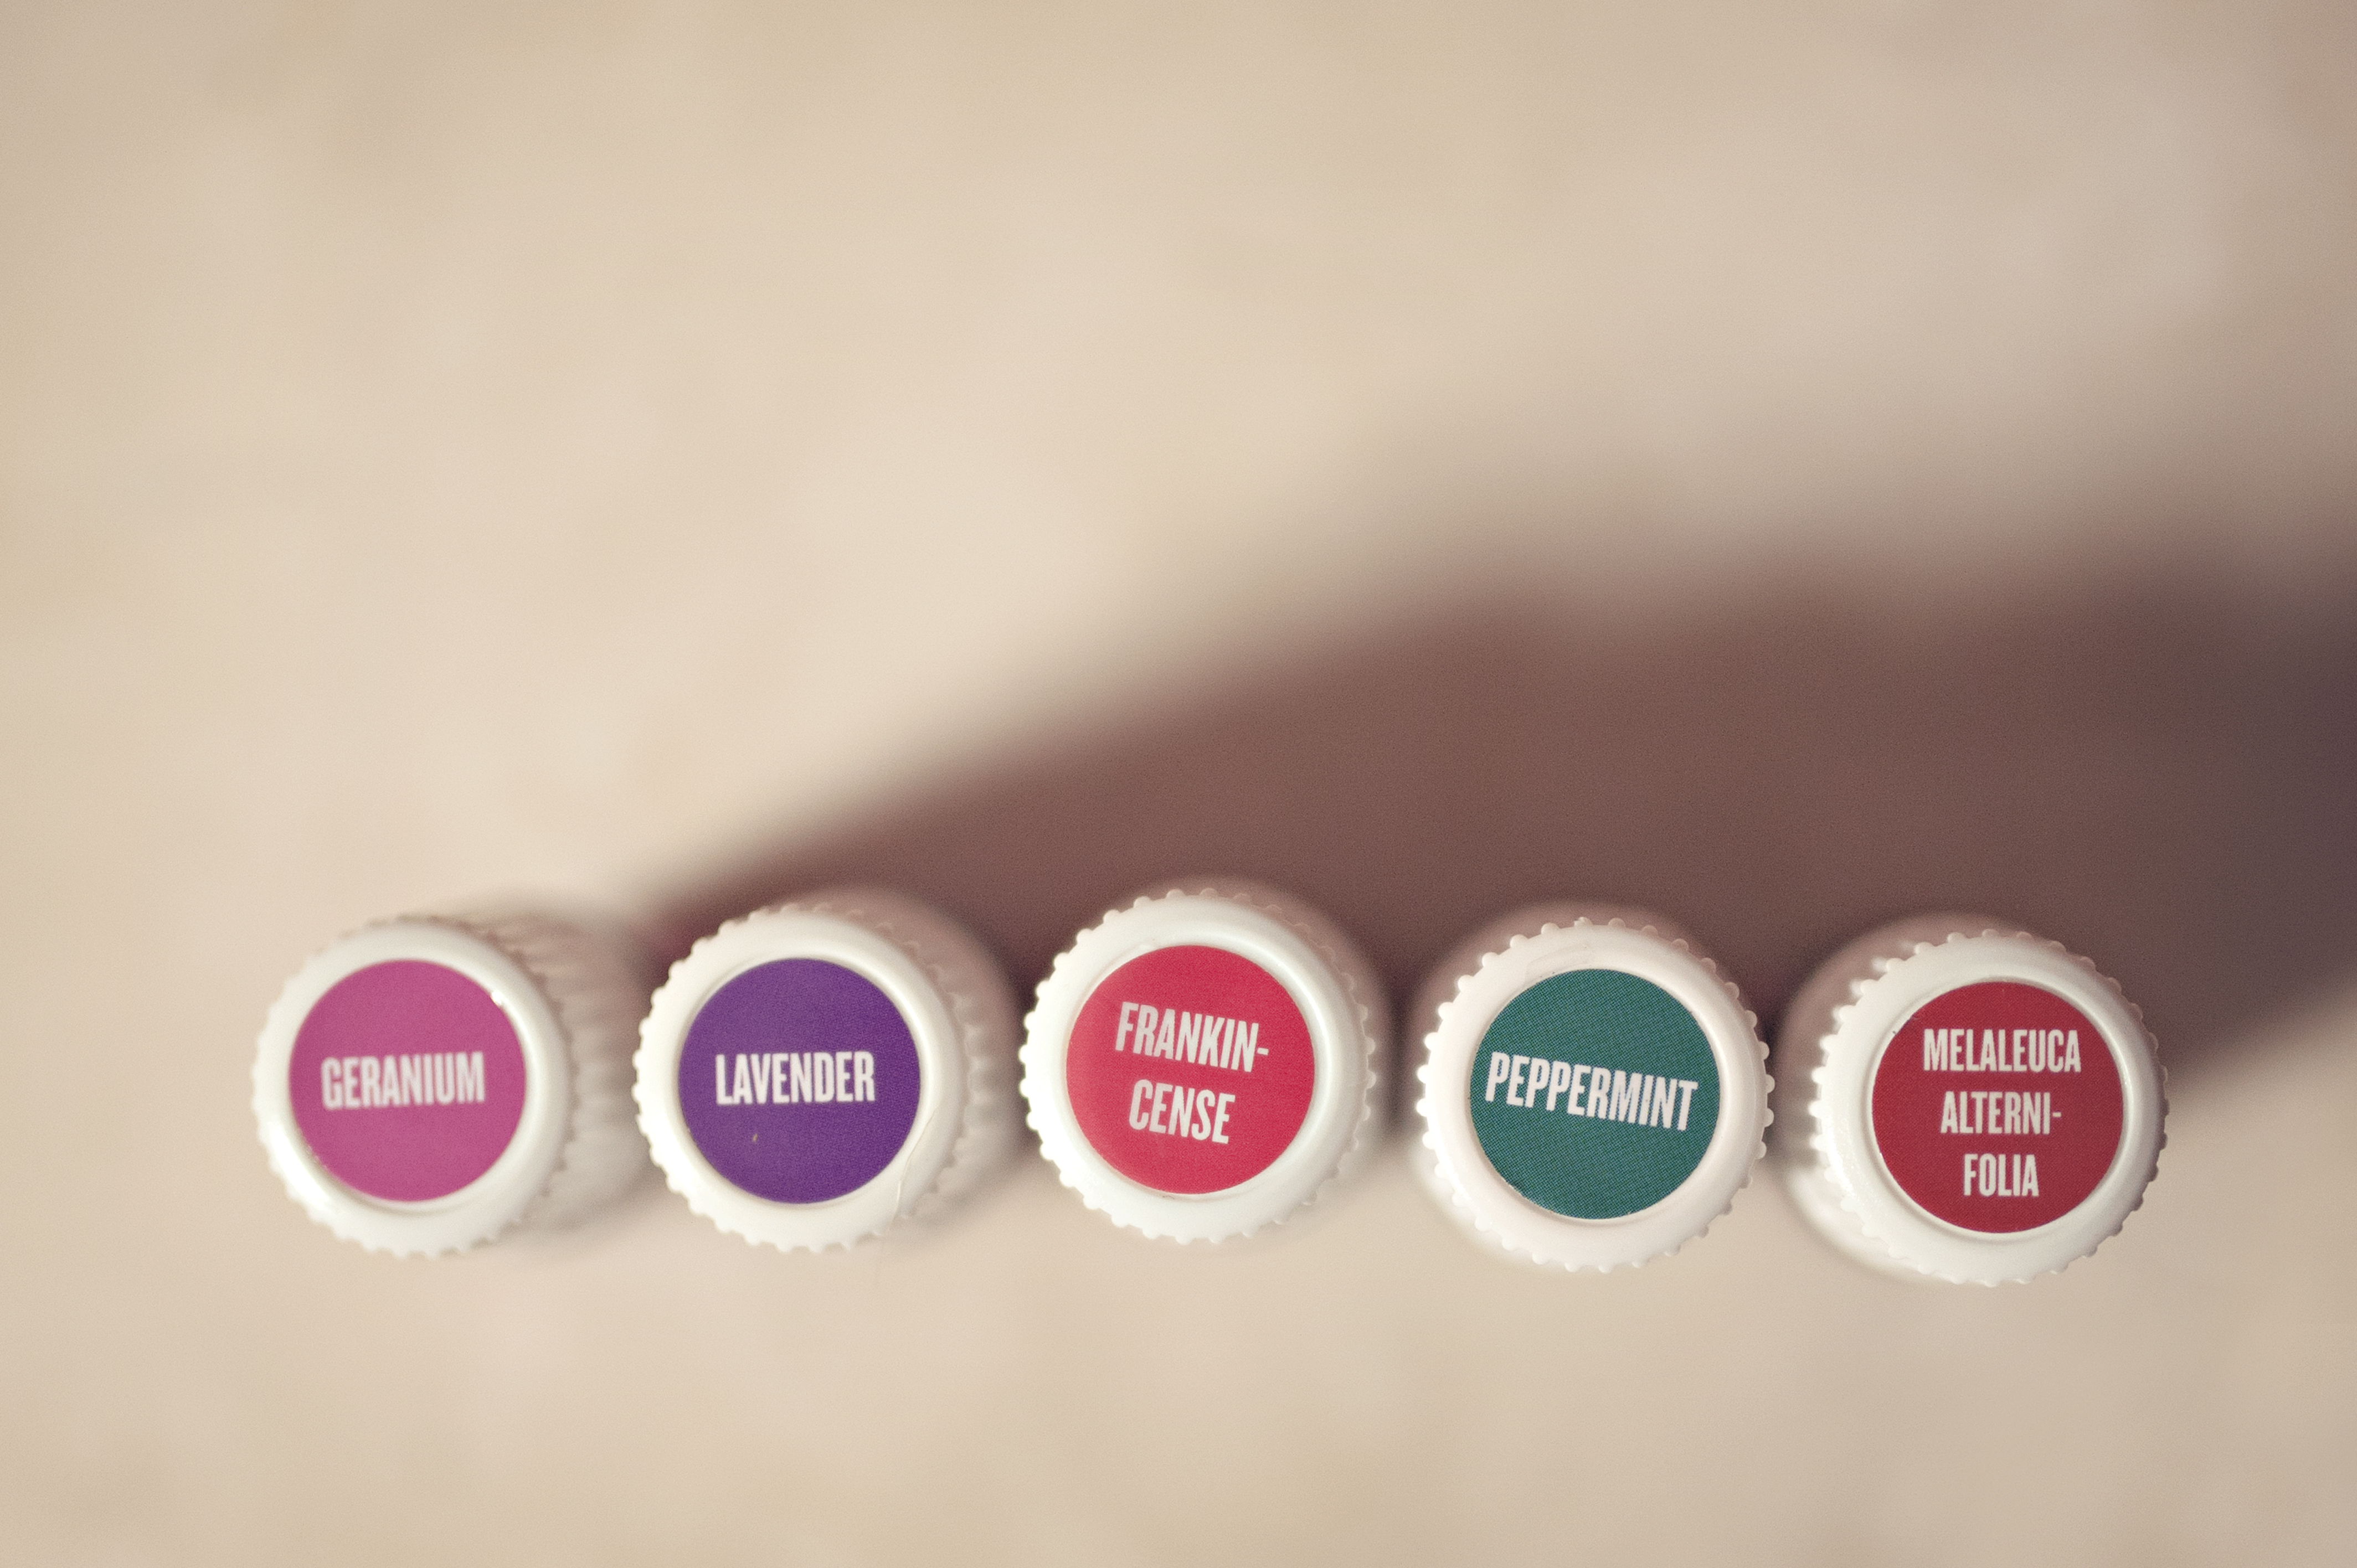
Frankincense
Geranium
Tea Tree Oil
I just got geranium so you don’t HAVE to use that, but it is an excellent addition to this regimen. My skin responded well to just using frankincense and tea tree, but I wanted to add the geranium to see how much better I can get it. Really, you can’t beat these three oils in terms of revitalizing your skin.
I don’t pre-mix this because it is just so easy to apply. I take about a dime size amount of rose ointment and add one drop each of frankincense, tea tree, and geranium and then massage into my skin, being careful to avoid my eyes. I love it. My skin is so smooth after doing this.
In the mornings, I follow the same regimen except I switch out the oil cleansing and use just plain honey. Yep. I rub sticky honey all over my face and love it. Try it. Additionally, I try to drink a TON of water to keep my skin nice and hydrated. I fail miserably many days, but I think if I get better at being consistent, my skin will continue to improve.

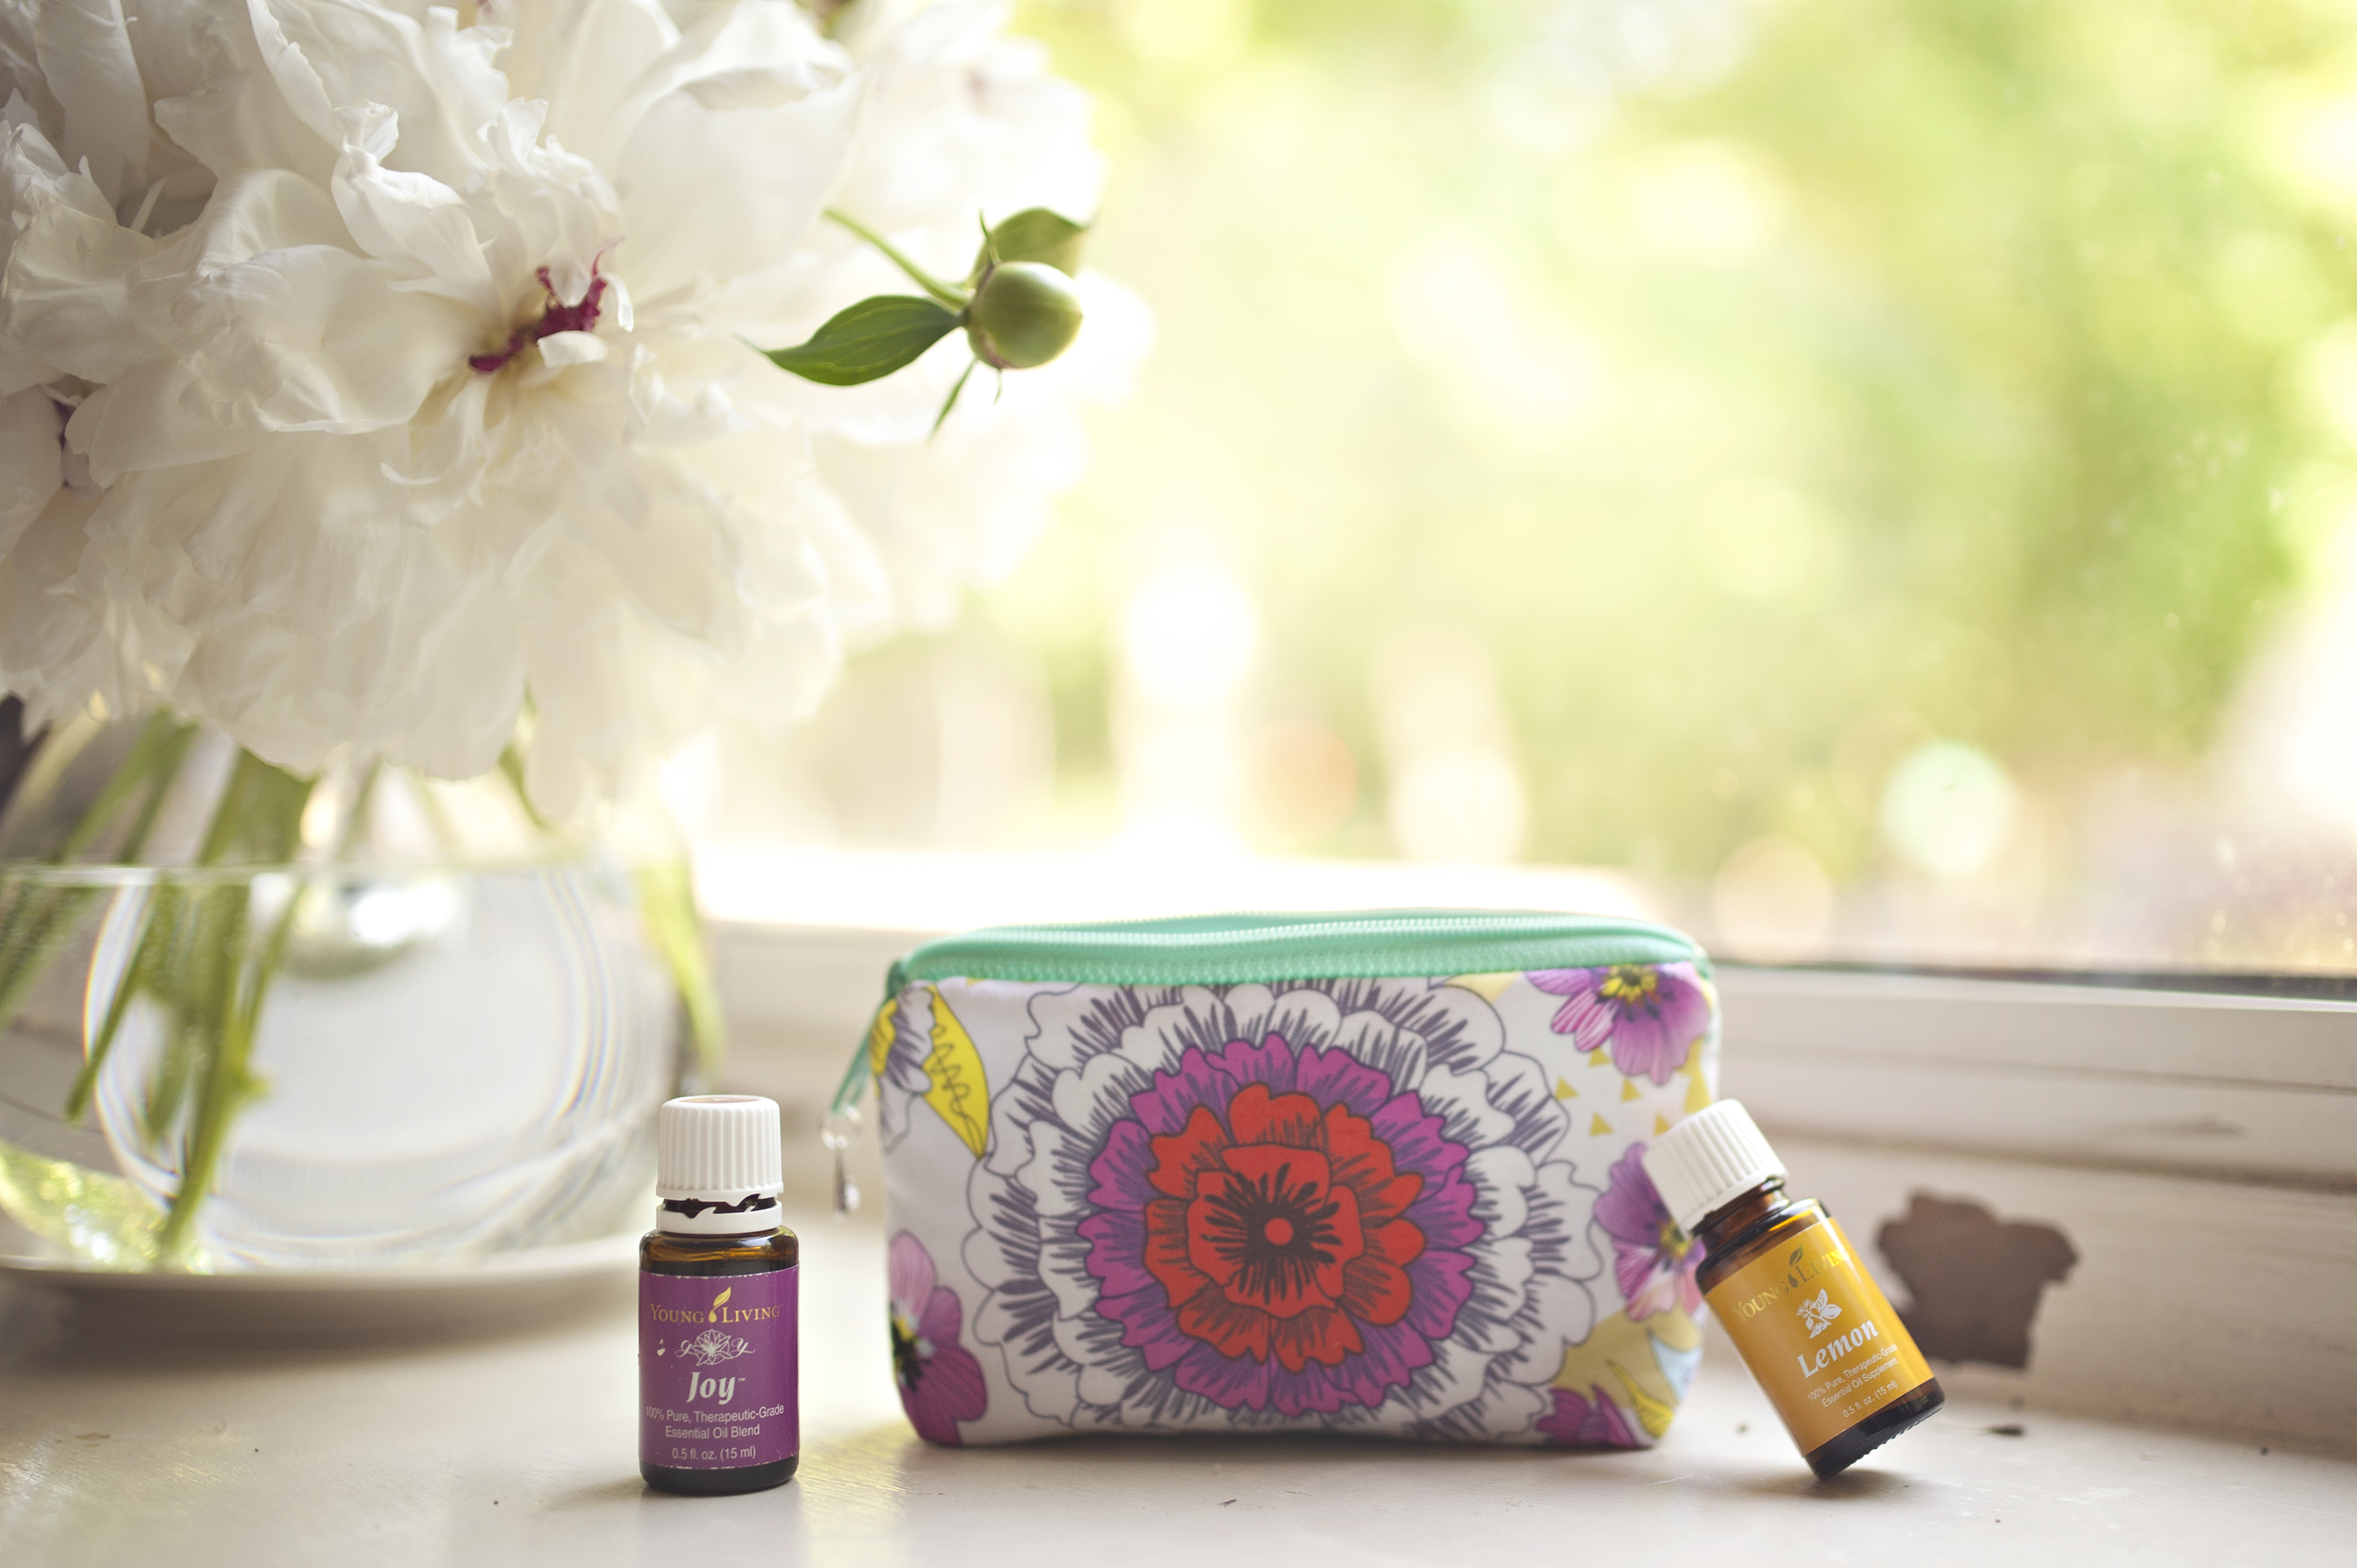
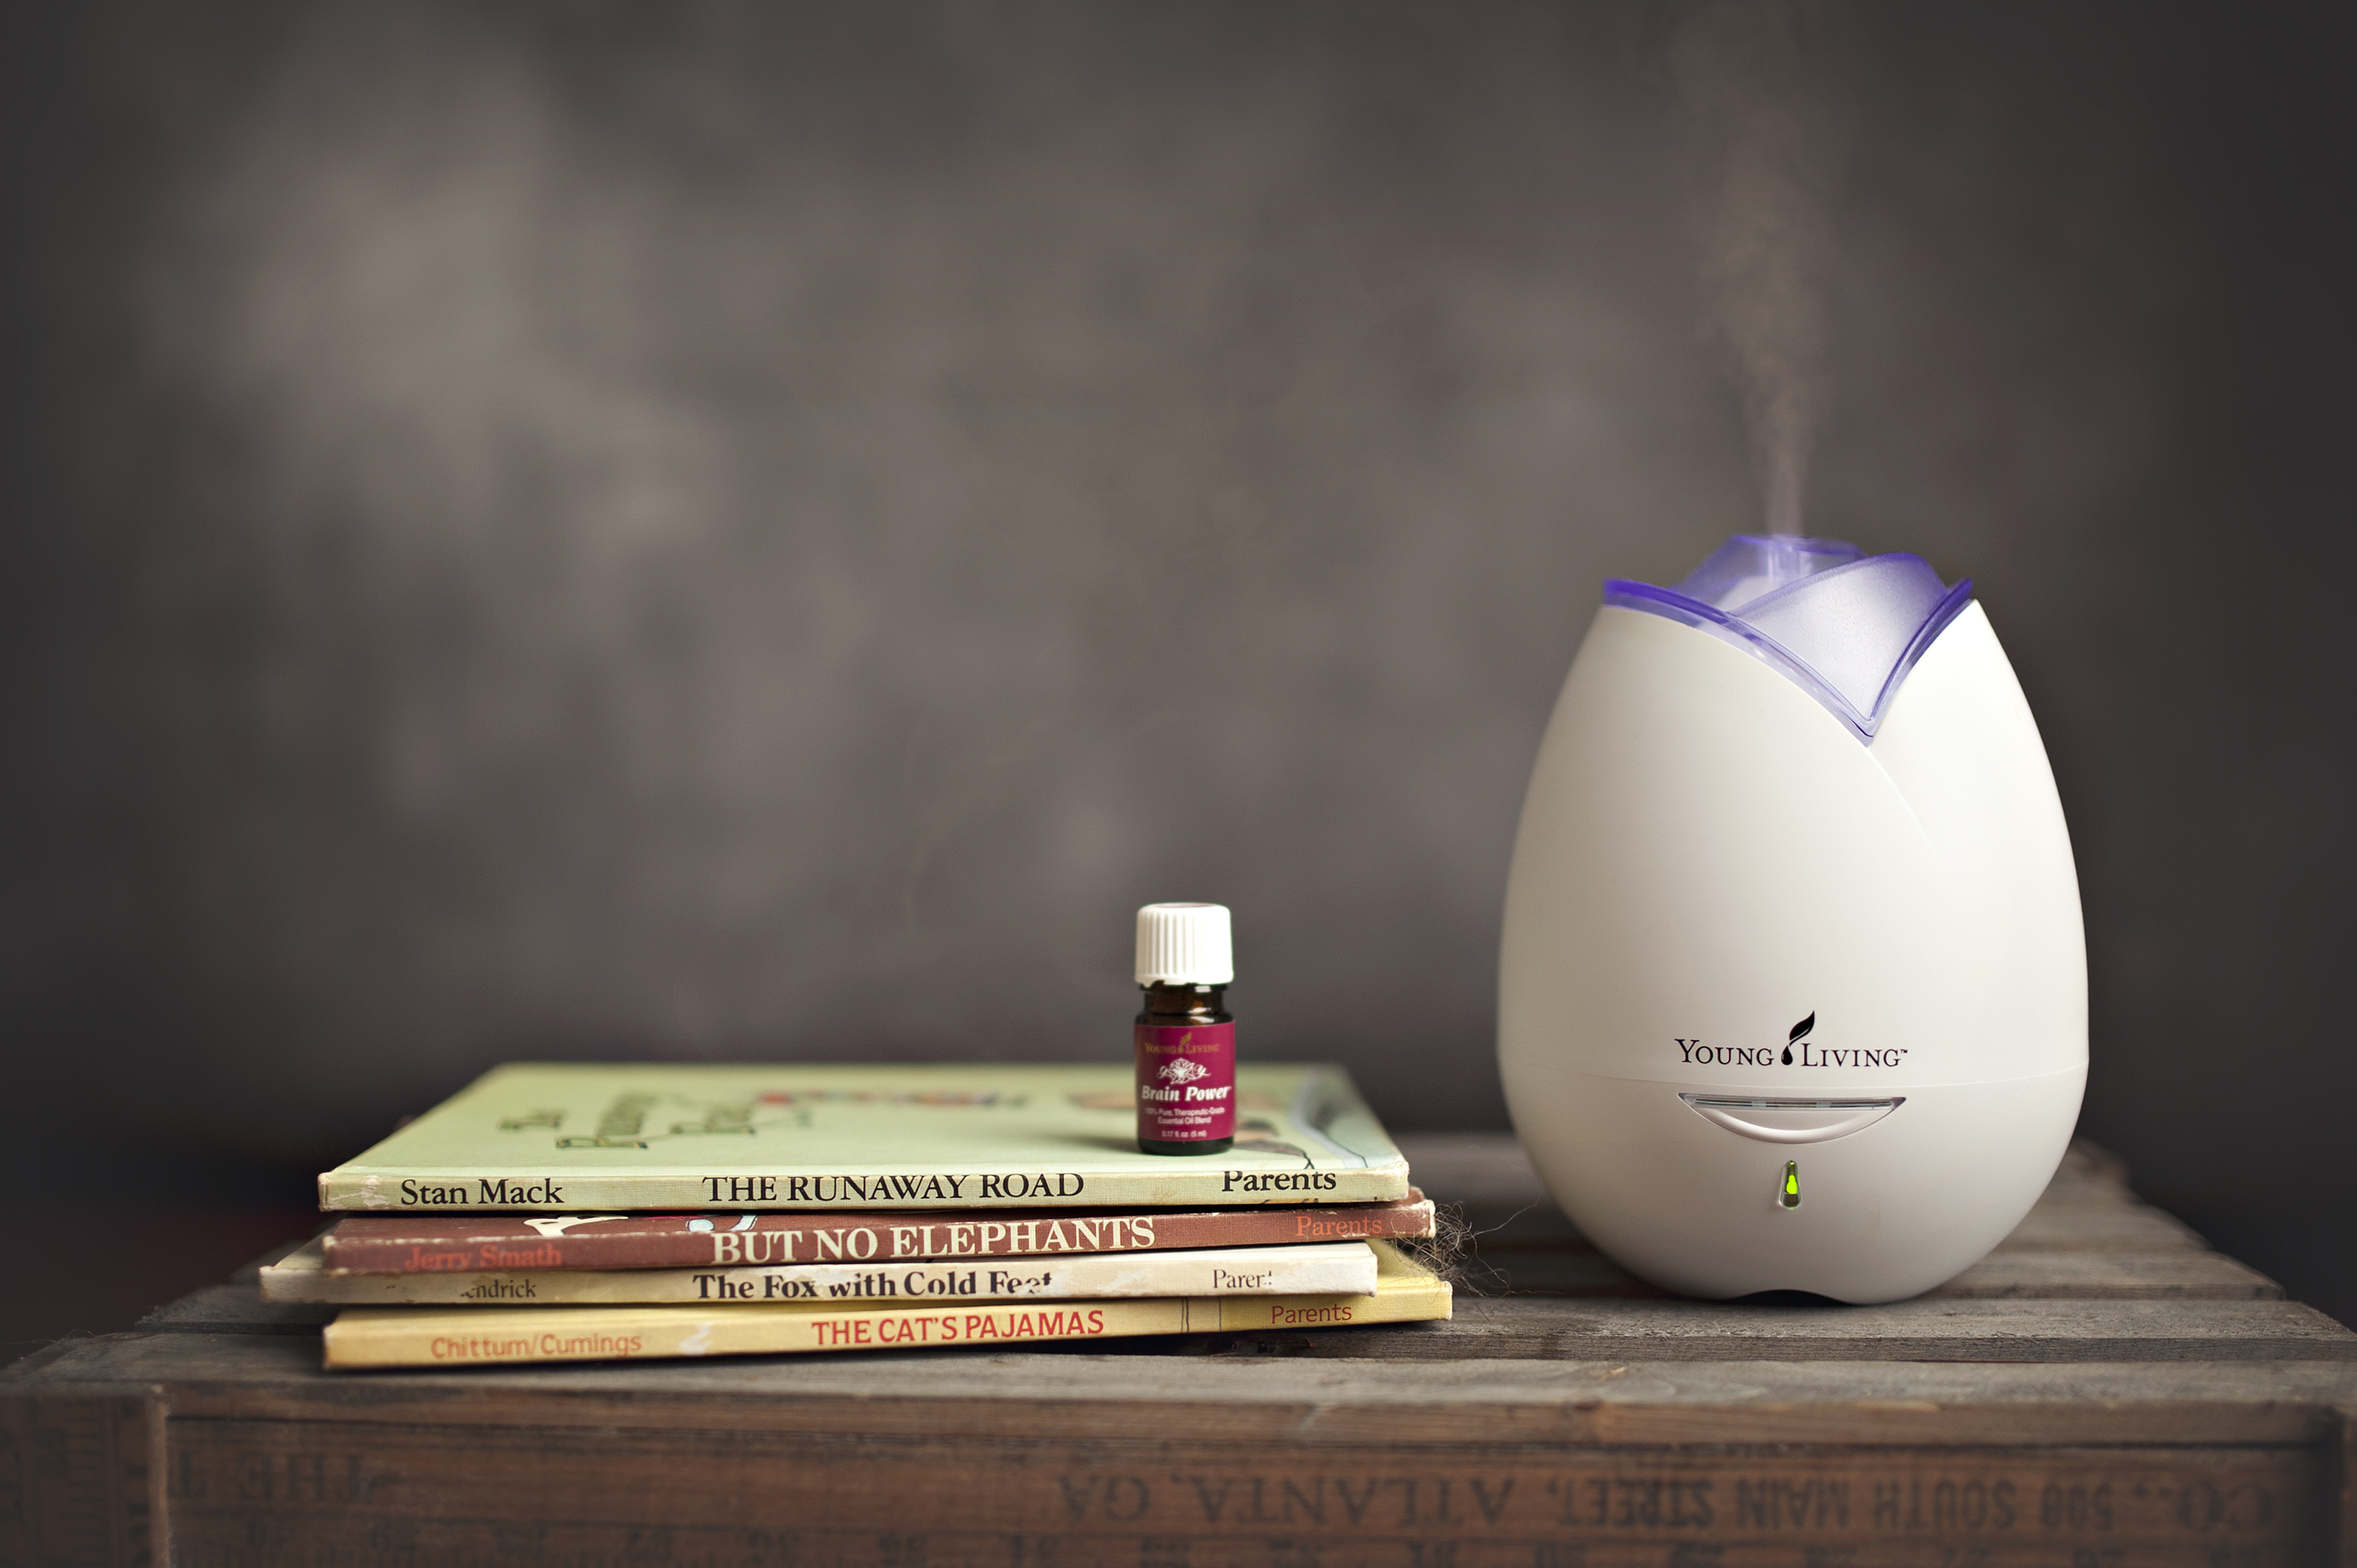
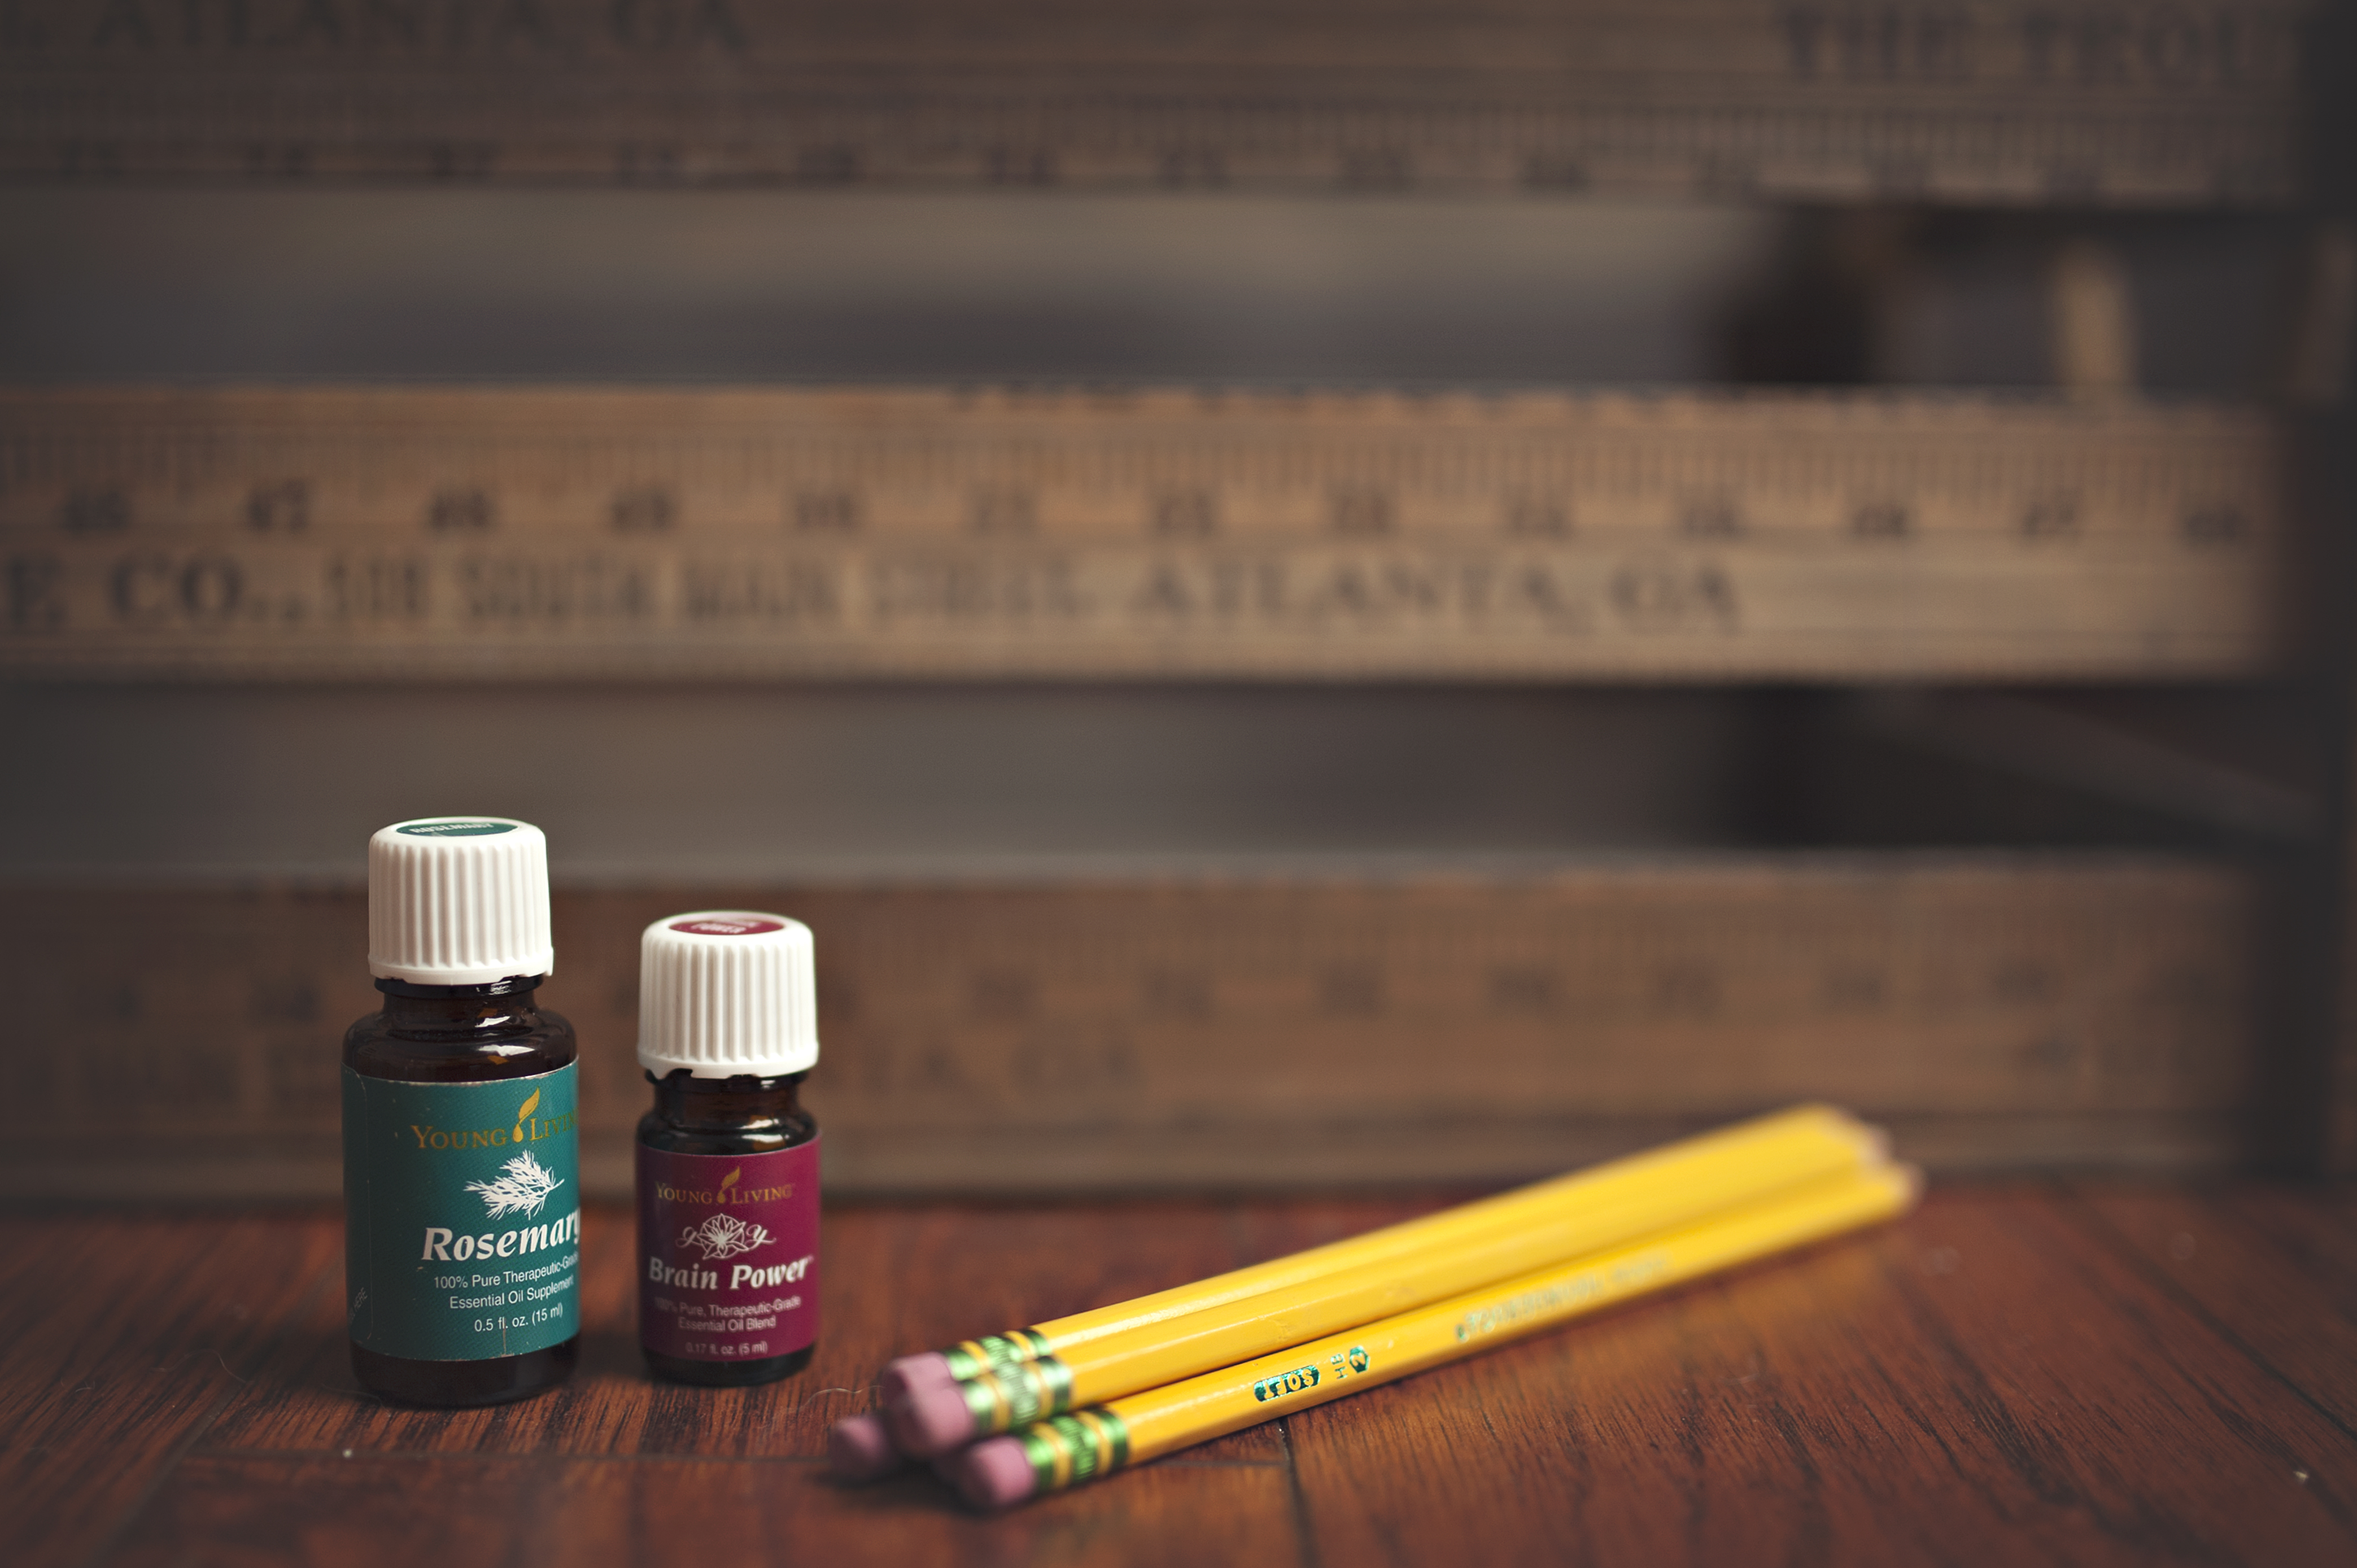
*A note about oils. Buying quality oils MATTERS people. If you are going the non-toxic, chemical-free route, make sure that you are using oils that are of the best purity. We use Young Living and wouldn’t do any other brand because they have a wonderful Seed To Seal promise. Read more about it here: http://www.youngliving.com/en_US/discover/seed-to-seal
Additionally, I send over a fabulous ehandbook from The Happy Oils to help you on your journey and have a huge support team available to assist you in your journey and answer questions!
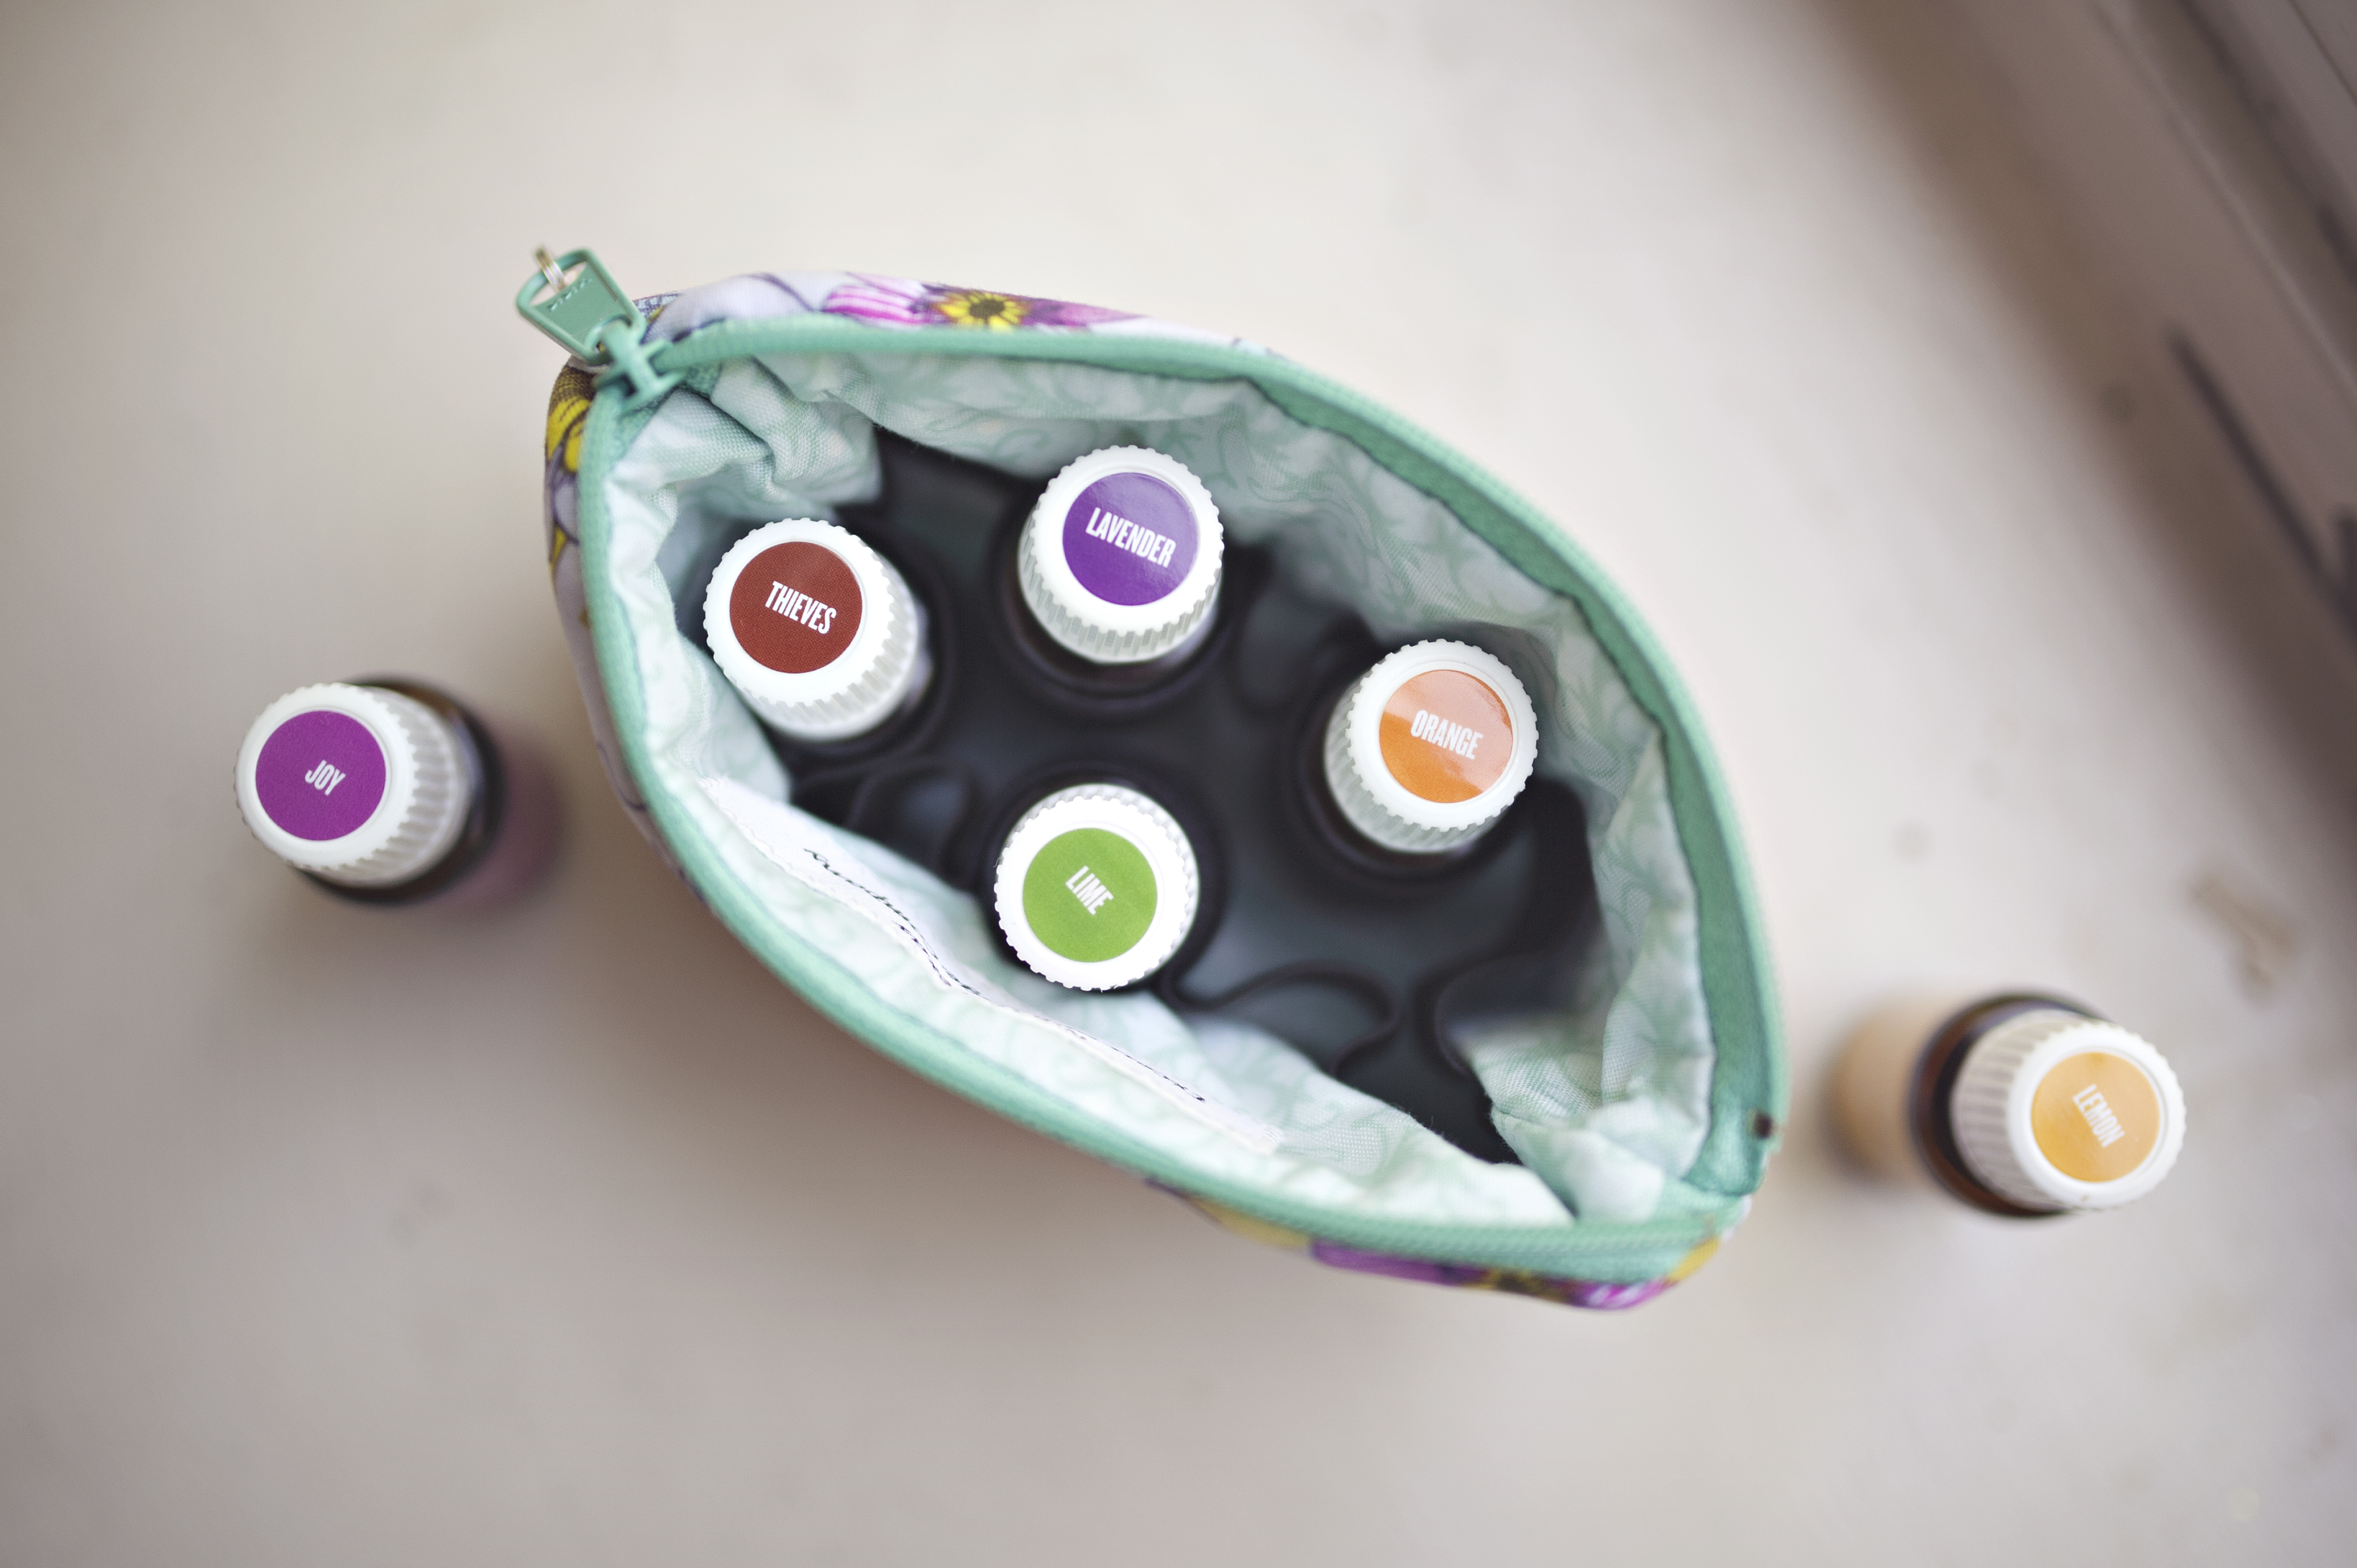
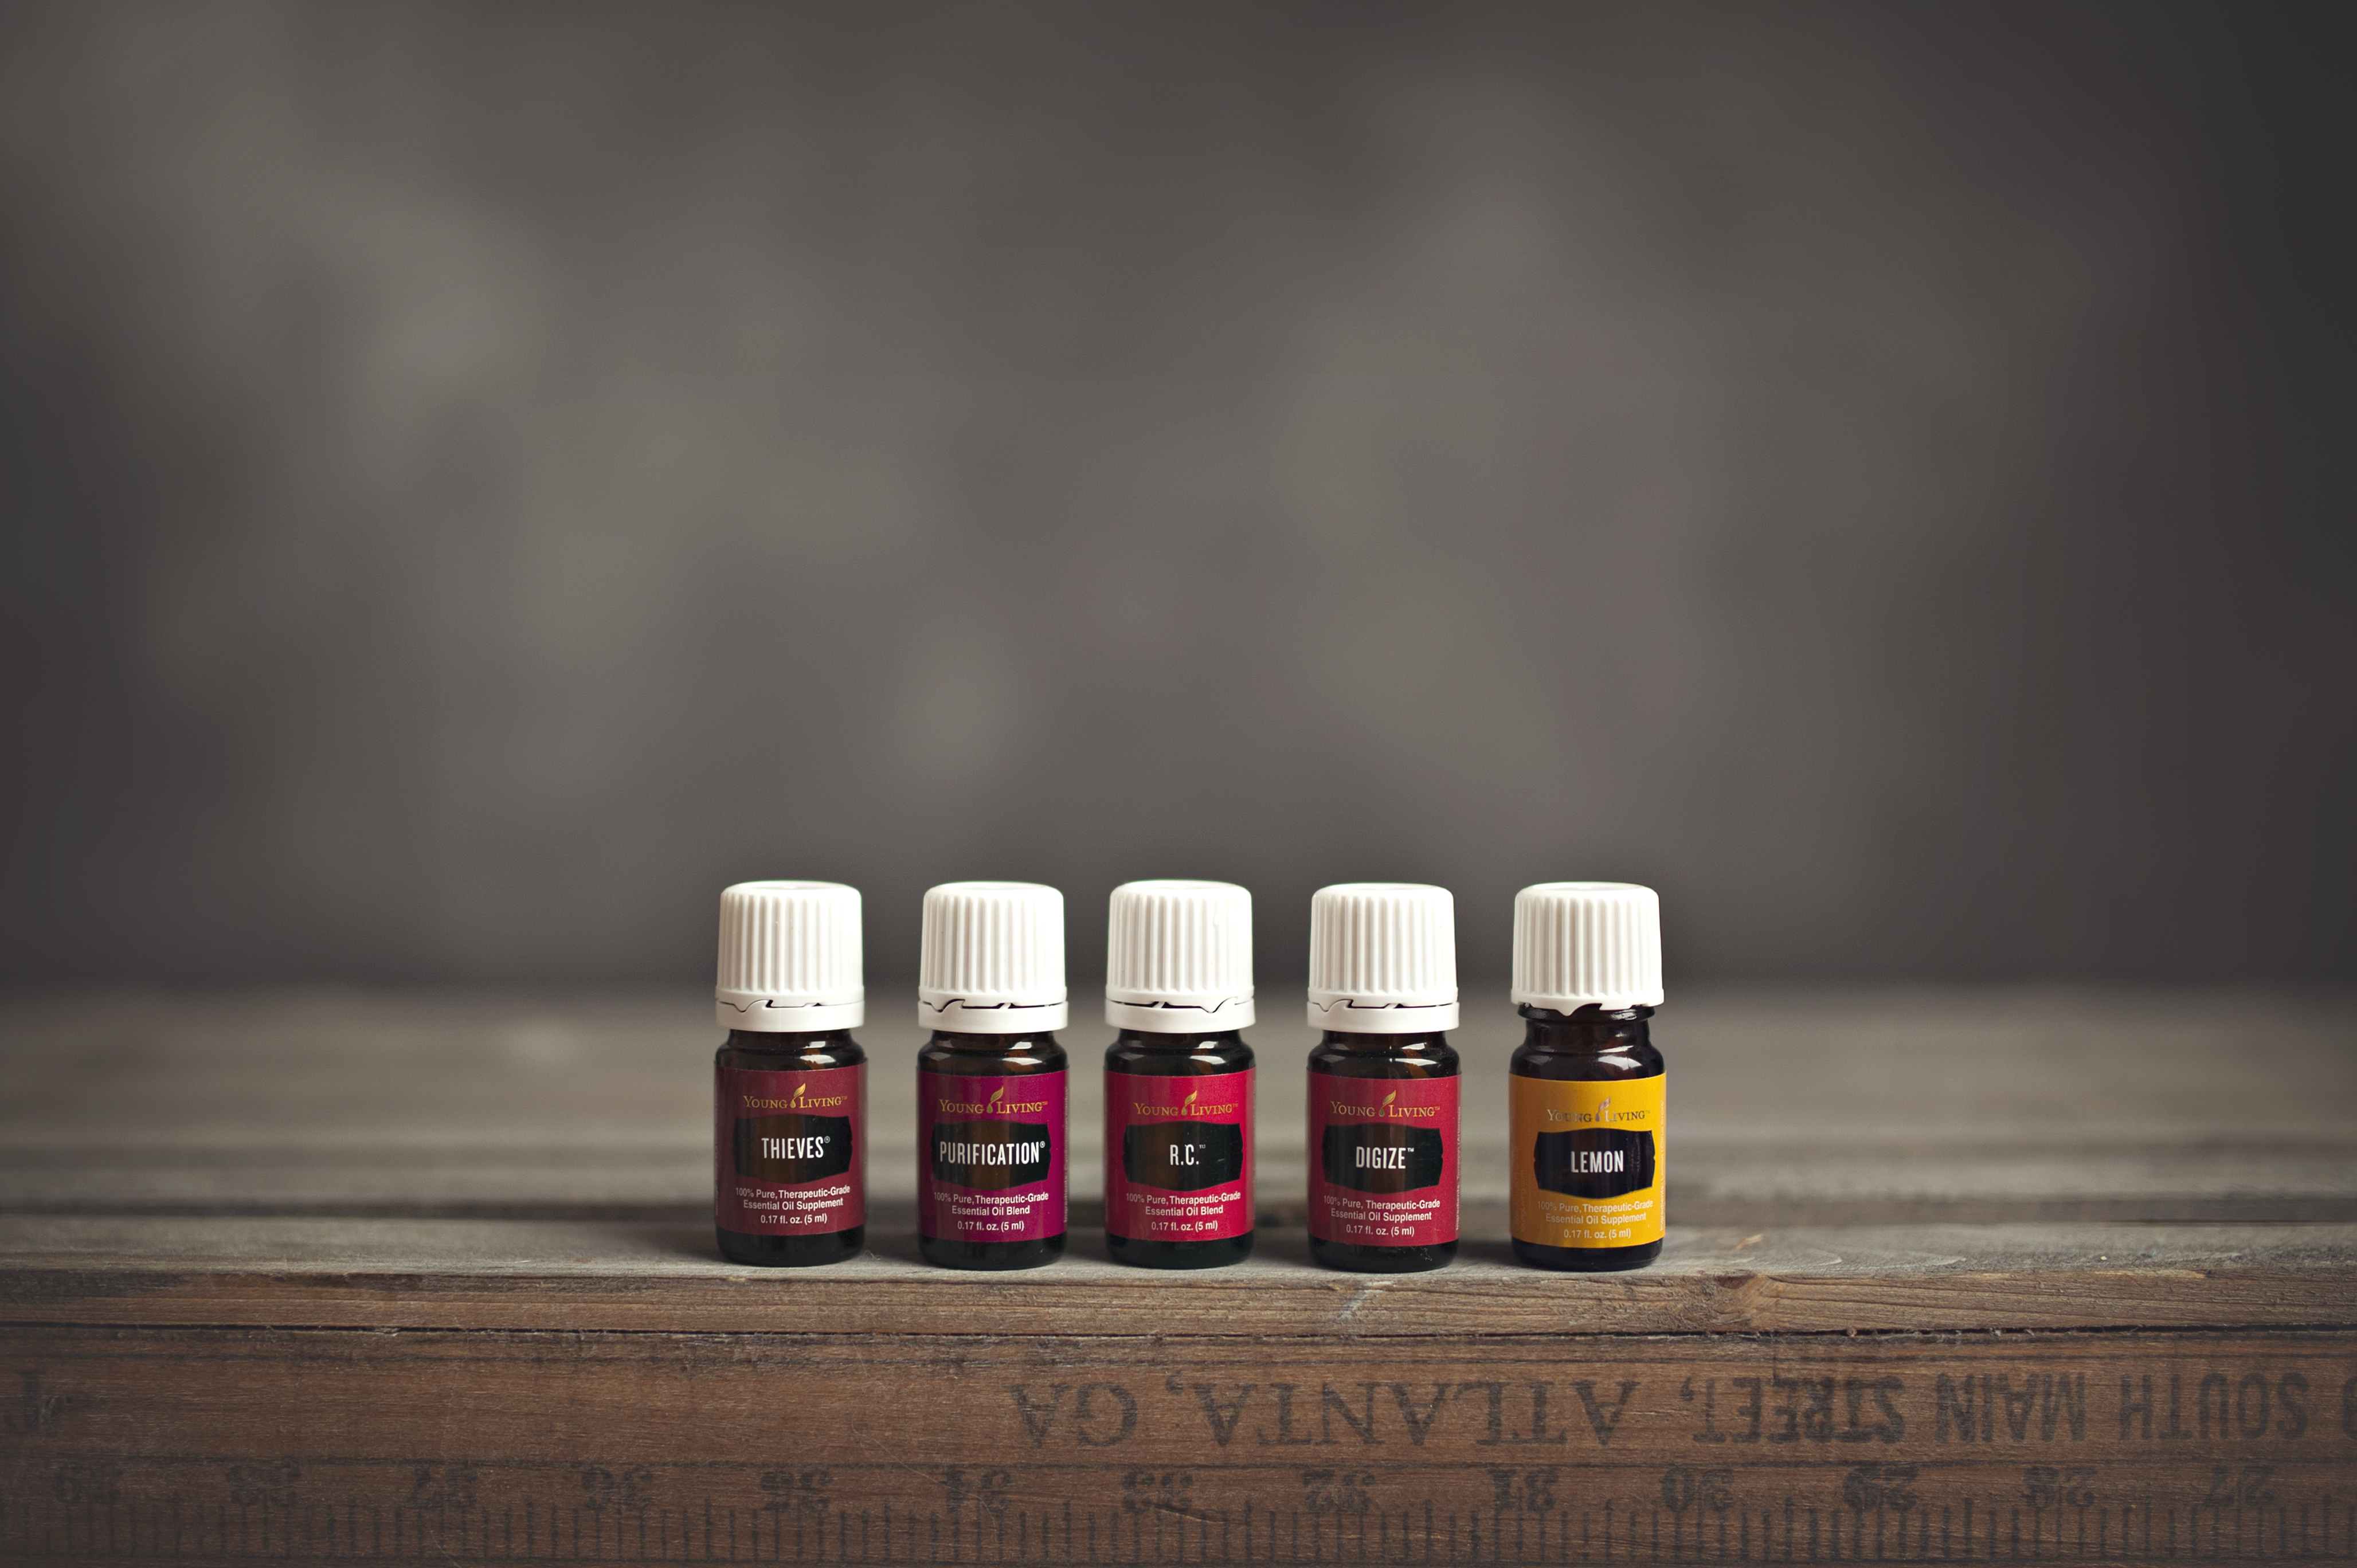
If you want to order your VERY own amazing kit that includes 11 of their most well-loved and most frequently used oils and a diffuser, and a bunch of other awesome goodies here is how to do it:
1. Click over to the sign-up page: https://www.youngliving.com/signup/?site=US&sponsorid=1842761&enrollerid=1842761
2. Select “Sign Up As: Young Living Wholesale Member” (this secures you the 24% off discount on all future orders)
3. The “Enroller ID” and “Sponsor ID” boxes should already be filled in for you. If they aren’t, fill in 1842761 in both spots.
4. Fill out your name, billing address, shipping address, and contact info. (The reason you are asked for your SSN is for tax purposes; if you make over $600/year selling Young Living products, you will receive a 1099 form in the mail, as is required by law. Young Living never shares this info with anyone, and you’re not obligated to sell anything if you do not want to. I promise I wouldn’t lead you astray here!)
5. Create your password and pin which you will use to log in to your account and order your oils.
6. Select your enrollment order. This is where you can specify which starter kit you would like. I recommend the Premium Kit with the Aroma Diffuser.
7. It will ask if you want to sign up for the Essential Rewards program. I recommend saying no to this for now.
8. Agree to Terms & Conditions
9. CONFIRM YOUR ORDER. Some folks miss this step and end up not fully checking out. To confirm, the tool will log you in and it will show you your order again and it will make you enter in your payment information again.
10. Wait for the mailman to arrive! This step is will be agonizing.
Oh, and
11. Please friend me on Facebook so that I can add you to some fun oily Facebook groups! : )


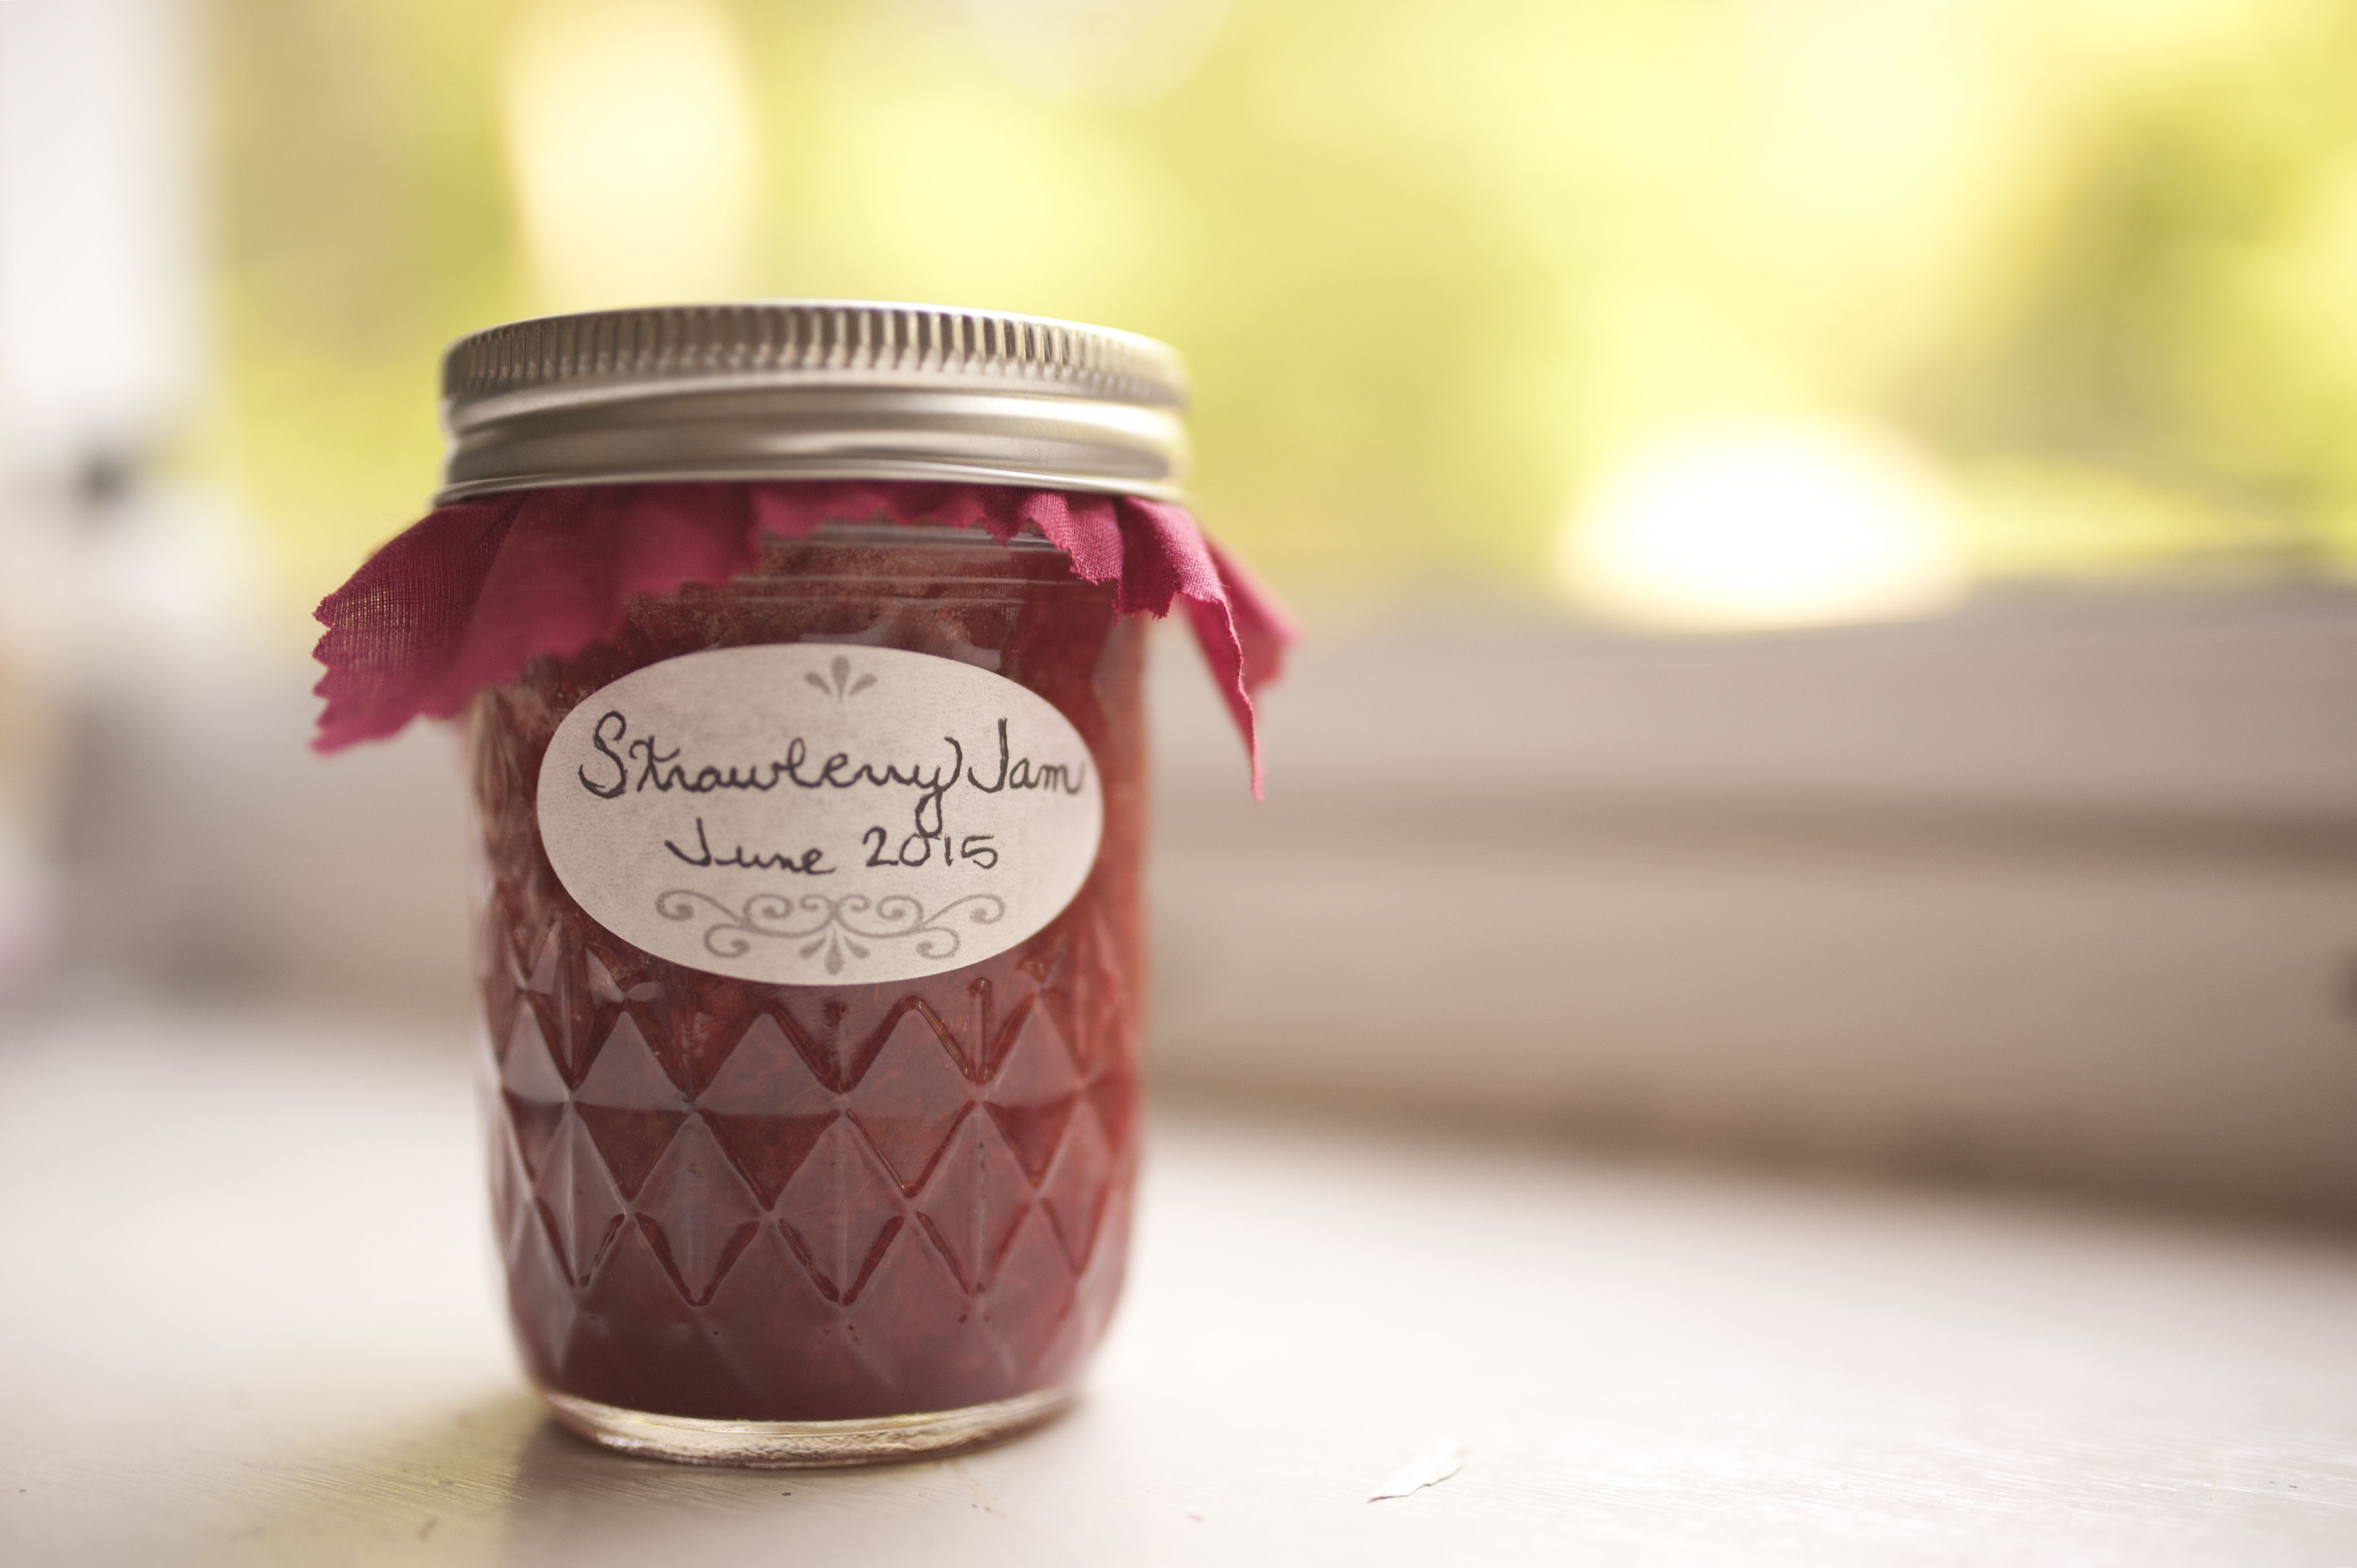

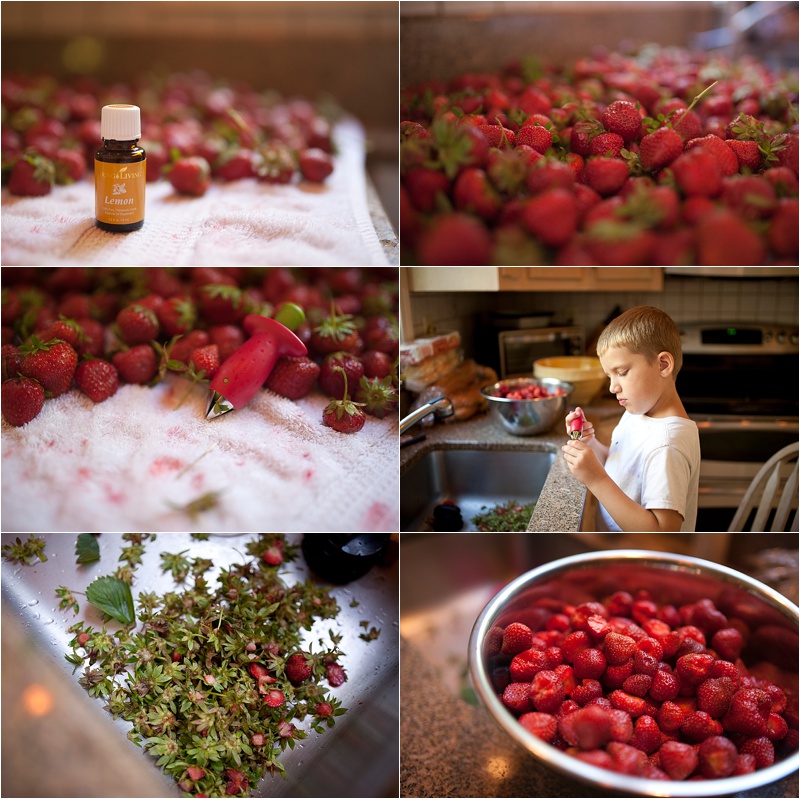
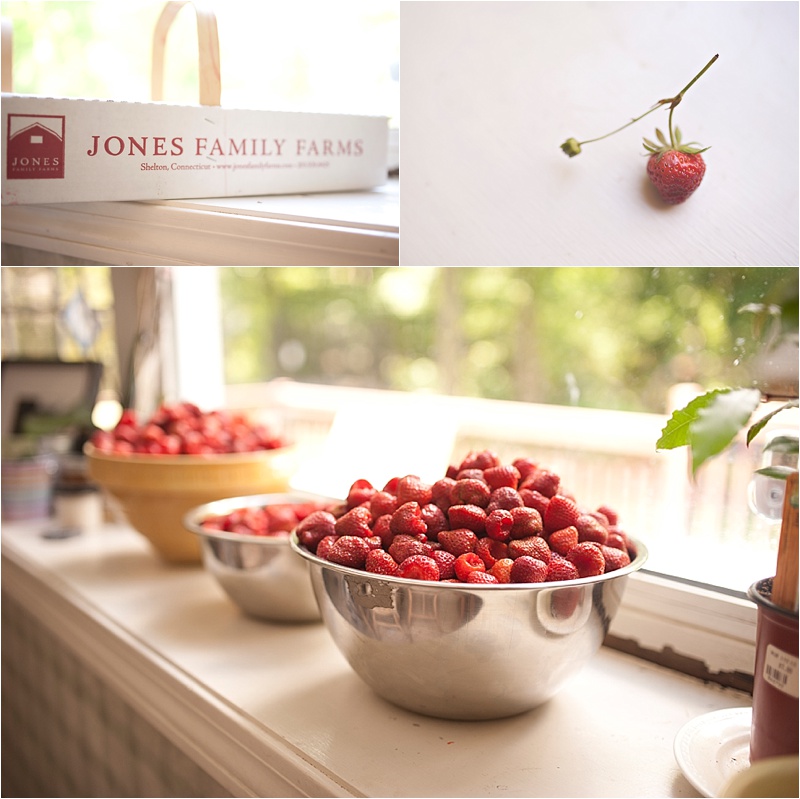
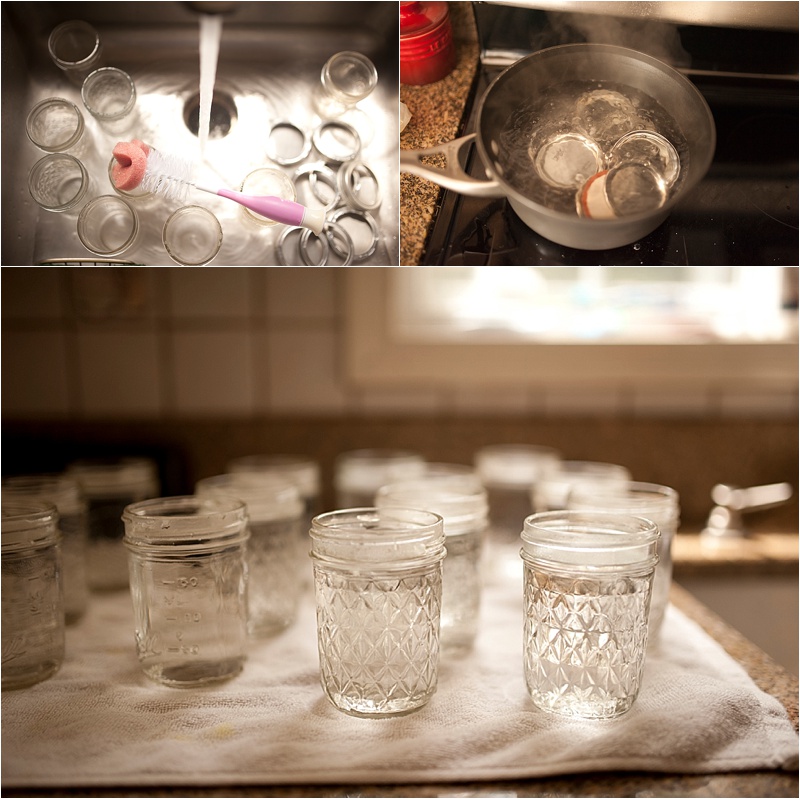
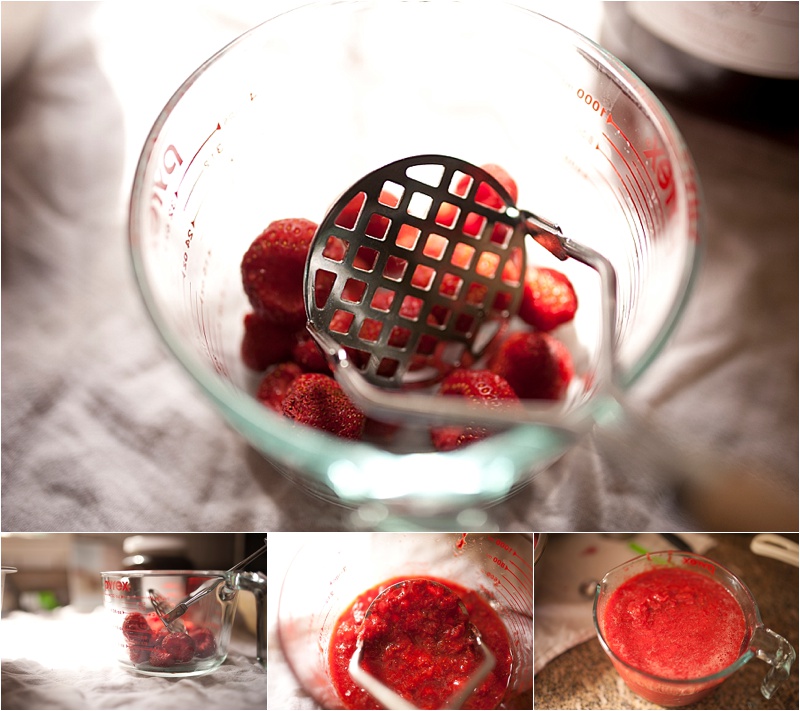
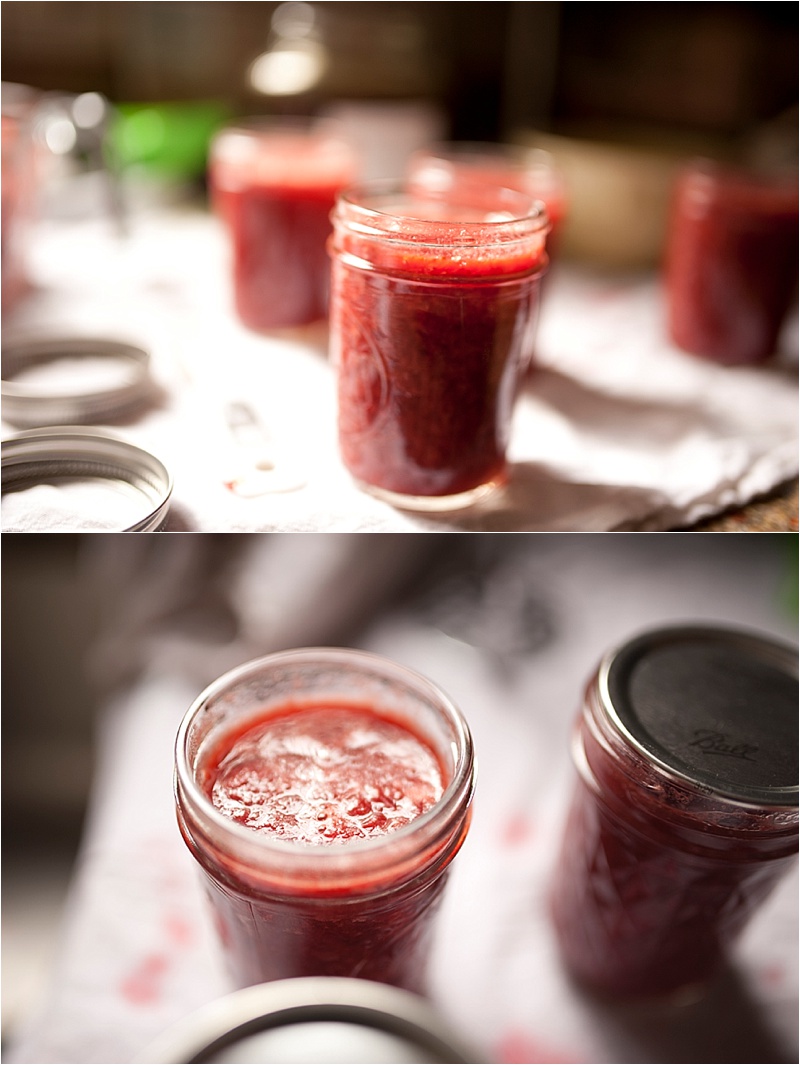
 You ready? Let’s get our jam on! Preparation: First step is to grab your strawberries. We picked our own and got a super amazing discount from a local farm. Try for organic if possible. These aren’t, but the farm uses organic methods and I prefer buying local.